Your Complete RV Winterization Checklist: Don't Wait Until It's Too Late!
Jennifer+ Aggio • October 3, 2025
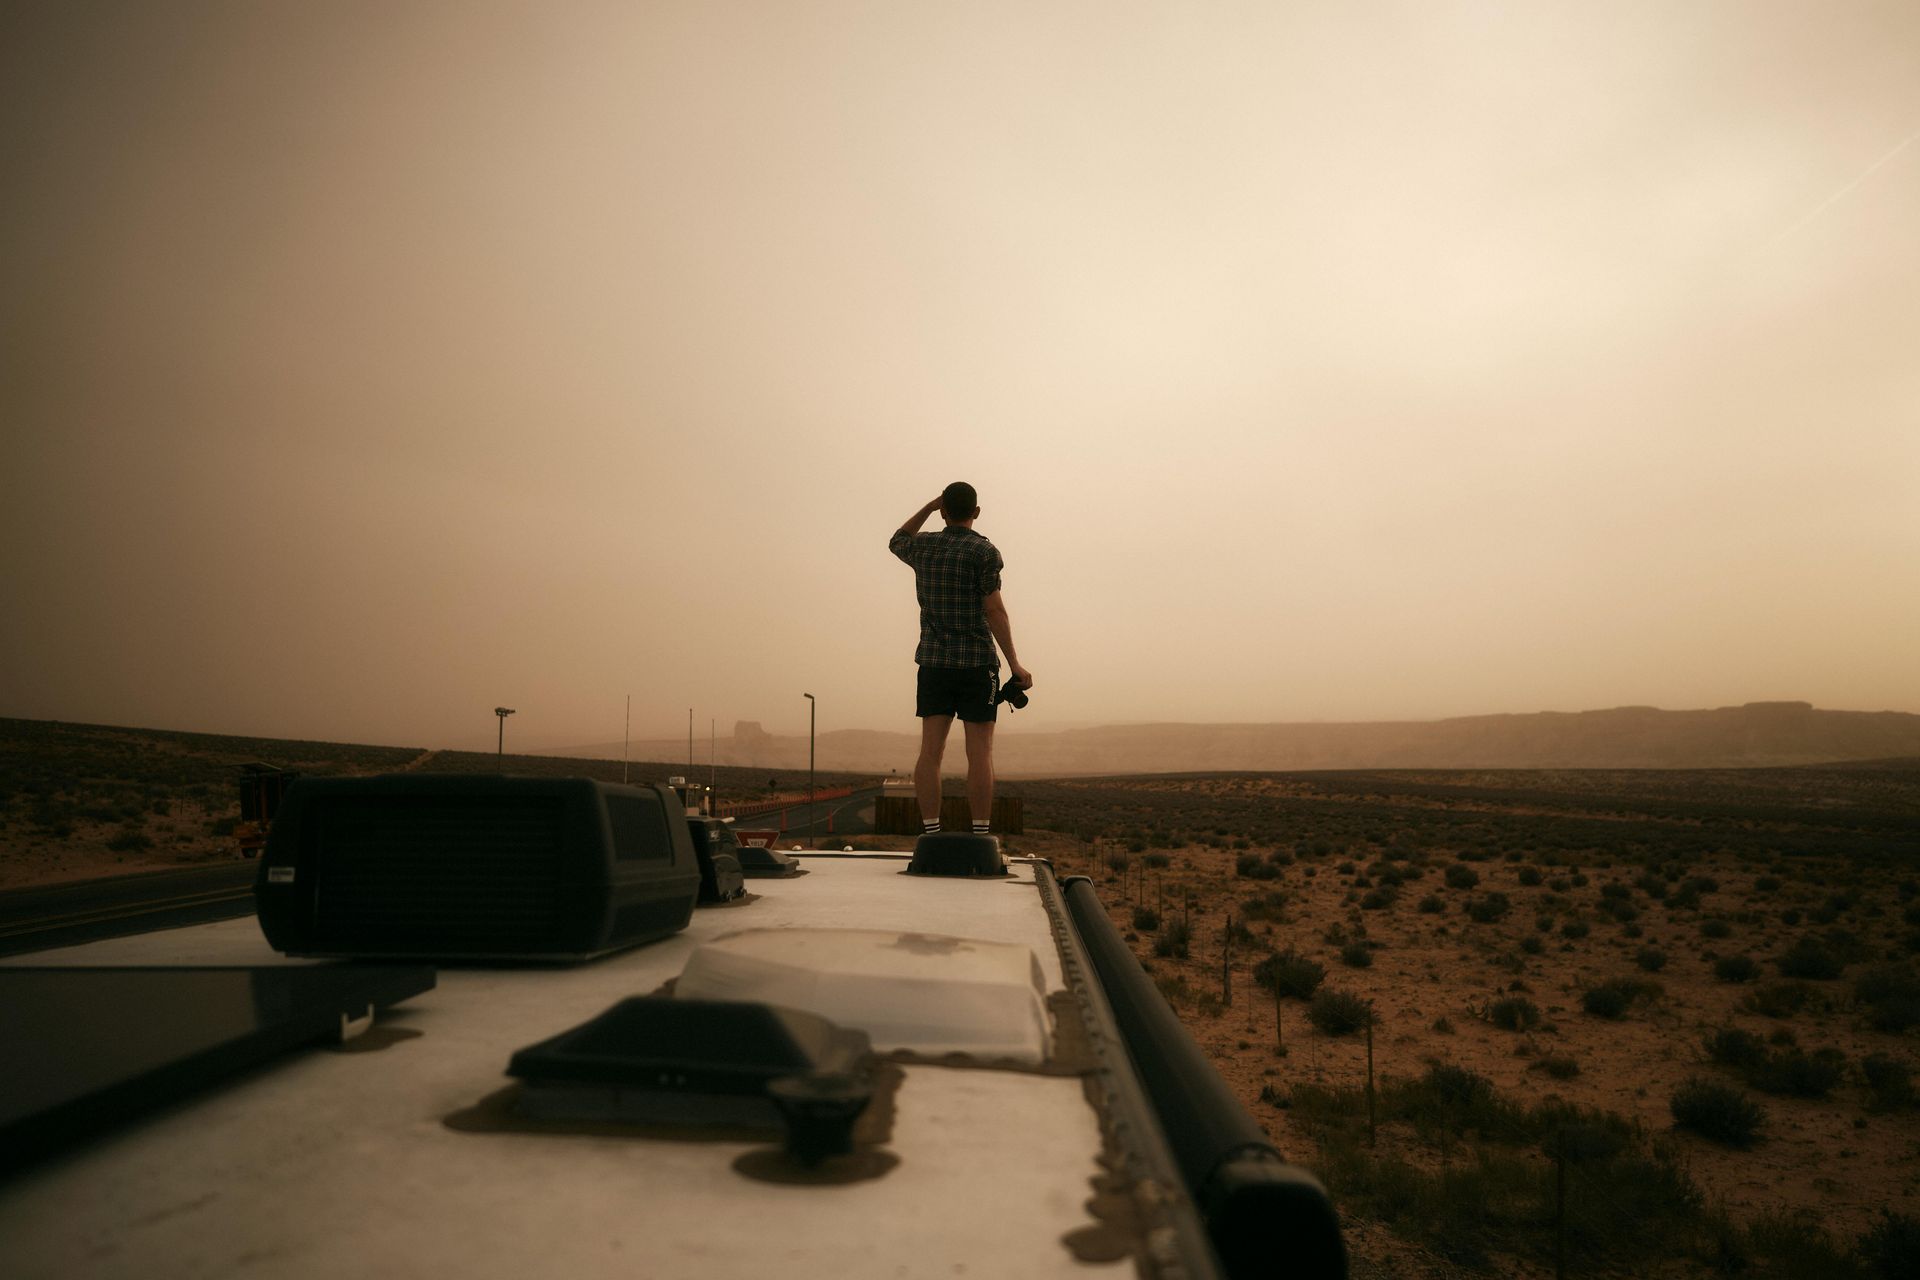
It's the first week of October, and if you're a part-time RVer in a colder climate, there's one question you need to ask yourself: Is my RV ready for winter?
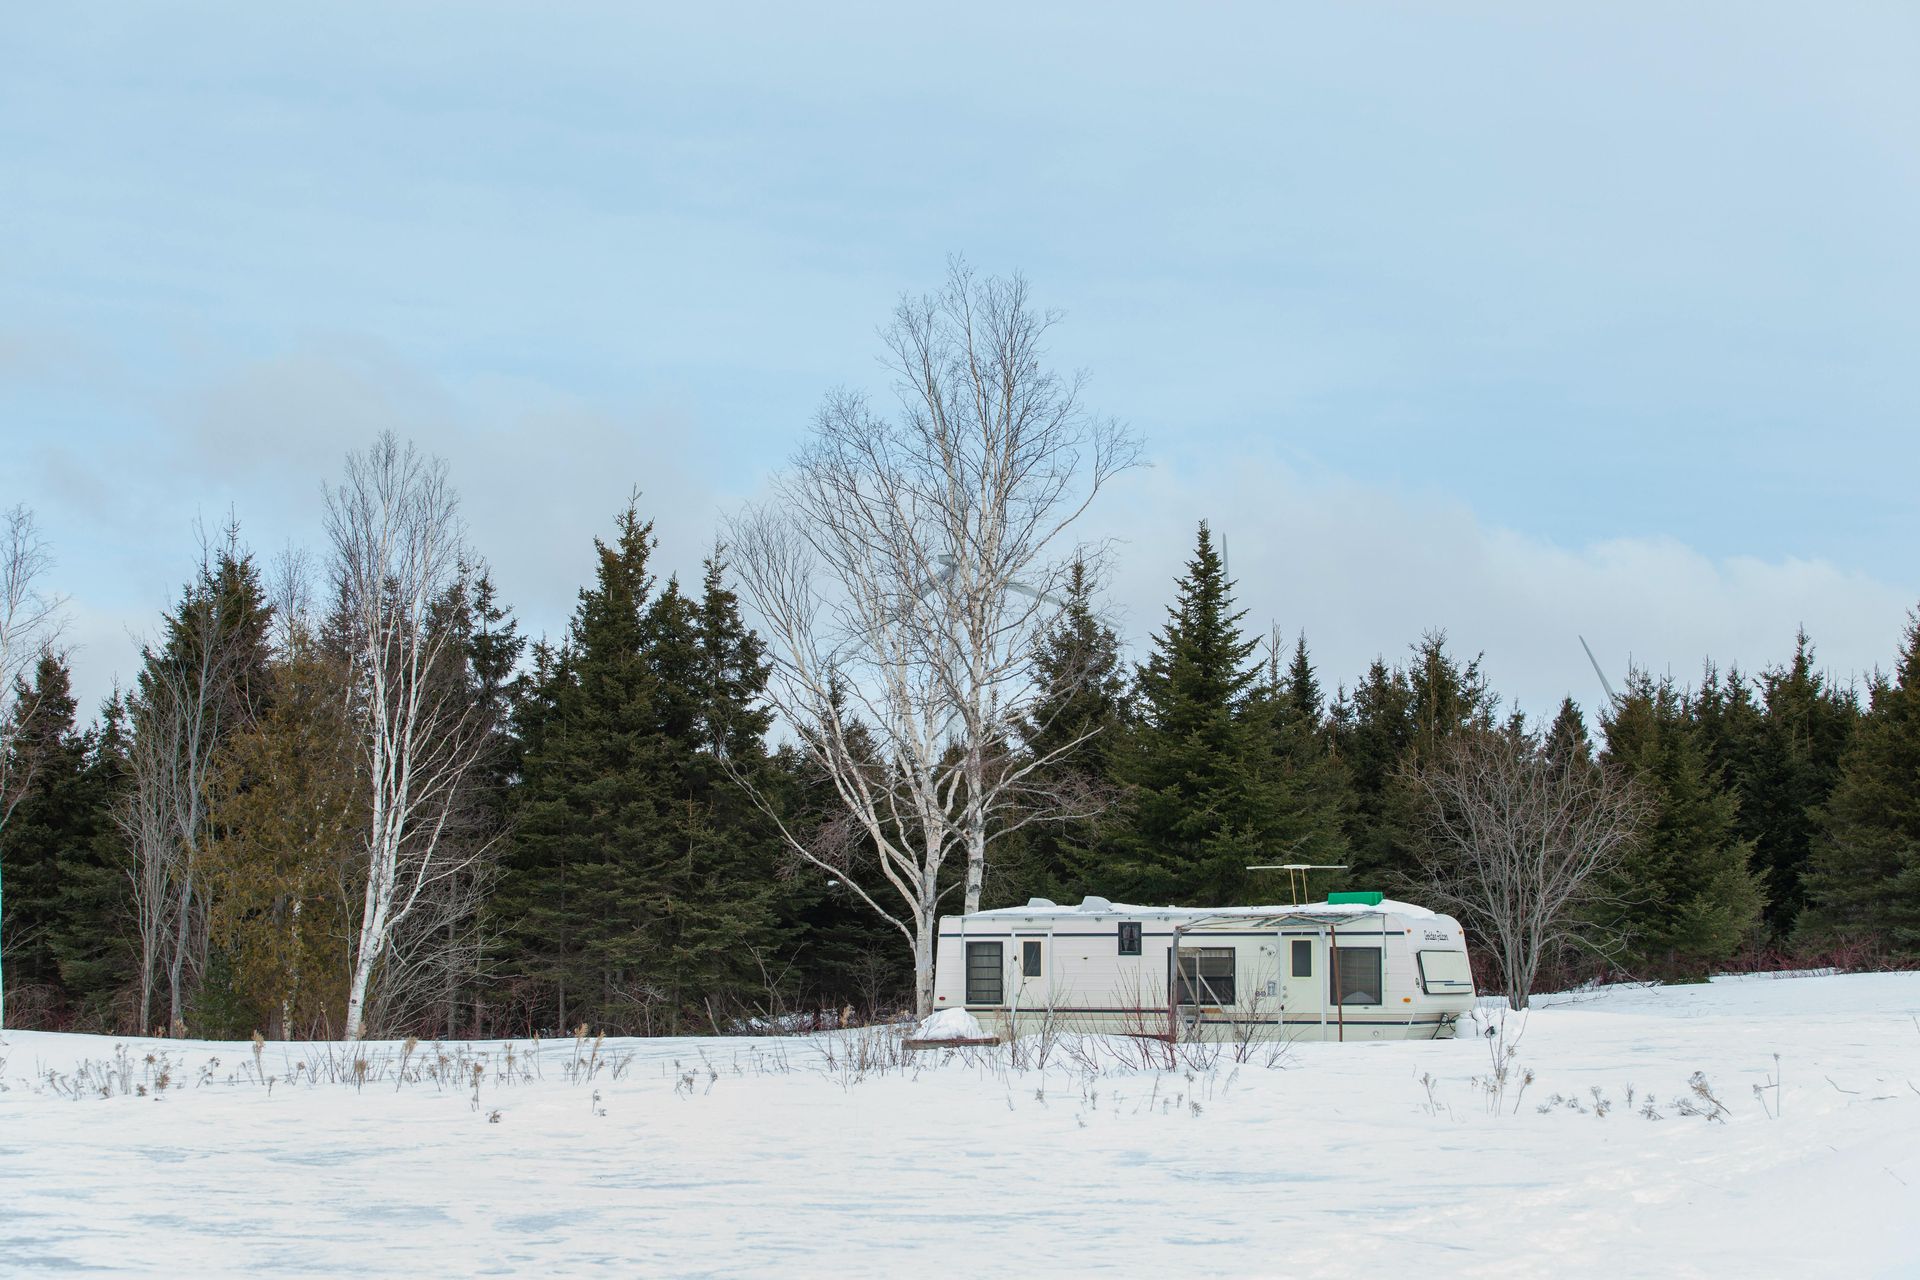
The temperatures are dropping, leaves are changing colors, and camping season is winding down. For many RVers, this means it's time to tuck their rig away until spring. But before you lock up and walk away, there's one critical task you absolutely cannot skip: winterization.
Here's the hard truth—skipping winterization can cost you thousands of dollars in repairs. Frozen pipes, cracked water tanks, burst water heaters, and damaged plumbing systems are all very real consequences of leaving water in your RV when temperatures drop below freezing. And here's the kicker: most RV insurance policies don't cover freeze damage if you didn't properly winterize your rig.
Side Note: We recently recorded a podcast episode where Jennifer, Tasha, and myself shared some of our personal winterization stories—including the rig that got left in Indiana without being winterized! Be sure to Listen to Learn to RV The Podcast for those stories and more real-world tips from people who've learned these lessons the hard way. This podcast is available on Patreon now, and Public Release on Monday, October 13th.
The good news? Winterizing your RV is easier than you think when you follow the right steps. You don't need to be a mechanic or have special skills—just a few hours, some basic supplies, and this comprehensive guide.
This article is specifically designed for part-time RVers who are storing their rigs for the winter months. We'll walk you through exactly when to winterize, what supplies you'll need, and every single step of the process. By the end, you'll have the confidence to protect your investment and ensure your RV is ready to roll when spring arrives.
Let's dive in and make sure your RV survives the winter without a scratch!
When Do You NEED to Winterize?
The Temperature Rule: Don't Wait for the First Freeze
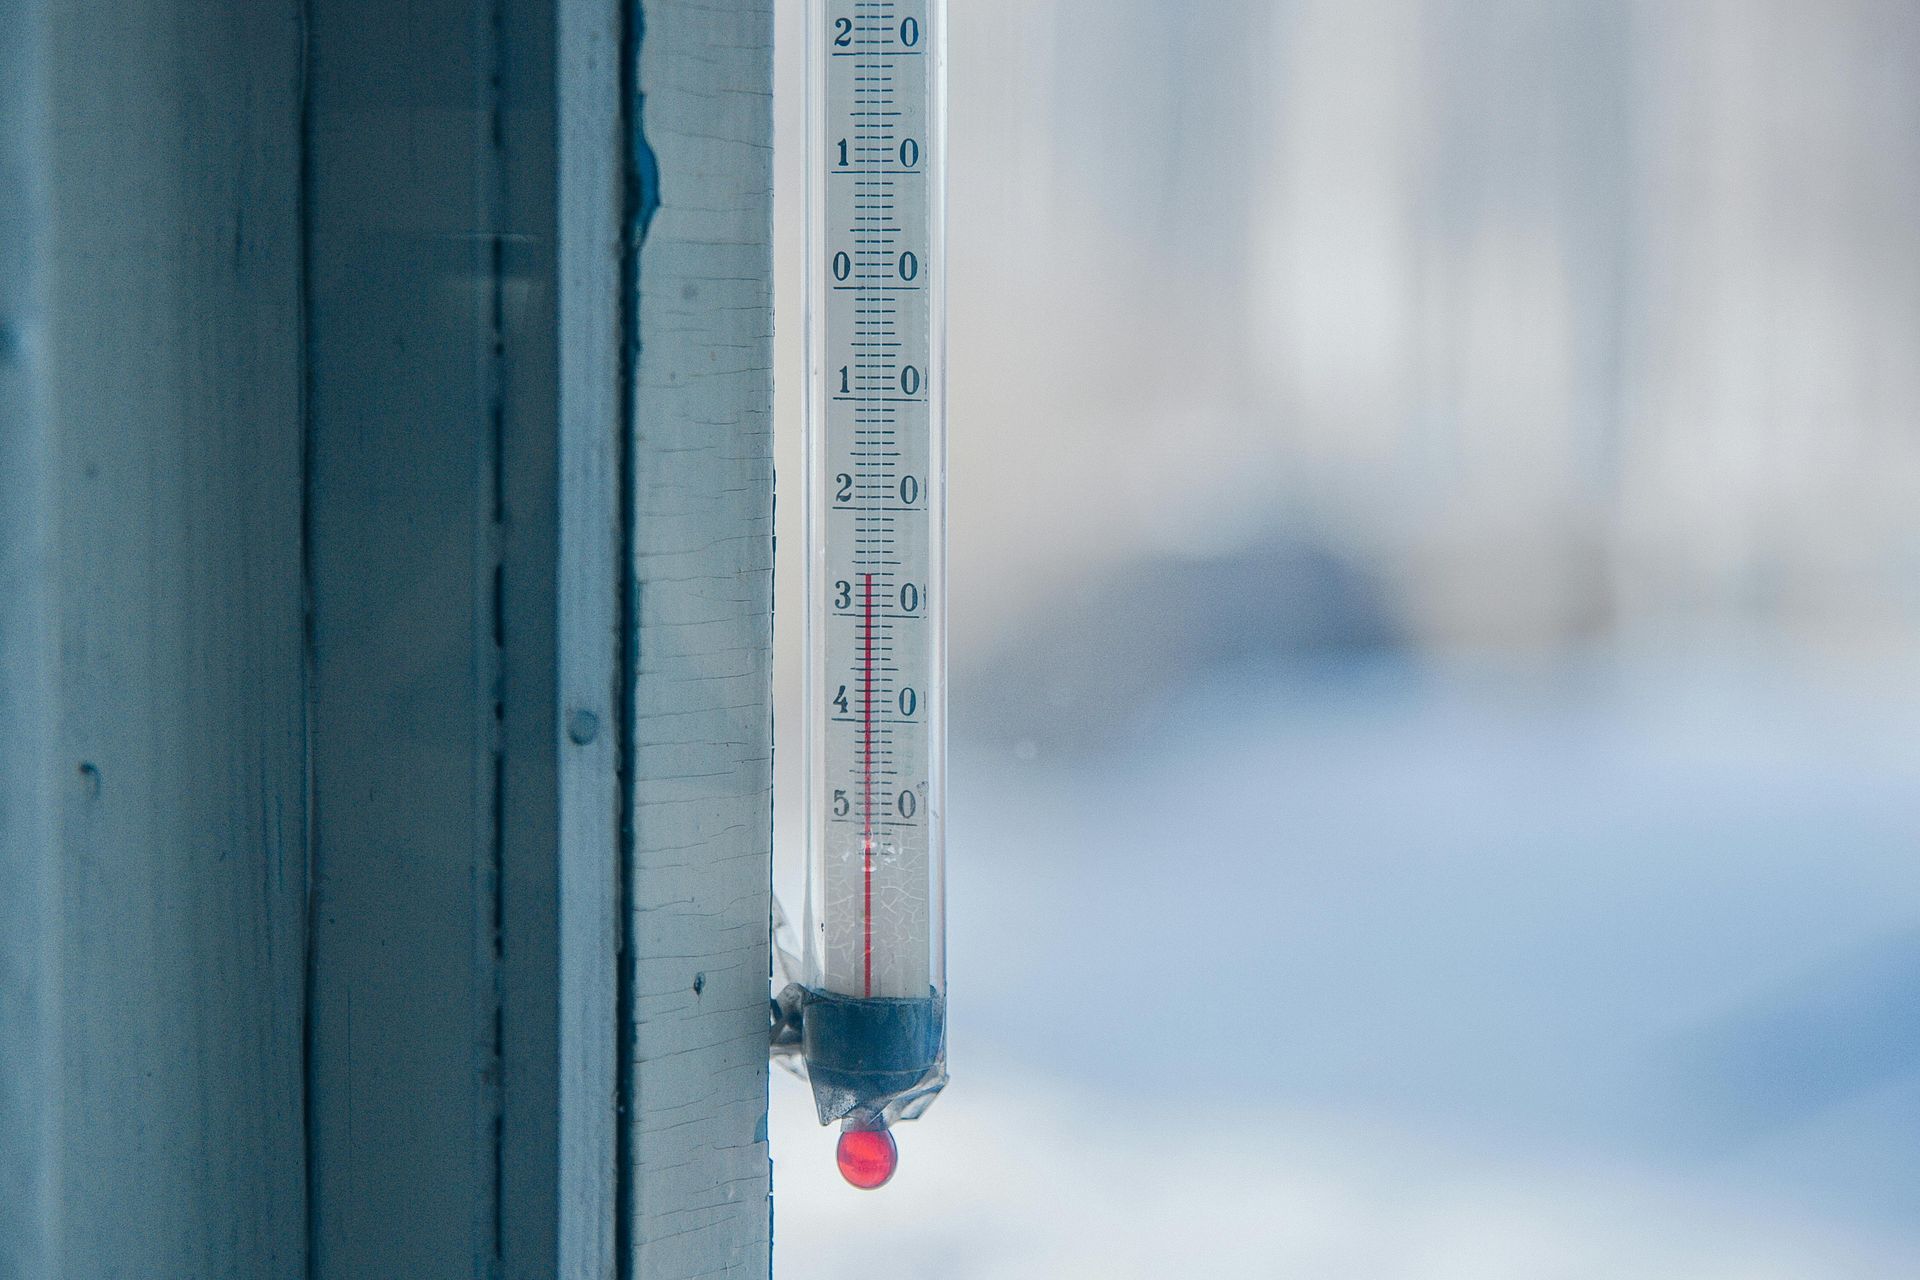
The golden rule of RV winterization is simple: winterize before temperatures consistently dip below 32°F (0°C) for more than 2-4 hours. Notice we said "consistently"—this doesn't mean you wait until there's a hard freeze forecast. By then, it might be too late.
Even a single night of unexpected freezing temperatures can cause serious damage to your RV's plumbing system. Water expands when it freezes, and that expansion creates tremendous pressure inside pipes, tanks, and fittings. The result? Cracked pipes, split water lines, damaged pumps, and burst water heater tanks.
Regional Timing Guide:
Your location plays a big role in when you should winterize. Here's a general timeline based on where you live:
- Northern U.S. & Canada: Late September through early November
- Midwest & Mountain States: Mid to late October
- Southern States: Early to mid-November (though some southern RVers may not need to winterize at all if temperatures stay consistently above freezing)
Remember, these are general guidelines. Your specific climate matters—if you're in a valley, near a lake, or at higher elevation, you might experience freezing temperatures earlier than your neighbors just a few miles away.
Signs It's Time to Winterize
Not sure if it's time yet? Watch for these indicators:
- Nighttime temperatures are consistently in the low 40s or below. When nighttime temps drop into the 40s, freezing temperatures aren't far behind.
- Your local weather forecast mentions the first frost. Don't wait until after the frost warning, winterize before it arrives.
- You're officially done camping for the season. Once you know you won't be using your RV again until spring, there's no reason to delay, get it done.
- Your neighbors are winterizing their RVs. If you see other RVers in your storage area or neighborhood winterizing, take that as your cue!
What Happens If You Wait Too Late?
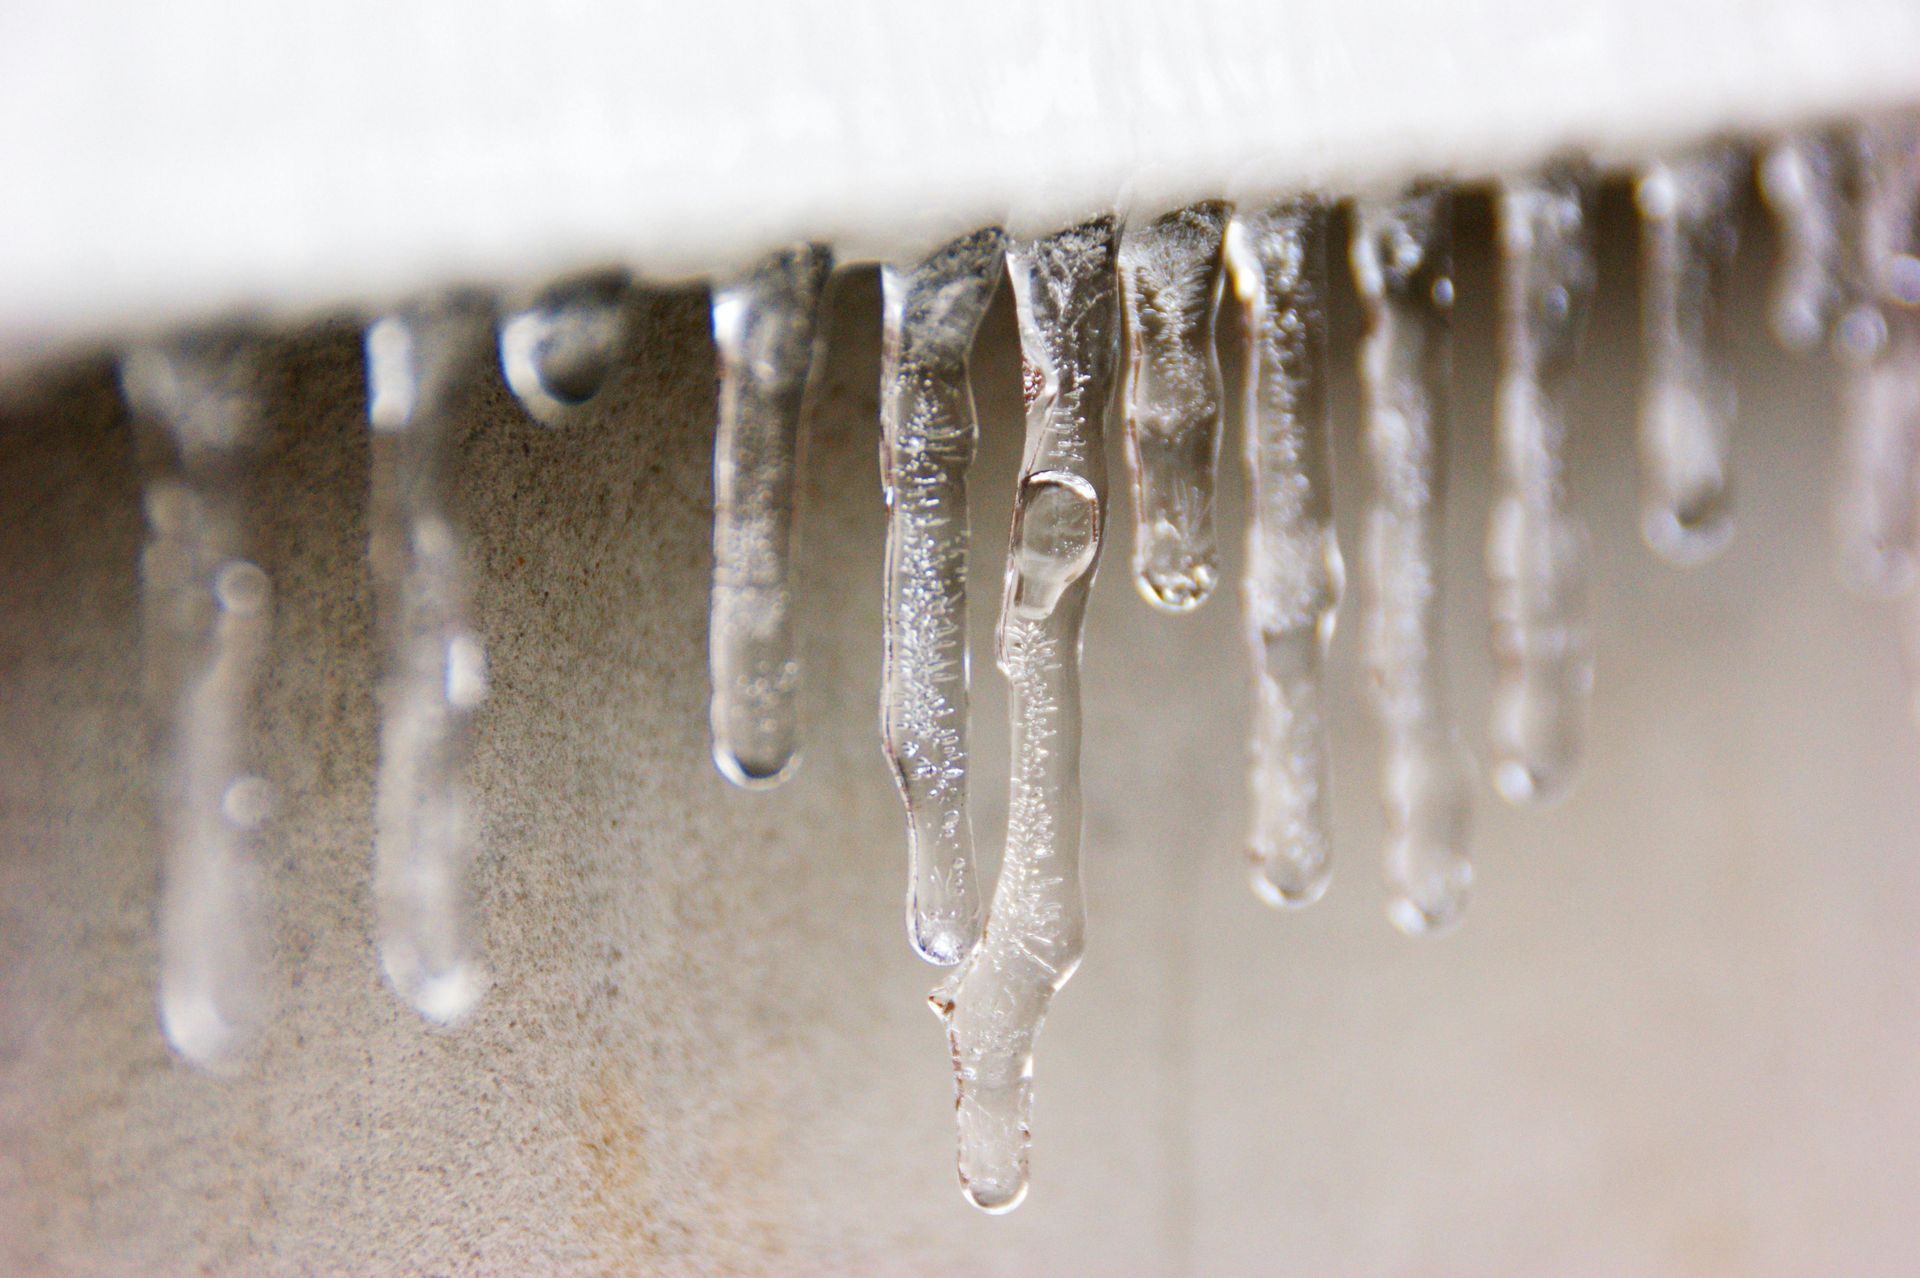
Let's talk about what you're risking if you procrastinate on winterization. When water freezes inside your RV, it doesn't just sit there quietly. As water turns to ice, it expands by about 9%. That might not sound like much, but inside the confined space of a pipe or water line, that expansion creates incredible force.
The damage can include:
- Burst water lines: The narrow pipes running throughout your RV are especially vulnerable. Once they crack, you'll need to replace entire sections.
- Cracked water tanks: Your fresh water, gray water, and black water tanks can all crack if water freezes inside them.
- Damaged water heater: Water heaters are expensive to replace, and freezing can crack the tank beyond repair.
- Broken water pump: The pump itself can be damaged by frozen water, requiring costly replacement.
- Ruined faucets and fixtures: Even your faucets, shower heads, and toilet can sustain damage from frozen water.
The financial impact? Depending on the extent of the damage, repairs can range from $500 for minor fixes to $5,000 or more for extensive plumbing system replacement. And as a reminder, many insurance policies specifically exclude coverage for freeze damage if you didn't take proper winterization precautions.
On our upcoming podcast episode, Jennifer Schillaci shares the story of leaving their rig in Indiana without winterizing—and why they got lucky. But don't count on luck! Hear the full story and what could have gone wrong on Learn to RV The Podcast, the Podcast is live now on Patreon.
The bottom line: Don't gamble with your investment. A few hours of winterization now can save you thousands of dollars and countless headaches come spring.
What You'll Need: Gather Your Supplies First
Before you start the winterization process, you'll want to gather all your supplies. There's nothing worse than getting halfway through and realizing you're missing something critical. Trust us, make a supply run before you begin, and the whole process will go much smoother.
Essential Supplies You Must Have:
1. RV/Marine Antifreeze (2-3 gallons) This is the most important item on your list. Make absolutely sure you buy NON-TOXIC RV or Marine antifreeze—it's usually pink in color. NEVER use automotive antifreeze (the green or orange kind), as it's toxic and can contaminate your drinking water system. Most RVs need 2-3 gallons, but larger rigs might need more. It's better to have extra than to run out mid-process.
2. Basic Hand Tools You'll need a socket wrench, pliers, and a flathead screwdriver to remove drain plugs and access various components. Most winterization tasks use standard tools you probably already have in your garage.
3. Water Heater Bypass Kit Many modern RVs come with a water heater bypass valve already installed, but if yours doesn't have one, you'll need to purchase and install a bypass kit. This valve allows you to route antifreeze around the water heater instead of filling it completely—saving you 6-10 gallons of expensive antifreeze.
4. Air Compressor with Blow-Out Plug (Optional but Highly Recommended) While not absolutely required, using compressed air to blow out your water lines before adding antifreeze is one of the best ways to ensure thorough winterization. You'll need an air compressor that can maintain 30-50 PSI and a blow-out plug adapter that connects to your city water inlet. Never exceed 50 PSI, as higher pressure can damage your plumbing.
5. Tank Cleaning Wand If your RV doesn't have a built-in tank flushing system, you'll need a tank cleaning wand to properly flush your black and gray water tanks before storage.
Optional But Helpful Items:
- Water Pump Converter Kit or Tubing: Makes it easier to pump antifreeze through your system
- Breathable RV Cover: Protects your RV's exterior if storing outside
- Tire Covers: Shield tires from UV damage during storage
- Rodent Deterrents: Fresh Cab pouches, mothballs, or snap traps to keep critters out
- Cordless Dehumidifiers or Moisture Absorbers: Prevent mold and mildew during storage
- Funnel: Makes pouring antifreeze easier and less messy
Pro Tip: Before you do anything else, locate and remove any inline water filters in your RV's plumbing system. Antifreeze will damage these filters, so you'll want to remove them before pumping antifreeze through the lines. While you have them out, check if they need replacing—now's a great time to order new filters so they're ready to install when you de-winterize in spring.
Make a shopping list, hit your local RV supply store or order online, and get everything ready. Once you have all your supplies assembled, you're ready to tackle the winterization process!
Step-by-Step Winterization Process
Now we get to the heart of the matter, actually winterizing your RV. We're going to walk through this process step by step, explaining not just what to do, but why you're doing it. Understanding the "why" helps you remember the steps and catch any mistakes.
Set aside 2-4 hours for this process, depending on the size of your RV and your experience level. First-timers might take a bit longer, but once you've done it once, you'll be able to zip through it next year.
Want to hear more personal stories about winterization? On the podcast, Tasha shares about running out of propane in Arkansas in the middle of the night during a freeze, and I talk about battery care in extreme cold. These real-world experiences bring home why proper prep matters! Our Podcast, RV Winterizing 101: What You Need to Know, is live on Patreon now and releases to the public on Monday, October 13th, anywhere you listen to Podcasts.

STEP
ONE
Drain All Water Systems
Why this matters: Every drop of water left in your RV is a potential problem. Water expands when it freezes, and even small amounts trapped in pipes or tanks can cause expensive damage. Your first job is to get all that water out.
Black & Gray Water Tanks:
Start with your holding tanks. Drive or tow your RV to a dump station or connect to your sewer hookup at home.
- Empty black tank completely. Open the black tank valve first, let it drain completely.
- Flush thoroughly. If your RV has a built-in tank flushing system, run fresh water through both tanks until the water runs clear. If you don't have a built-in system, use a tank cleaning wand inserted through the toilet for the black tank.
- Close your black tank valve.
- Repeat 1 & 2 with the gray tank. The gray water helps flush out the sewer hose. Use a tank cleaning wand inserted through a sink drain for the gray tank.
- Leave gray tank valve open for now, you'll close it later after you've drained all the water lines.
- Open your black tank valve again. Note: this is the ONLY time I ever recommend having gray and black open at the same time. If you didn't do a thorough flush of your black tank I would not to do this, you will just need to dump your black tank again later.
Fresh Water Tank:
Your fresh water tank usually has a drain valve located somewhere on the underside of your RV, often near an exterior wall.
- Locate the fresh water tank drain valve. Check your owner's manual if you're not sure where it is.
- Open the valve and let the tank drain completely. The water is clean and potable, so it's fine if it drains onto the ground (though be considerate if you're in a campground or storage facility).
- Leave the valve open for now, you'll close it later after you've drained all the water lines.
Water Heater:
Your water heater holds 6-10 gallons of water that needs to be drained.
- Turn OFF the water heater and make sure it has completely cooled. Never attempt to drain a hot water heater, you could be seriously burned.
- Locate the water heater on the exterior of your RV. It's usually on the side of the RV near the kitchen area.
- Remove the drain plug using a socket wrench. Water will start flowing out immediately, so position yourself accordingly.
- Open the pressure relief valve (usually on top of the water heater). This allows air into the tank and helps it drain faster and more completely.
- Let the water drain completely, then leave both the drain plug out and the pressure relief valve open for now.
Water Lines Throughout the RV:
Now you need to drain water from all the pipes and lines running throughout your RV.
- Open ALL faucets (both hot and cold) at every sink, shower, and the outdoor shower if you have one.
- Locate and open the low-point drains underneath your RV. These are typically located near the water heater and are marked. There's usually one for the hot water lines and one for the cold water lines. Open both and let them drain.
- Flush your toilet repeatedly until no more water comes out.
- Don't forget about:
- Outdoor shower
- Ice maker water line
- Washing machine hookups (if equipped)
- Any other appliances connected to the water system
You can always place a bowl or bucket under faucets if needed to catch drainage and prevent water from going back into your gray tanks. We did leave those open to drain so it isn't a big deal. Leave everything open for now—you'll close them during later steps.
Pro Tip: Turn on your water pump for just a moment to help push out any remaining water from the lines. Don't run it long—just a few seconds to clear the lines, then turn it back off.
STEP
TWO
Bypass the Water Heater
Why this matters: Your water heater can hold 6-10 gallons of water. If you don't bypass it, you'll need to fill that entire tank with antifreeze before it starts flowing to the rest of your plumbing system. That's 6-10 gallons of antifreeze you don't need to buy! A bypass valve routes the antifreeze around the water heater, saving you money and making the process much more efficient.
How to Bypass:
- Locate your water heater bypass valve. The location varies by RV model. Common locations include:
- Inside a cabinet near the water heater
- In an exterior access panel near the water heater
- Near the water pump
- In a central "convenience center" where plumbing components are grouped
- Check your owner's manual if you can't find it, there's usually a diagram showing exactly where it's located.
- Switch the valve to "bypass" or "winterize" position. Most bypass systems use either:
- Three-valve system: Turn three separate valves to redirect flow
- Single-valve system: One lever that switches between normal operation and bypass
- Look for labels or color coding (red for hot, blue for cold) to help orient yourself.
- If your RV doesn't have a bypass valve installed, you have two options:
- Install a bypass kit yourself: These are available at RV supply stores and come with instructions. It's a DIY-friendly project if you're handy.
- Have a dealer or mobile RV tech install one: This is a one-time investment that will make every future winterization much easier and cheaper.
Double-check: Make sure the bypass valve is fully in the winterize position before moving to the next step. If it's only partially switched, you'll still waste antifreeze filling the water heater.
STEP
THREE
Blow Out Water Lines with Compressed Air
Optional but Recommended
Why this step is valuable: Even after draining, there's still residual water clinging to the inside of your pipes and sitting in low spots. Using compressed air to blow out these lines removes that moisture and provides an extra layer of protection. It also means you'll use less antifreeze in the next step, saving money.
Important Safety Note: Never exceed 30-50 PSI when blowing out RV water lines. Higher pressure can damage fittings, burst pipes, or blow out seals. Most RV plumbing systems are designed for low pressure, so more is definitely not better here.
On the podcast, we talk about using Reflectix and other insulation tricks in extreme cold. These strategies work hand-in-hand with proper winterization to keep your systems protected! You can listen to the podcast now on Patreon or wait for its public release on Monday, October 13th anywhere you listen to podcasts at!
How to Blow Out Lines:
- Set your air compressor to 30-50 PSI. Adjust the regulator and confirm the pressure with a gauge.
- Attach a blow-out plug to your city water inlet. This special adapter threads into the city water connection and has a quick-connect fitting for your air hose.
- Connect your air compressor hose to the blow-out plug.
- Work through each fixture one at a time, starting with the one closest to the city water connection:
- Open one faucet (cold side first)
- Let air push through until only air comes out (you'll hear it and see the sputtering stop)
- Close that faucet
- Move to the hot side of the same faucet
- Repeat until only air comes out
- Move to the next fixture farther from the inlet
- Don't forget:Toilet—flush it while air is flowing
- Outdoor shower
- Any other water connections
- Work your way from closest to farthest from the water inlet, ensuring every fixture gets the air treatment.
When you're done: Disconnect the air compressor and remove the blow-out plug. Your water lines should now be mostly free of water, with just a thin film remaining inside the pipes.
If you skip this step: That's okay! You'll just use a bit more antifreeze in the next step, and you'll want to be especially thorough when pumping antifreeze through the system. Many RVers successfully winterize without this step—it's just an extra measure of protection.
STEP
FOUR
Add RV Antifreeze to the System
Critical Warning: Use ONLY non-toxic RV or Marine antifreeze. This is the pink stuff specifically designed for potable water systems. NEVER use automotive antifreeze (green or orange)—it's toxic and will contaminate your entire water system. RV antifreeze is safe, non-toxic, and designed to protect your plumbing without harming you.
This is the most important step in winterization. You're going to pump antifreeze through every water line in your RV, replacing any remaining water with a liquid that won't freeze even in the coldest temperatures.
Note: At this point go around and close all the valves you left open earlier (gray tank, black tank, fresh water tank, etc.)
Setup Your Antifreeze Delivery System:
You have two options for getting antifreeze into your water pump:
Option A: Water Pump Converter Kit Many RVs come with a built-in winterization valve or you can purchase a converter kit. This is a small valve or tube that diverts the pump's intake from the fresh water tank to a jug of antifreeze.
Option B: Direct Connection Method If you don't have a converter kit:
- Locate the inlet line coming from your fresh water tank to the water pump
- Disconnect this line from the pump
- Place the disconnected tube directly into a jug of antifreeze
- You may need to add extra tubing to reach the jug comfortably
Pumping Antifreeze Through the System:
Now it's time to get that pink stuff flowing through every water line in your RV.
- Place your first jug of antifreeze where your pump can draw from it (either connected to the winterization valve or with the tube submerged in the jug).
- Turn on your water pump. You should hear it running.
- Go to the low-point drains first. As soon as you see pink antifreeze flowing from the drains (instead of clear water), close them. This ensures antifreeze is in the main lines.
- Start with the faucet closest to the water pump and work your way through the RV: For each sink/shower:Turn on the COLD water faucet
- Let it run until you see steady pink antifreeze flowing (no clear water)
- Turn off the cold water
- Turn on the HOT water faucet
- Let it run until you see steady pink antifreeze
- Turn off the hot water
- Move to the next fixture
- Flush the toilet until the bowl fills with pink antifreeze. Flush it once to get antifreeze into the black tank.
- Run the outdoor shower (if equipped) until pink flows from both hot and cold. Don't forget specialty items:
- Ice maker water line
- Washing machine hookups
- Dishwasher (if equipped)
- Any other water-connected appliances
- Pour one cup of antifreeze down each drain (sinks, showers, tub). This creates a barrier in the P-traps and prevents sewer gases from entering your RV. Also protects these traps from freezing.
- Flush the toilet one more time with a bit of antifreeze to ensure the flush mechanism and black tank have adequate protection.
- Turn off the water pump and open one faucet briefly to release any built-up pressure in the lines.
Final Antifreeze Touches:
- Pour a cup of antifreeze into the washing machine (if equipped)
- Add antifreeze to the ice maker tray (if you have one)
- Put a small amount in the dishwasher (if equipped)
How much antifreeze did you use? Most RVs require 2-3 gallons total, but this varies based on size and layout. Keep track so you know how much to buy next year.
What about the fresh water tank? You don't need to fill it with antifreeze—it's okay to leave it empty. The important thing is protecting all the pipes and lines that feed from and return to that tank.

Protecting the Exterior
Your RV's exterior needs protection too! Winter weather—snow, ice, UV rays, and temperature fluctuations—can take a toll on your RV's roof, seals, and finish. A little exterior prep now prevents expensive repairs later.
Wash and Wax:
Give your RV a thorough bath before putting it away for winter.
- Wash the entire exterior using RV-specific cleaning products. Pay special attention to:
- The roof (this is critical—we'll talk more about it below)
- Around vents and fixtures
- Wheel wells and undercarriage
- Awnings (clean and completely dry before retracting)
- Dry everything thoroughly. Don't let your RV sit wet.
- Apply a coat of quality RV wax to all painted and fiberglass surfaces. Wax provides UV protection and creates a barrier against the elements. Plus, bugs and tree sap that accumulate during storage will be much easier to remove in spring if you waxed first.
- Clean and treat rubber seals around doors and windows with a seal conditioner. This prevents them from drying out and cracking during winter.
Why this matters: Dirt, grime, and road salt left on your RV over winter can permanently stain surfaces. Tree sap hardens and becomes nearly impossible to remove. UV damage accumulates. Taking time to clean and protect now saves headaches in spring.
Inspect and Repair Seals:
This is one of the most important steps that many people skip, and regret later.
Check these critical seal areas:
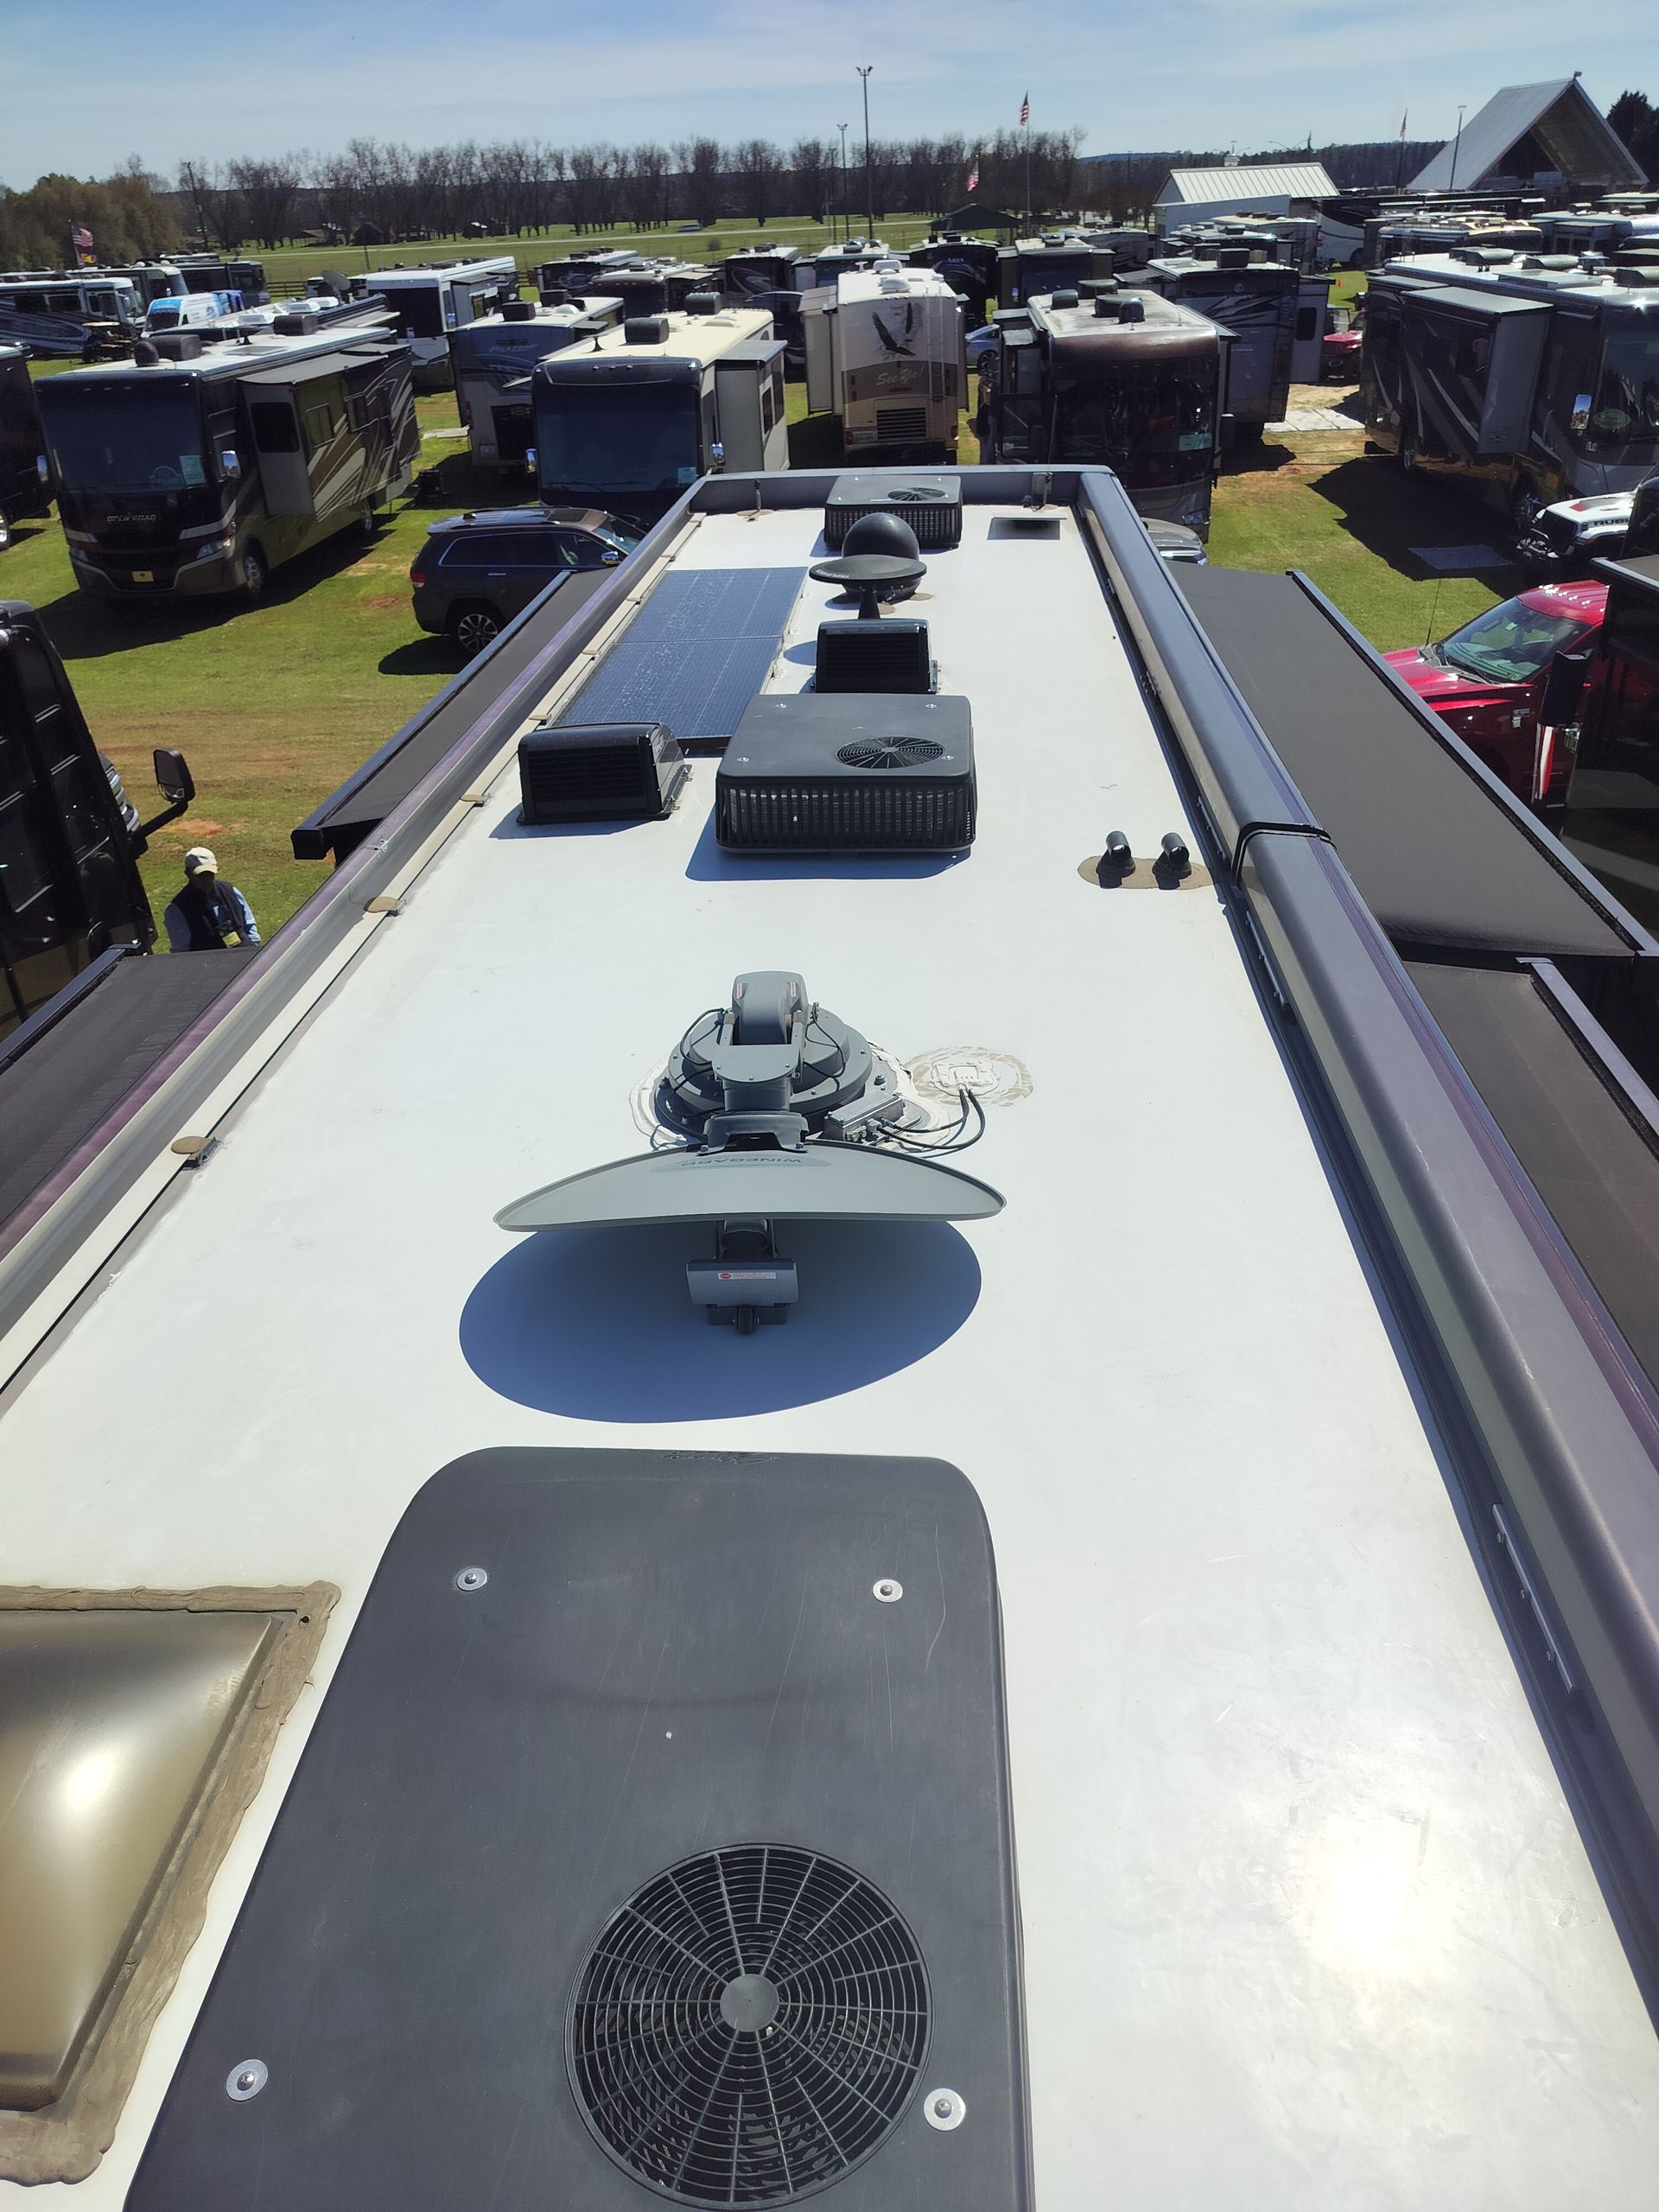
- Roof seals around vents, air conditioner, solar panels, and antenna
- Window seals on all windows
- Door seals and weatherstripping
- Slide-out seals (both the top and sides)
- External compartment doors
- Any holes or penetrations where wires or pipes enter the RV
What to look for:
- Cracks in the sealant
- Gaps where sealant has pulled away
- Dried out, brittle, or crumbling sealant
- Missing sections of seal
If you find problems: Address them NOW before winter. Even a small crack can allow water to seep in, and that water can freeze, expand, and cause major damage to walls, insulation, and interior spaces. A tube of RV sealant costs $10-20. Water damage repairs can cost thousands.
The roof deserves special attention: Your RV's roof is its most vulnerable area. Get up there (safely!) and inspect every seal, seam, and vent. If your roof membrane is showing signs of wear, consider having it professionally resealed or coated before winter. If you can't get it done this year, try and get an RV Roofing Solutions roof put on next year for better protection! Learn more about preparing your roof for winter!
On the podcast, the team discusses snow load and roof care—critical topics if you're storing in snow country! Listen to their tips about what your trusses are made of and how often to clear snow. The RV Winterizing Podcast is live for early release on Patreon starting Monday, October 6th and live to the Public anywhere you listen to Podcasts on Monday, October 13th, just search for Learn To RV The Podcast.
Tire Care:
Your tires need protection from UV rays, ozone, and the weight of sitting in one position all winter.
- Clean your tires thoroughly to remove brake dust and road grime.
- Check tire pressure and inflate to the manufacturer's recommended PSI. Some experts recommend slightly over-inflating for storage, but check your owner's manual first.
- Apply tire covers if storing outdoors. UV rays are a tire's worst enemy, causing dry rot and cracking even in winter. Tire covers need to be breathable to prevent moisture buildup and rotting.
- Consider placing your RV on blocks to relieve pressure on the tires. This is especially important for long-term storage (4+ months). If you can't use blocks, move the RV a few feet every month or so to avoid flat-spotting the tires.
- Don't forget the spare tire! It needs the same care and attention.
To Cover or Not to Cover?
If you're storing your RV outside, a cover provides excellent protection. But not just any cover will do.
You have to use a breathable RV cover specifically designed for your RV type and size. These covers:
- Protect against UV damage
- Shield from snow and ice buildup
- Prevent tree sap, bird droppings, and debris accumulation
- Allow moisture to escape (preventing mold)
Never use a tarp! Regular tarps trap moisture underneath, leading to mold, mildew, and even paint damage. They can also flap in the wind and abrade your RV's finish.
If storing indoors: You probably don't need a cover, ideally indoors is best so you don't get snow buildup on your roof.
Awning care: Make sure your awning is completely clean and bone dry before retracting it for winter. A damp awning that sits for months will develop mildew and odors. Consider leaving it slightly open if you're in covered storage to allow air circulation.
Interior Preparation for Winter
Now let's shift our focus inside. Your RV's interior needs just as much attention as its plumbing and exterior. The goal is to create an environment that discourages mold, mildew, and pests while protecting your belongings.
Remove All Perishables:
This seems obvious, but you'd be surprised how many people forget something!
Take out ALL food items:
- Everything from cabinets and pantries
- All refrigerator and freezer contents
- Items in "hidden" spots like the outdoor kitchen or basement storage
- Even unopened canned goods (they can freeze, burst, and make a huge mess)
- Spices and condiments (you don't want these attracting pests)
Other items that shouldn't stay:
- Medications (they can freeze or overheat)
- Toiletries and cosmetics (many contain water that can freeze)
- Aerosol cans (can burst in extreme cold)
- Bottled water (can freeze and burst)
- Pet food (attracts rodents)
- Propane canisters for camping stoves (safety hazard)
The refrigerator requires special attention:
- Remove everything from both the refrigerator and freezer.
- Clean thoroughly with a mixture of baking soda and water. Get into all the corners and crevices.
- Dry completely with towels.
- Leave the refrigerator door propped open with a towel or small object. This is critical! A closed refrigerator will develop mold and mildew odors that can be nearly impossible to remove. The same goes for the freezer compartment.
- Turn off the refrigerator completely. No need to waste propane or battery power.
Pro Tip: Take a photo of your empty fridge with the door propped open. That way, if you forget and wonder "Did I leave the fridge open?" later, you'll have proof!
Deep Clean the Interior:
Give your RV a thorough cleaning before storage. You don't want to return in spring to a dusty, grimy interior.
- Vacuum all carpets and upholstery thoroughly. Don't forget under cushions and in corners.
- Wipe down all surfaces:Countertops
- Tables
- Dashboard (in motorhomes)
- Cabinet faces
- Window sills
- Clean the bathroom completely:Toilet bowl (even though it has antifreeze)
- Sink and shower
- Mirrors
- Floor
- Wash all bedding and either take it home or store it in sealed plastic bags to protect from dust and pests.
- Empty all trash cans and recycling bins.
Why clean before storage? Dirt, crumbs, and food residue attract pests. Moisture trapped in dirty areas can lead to mold. Plus, you'll thank yourself in spring when you can jump right into camping instead of spending hours cleaning first!
On the podcast we discuss dealing with mice. Learn from our experiences and hear our prevention tips in the full podcast episode. RV Winterization is available on now on Patreon or anywhere you listen to Podcasts starting on Monday, October 13th, just search for Learn To RV The Podcast!
Prevent Moisture, Mold, and Mildew:
Moisture is your RV's enemy during storage. Without proper ventilation and moisture control, you can return in spring to find mold, mildew, musty odors, and even structural damage.
Moisture prevention strategies: Place cordless dehumidifiers or moisture absorbers throughout the RV.
- Put one in the bathroom
- One in the bedroom(s)
- One in the main living area
- One in any basement storage if you have it
- DampRid containers work great and are inexpensive
- Leave cabinet doors and drawers slightly open for air circulation. This prevents musty odors and allows any trapped moisture to escape.
- Leave closet doors open for the same reason.
- Remove or open cushions slightly to allow air circulation underneath.
- If storing in a covered facility with climate control, you might be able to crack a roof vent slightly for air circulation. If storing outside where snow is expected, keep all vents tightly closed.
Warning signs of moisture problems: If you check on your RV mid-winter and notice condensation on windows, musty smells, or dampness, you need to add more moisture absorbers or improve ventilation.
Keep Pests Out:
Rodents, insects, and other critters see your stored RV as a perfect winter home—warm, protected, and quiet. Don't let them move in!
Rodent prevention:
- Place Fresh Cab rodent pouches in cabinets, closets, and storage areas. These smell like balsam fir (pleasant to humans, awful to mice) and are non-toxic and safe.
- Set snap traps in key areas:
- Under the sink
- In cabinets
- Near the furnace
- In storage compartments
- Anywhere you see potential entry points
- Use mothballs (traditional but effective) in areas away from food prep surfaces. Note: mothballs have a strong smell that can permeate fabrics.
- Steel wool in gaps: Look for any gaps or holes where pipes or wires enter cabinets. Stuff these with steel wool—mice can't chew through it.
- Seal exterior entry points:Check underneath for gaps
- Look at vent covers
- Inspect areas where utilities enter
- Seal any holes with expanding foam or hardware cloth
Learn more about pest prevention in this previous blog!
Insect prevention:
- Keep all food removed (as mentioned earlier)
- Make sure all windows and doors seal tightly
- Consider placing ant traps in strategic locations
Check on your RV periodically: If possible, visit your RV once a month during winter. Look for signs of rodent activity (droppings, chewed materials, nests). The earlier you catch an infestation, the easier it is to deal with.
Remove Valuables and Important Items:
Before you lock up for winter, remove:
- Electronics (if possible): TVs, tablets, laptops, GPS units, radios. Extreme temperature changes can damage electronics.
- Important documents: Registration, insurance papers, manuals (or keep copies in the RV and originals at home)
- Jewelry or valuables: Don't leave anything you'd regret losing to theft
- Sentimental items: Photos, heirlooms, irreplaceable keepsakes
- Cash or credit cards: Never leave these in a stored RV
What you can leave: Dishes, pots and pans, linens (if sealed), basic RV tools, leveling blocks, and other camping gear that won't be damaged by temperature extremes.
Propane, Battery, and Other Systems
Almost done! Now let's address your RV's propane, electrical, and mechanical systems.
Propane System:
Turn off the main propane supply valve at the tank. This is a critical safety step. Even a small leak could create a dangerous situation during storage.
Some RVers prefer to remove propane tanks entirely, especially if storing the RV at a facility that requires it. Check your storage facility's rules.
Leave propane tank valves closed and covers secured if you're leaving tanks attached.
Check for leaks before closing everything up: If you haven't done a leak test recently, now is a good time. Turn on the propane, use soapy water on all connections, and look for bubbles indicating leaks. Address any leaks before storage.
Battery Care:
Your RV's battery (or batteries) need special attention for winter storage. Cold temperatures are brutal on batteries, draining them faster and shortening their lifespan.
Best practice: Remove the battery and store it indoors.
- Disconnect the negative terminal first, then the positive. This prevents accidental shorts.
- Remove the battery from the RV and place it on something non-conductive like cardboard or a rubber mat. Never place batteries directly on concrete—old wisdom said concrete drains batteries, but modern batteries are safe on concrete. Still, a mat doesn't hurt and protects against moisture.
- Store in a warm, dry place like a garage or basement. Ideal storage temperature is between 32-80°F.
- Use a battery maintainer or trickle charger to keep the battery charged during storage. These devices provide a small charge that offsets natural battery discharge without overcharging.
- Check the battery once a month and recharge if needed.
If you can't remove the battery:
- Use the battery disconnect switch if your RV has one
- Connect a battery maintainer with solar panel if the RV will be in sun
- Check the battery monthly and recharge as needed
Flooded lead-acid batteries need water: If you have traditional flooded batteries (not AGM or gel), check the water level before storage. Top off with distilled water if needed, but don't overfill.
On the Podcast I discuss the battery warmers and protection strategies—especially important if you're living in your RV during winter. Check out the episode for more details on keeping batteries healthy in extreme cold! Find the episode on Patreon now or anywhere you listen to podcasts starting on Monday, October 13th, just search for Learn To RV The Podcast.
Generator (Motorhomes and Trailers with Generators):
If your RV has a generator, it needs attention before winter storage.
Add fuel stabilizer to the generator's fuel supply:
- Pour the appropriate amount of fuel stabilizer into the fuel tank
- Run the generator for 10-15 minutes to circulate the stabilizer throughout the fuel system
- Turn off the generator
Why stabilizer matters: Gasoline has a shelf life of only 3-6 months. Without stabilizer, fuel breaks down and can gum up your carburetor and fuel system. Stabilizer extends fuel life and prevents expensive repairs.
For diesel generators: Diesel lasts 6-12 months, but stabilizer still helps for long-term storage.
Other Systems to Address:
Electronics:
- Unplug all non-essential devices to prevent phantom drain
- Remove portable electronics if temperatures will be extreme
- Consider surge protectors for any devices left plugged in
Slide-outs:
- Retract all slides fully for storage
- Clean and lubricate slide mechanisms and seals
- Check for proper seal compression
Awnings:
- Ensure awnings are completely dry before retracting
- Consider leaving slightly open in covered storage for air circulation
- Check fabric for any needed repairs
Final Checks
You're almost there! A few final steps ensure everything is buttoned up properly.
Documentation:
- Take photos of your setup for insurance purposes
- Note any issues to address in spring
- Record antifreeze amount used (helps plan for next year)
- Document your battery storage location
- Note final odometer/hour meter readings
Security:
- Lock all doors, windows, and storage compartments
- Consider wheel locks or hitch locks for added security
- Remove any valuables that might tempt thieves
- Inform storage facility of emergency contact info
- Consider a steering wheel lock for motorhomes
Ventilation:
- Crack roof vent slightly (if covered storage) for air circulation
- OR ensure vents are tightly closed (if outdoor storage in snow area)
- Leave bathroom vent fan cover closed to prevent moisture entry
- Check that all windows are fully closed and locked
Final walkthrough:
- Walk through RV one last time checking all steps
- Verify all faucets are off
- Confirm propane is shut off
- Check that fridge door is propped open
- Ensure nothing was left that could freeze or attract pests
- Take one last look at exterior seals
Common Mistakes to Avoid
Even experienced RVers make mistakes. Here are the most common winterization errors and how to avoid them:
- Waiting too long - Don't wait for first freeze. Winterize when nighttime temps consistently hit the low 40s.
- Using wrong antifreeze - Automotive antifreeze is TOXIC—use RV/Marine antifreeze only. It's always pink!
- Forgetting water heater bypass - This wastes 6-10 gallons of expensive antifreeze and adds unnecessary cost.
- Not checking seals - Small leaks become big problems. Inspect and repair ALL seals before winter.
- Skipping exterior cleaning - Dirt and grime can permanently stain over winter. Wash and wax your RV before storage.
- Leaving battery connected - Cold temps drain batteries fast. Remove and store indoors with a maintainer.
- Forgetting outdoor shower or ice maker - These can freeze too! Don't overlook any water-connected appliances.
- Not removing food - Even sealed food attracts rodents. Empty every cabinet and the fridge completely.
- Using too much air pressure - Never exceed 50 PSI when blowing out lines. Higher pressure damages plumbing.
- Neglecting moisture control - Winter storage creates perfect conditions for mold. Use dehumidifiers or moisture absorbers.
- Improper RV covers - Tarps trap moisture and cause damage. Use only breathable, RV-specific covers.
- Not planning for snow load - If storing in snow country, arrange to clear snow regularly or store under cover.
Want to hear about real winterization fails? On the podcast, the team shares stories about running out of propane mid-freeze, finding rodent damage, and lessons learned the hard way. These cautionary tales will help you avoid the same mistakes! Find the Podcast on Patreon now and anywhere you listen to Podcasts starting Monday, October 13th, just search for Learn To RV The Podcast.
What About De-Winterizing in Spring?

Good news—you're halfway to a successful camping season! When spring arrives, you'll need to reverse this process:
Spring de-winterization includes:
- Flushing all antifreeze from the water system
- Sanitizing the fresh water tank
- Reinstalling water filters
- Reconnecting and charging batteries
- Checking all systems before first trip
- Inspecting for any winter damage
- Testing appliances and fixtures
We'll be creating a comprehensive spring de-winterization guide soon, so stay tuned to www.learntorv.com, join our communities, and follow the Learn to RV The Podcast for that content!
In the meantime, the basic process is: flush antifreeze, sanitize tanks, check seals, inspect for damage, and test all systems before your first trip.
Conclusion: Peace of Mind for Winter
Congratulations! You've just protected your RV investment with thorough winterization. What seemed like a daunting task is now complete, and you can rest easy knowing your rig is safe from Jack Frost's worst.
The time investment: 2-4 hours of winterization now saves you thousands of dollars in potential spring repairs. That's a pretty good return on investment!
The peace of mind: No more worrying about frozen pipes, cracked tanks, or burst water heaters. No more wondering if you forgot something important. You followed a comprehensive checklist, and your RV is properly protected.
Looking ahead to spring: When warmer weather returns, you'll be able to de-winterize quickly and hit the road. While others are dealing with expensive freeze damage, you'll be enjoying the open road.
Whether you're storing your rig for winter or heading south to chase the sun, you now have the knowledge to protect your home on wheels through any season.
Want More Tips and Real Stories?
Listen to the Learn to RV Podcast where Jennifer, Tasha, and I share our personal winterization stories, including:
- The rig that didn't get winterized in Indiana (and why they got lucky!)
- Running out of propane in Arkansas during a freeze
- Battery care in extreme temperatures
- Real-world tips from years of full-time RV living
- Dealing with unexpected winter storms
Have winterization questions or stories to share? Drop them in the comments below or visit our communities. We love hearing from fellow RVers about your experiences on the road!
Download your free printable winterization checklist keep it in your RV for reference year after year.
Bonus: Frequently Asked Questions
Q: Can I skip winterizing if my RV is stored indoors?
A: Only if the indoor storage stays consistently above 32°F all winter. Even heated buildings can have cold spots or heating failures. When in doubt, winterize.
Q: How much RV antifreeze do I actually need?
A: Most RVs need 2-3 gallons, but larger rigs might need 4-5 gallons. It's better to have extra than to run out mid-process.
Q: Should I run my generator or engine periodically all winter?
A: Not recommended. Short runs can introduce moisture into the system. Instead, add fuel stabilizer and give it a good 10-15 minute run before storage, then leave it until spring.
Q: What if temperatures drop before I can winterize?
A: Contact a mobile RV service ASAP. They can come to you and winterize quickly. It's worth the expense to avoid freeze damage.
Q: Can I use a space heater instead of winterizing?
A: Risky and expensive. Power outages happen, space heaters are fire hazards, and they use lots of electricity. Proper winterization is safer and cheaper.
Q: Do I need to winterize if I'm using my RV occasionally during winter?
A: Depends on your climate. If temps will drop below freezing when you're not there, yes. Consider partial winterization or heated water hoses for between trips.
Q: Is it too late to winterize if it already froze one night?
A: Winterize immediately! One freeze might not cause damage, but don't risk a second. Inspect carefully for any damage in spring.
Q: Can I just pour antifreeze in my fresh tank instead of pumping it through?
A: No! This doesn't protect your water lines, pump, or fixtures. You must pump antifreeze through the entire system.
From the entire Learn to RV team: Stay safe, travel warm, and remember—Jack Frost doesn't stand a chance against a properly winterized RV!
Other blogs you might like...