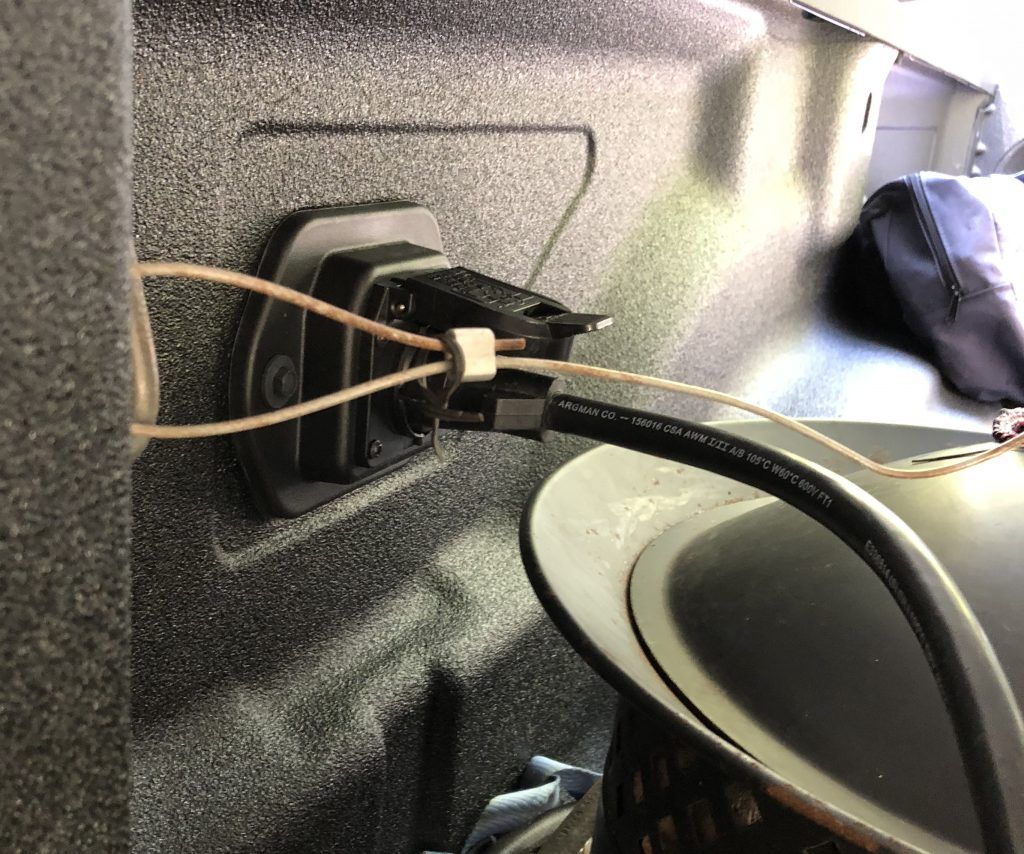
As you can see, I connect my breakaway cable to a corner tie down point. I don’t like attaching it to the hitch
– partly for the principal of the idea but mostly because it’s an ugly stretch of the body into the truck bed to hook anywhere on it! BUT, be careful if you use the corner
: make sure that you have a long enough breakaway cable and that nothing can snag it. I snagged it once and it was the pits!
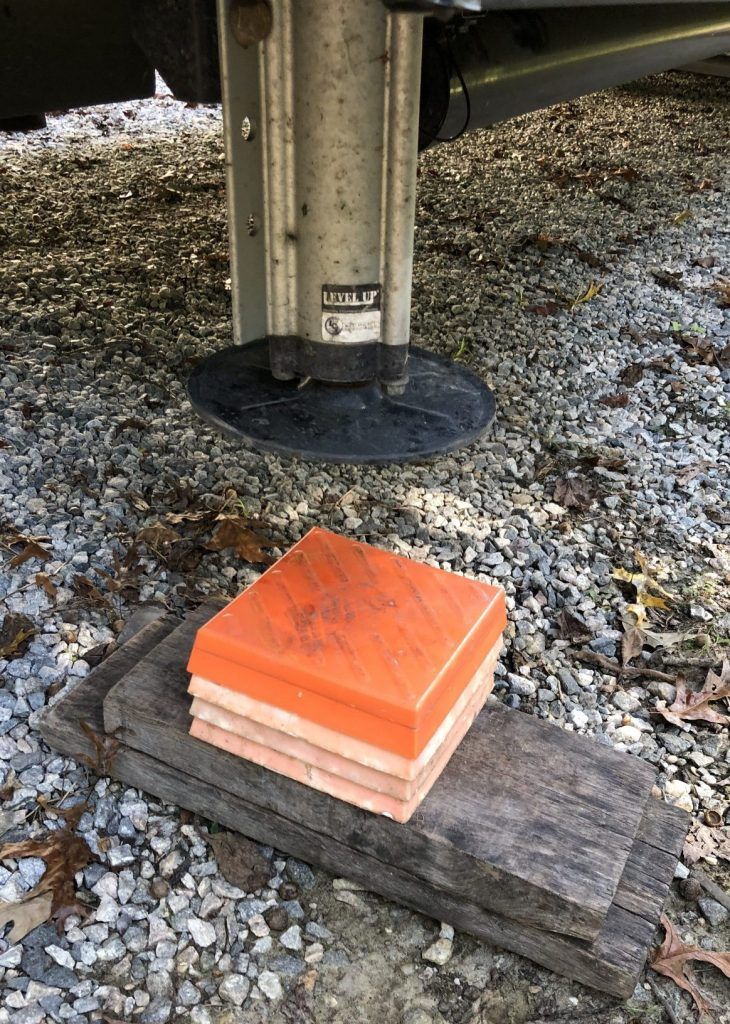
Next up, we add boards and LynxLevelers
under the landing gear. We do it to reduce the extension of the legs and theoretically to make the camper more stable
.
So now, raise the front of the camper up so you can unhitch
. If you have a leveling system, use that; if you don’t, your landing gear will have a switch to raise the nose of the camper.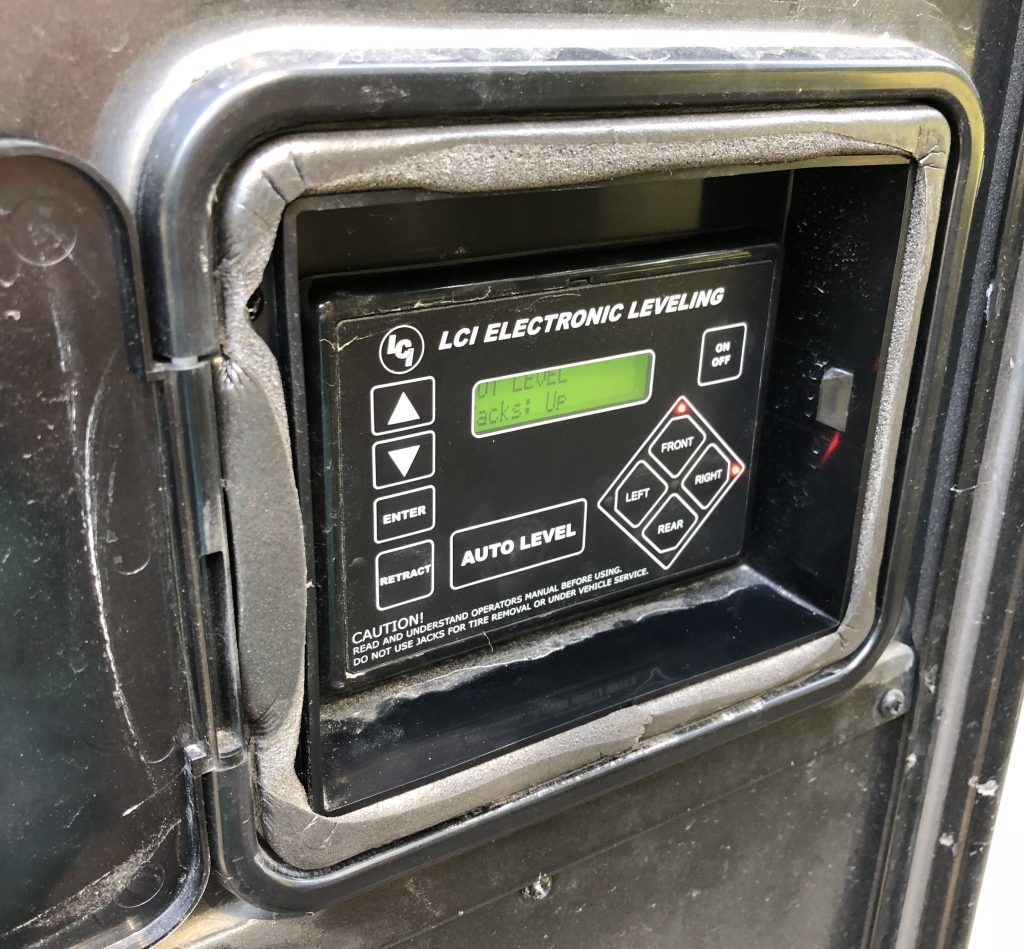
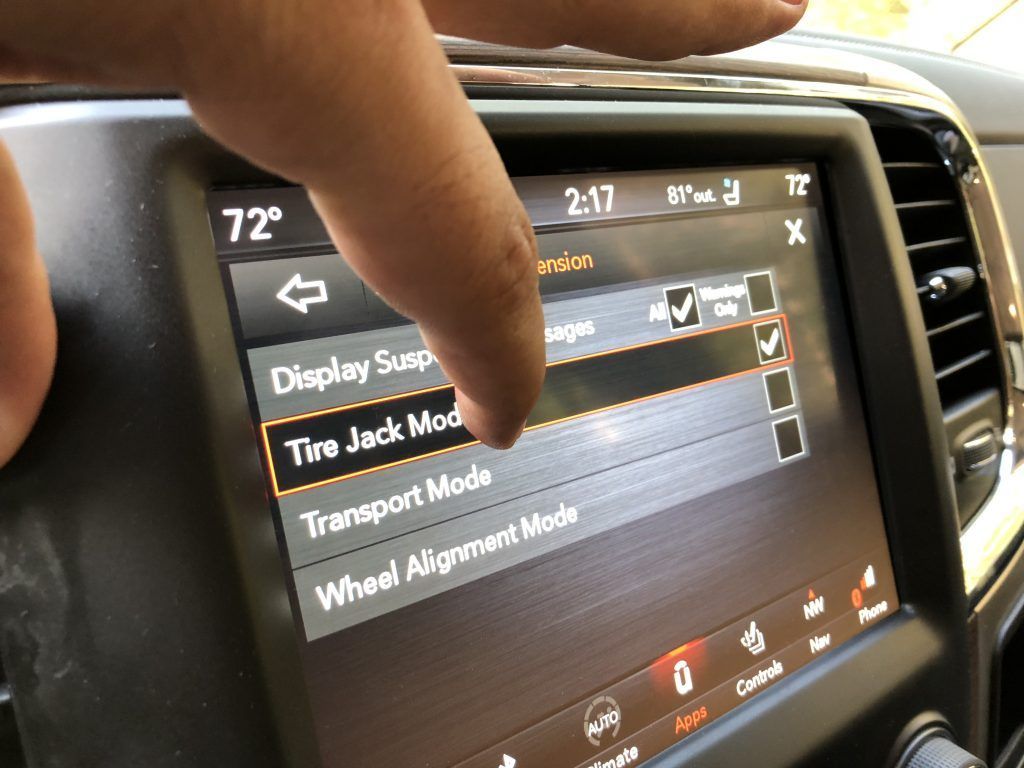
Well wait, the new
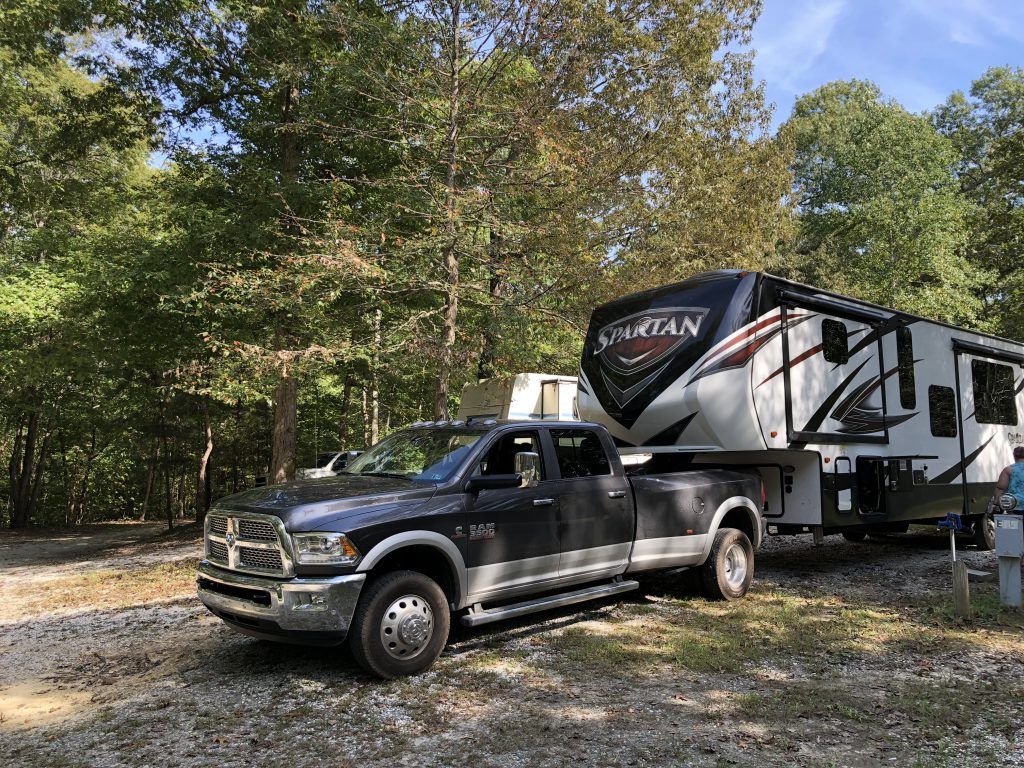
2018 Ram
came with the rear auto-leveling suspension and I always forget that I should disable it before taking the weight off of the truck bed. So, Settings –> Suspension –> Tire Jack Mode
and check the box
.
Ok, we’re ready to go. Lower the landing gear onto the blocks
and lift the camper off of the truck.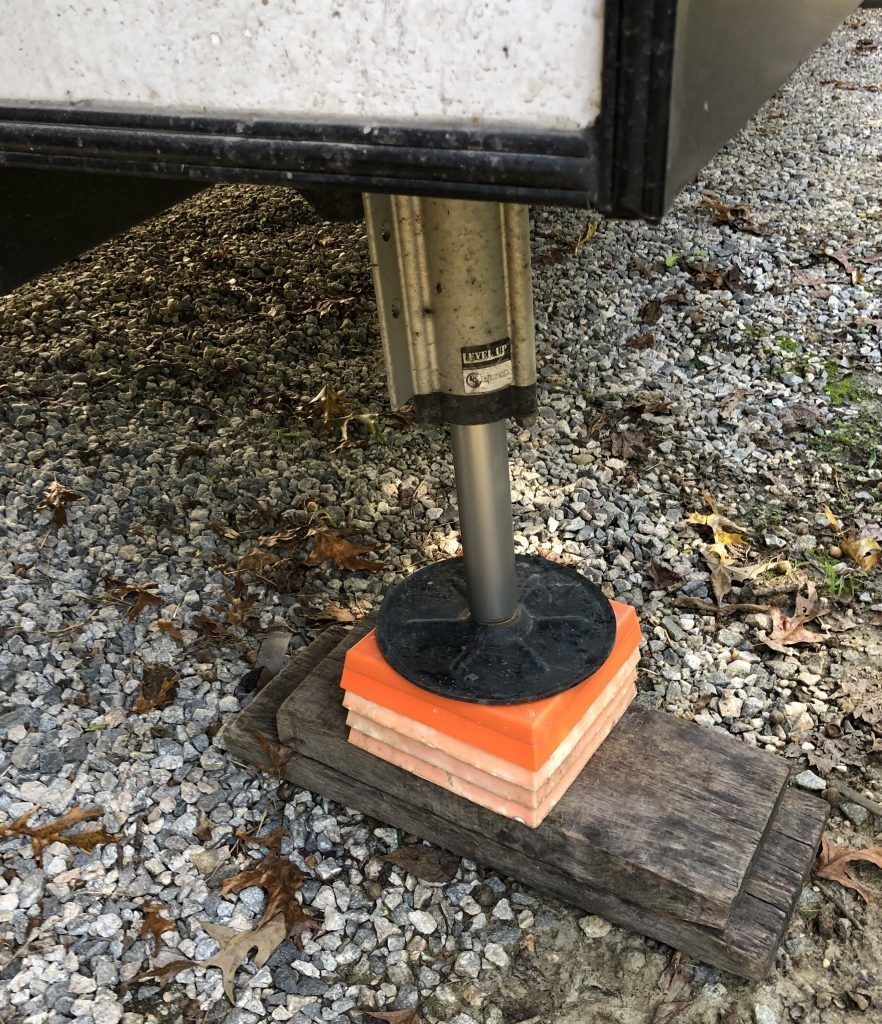
My wife has figured out the sweet spot for raising the camper off of the hitch
. You have to have the weight off of the hitch but not pulling up with the king pin.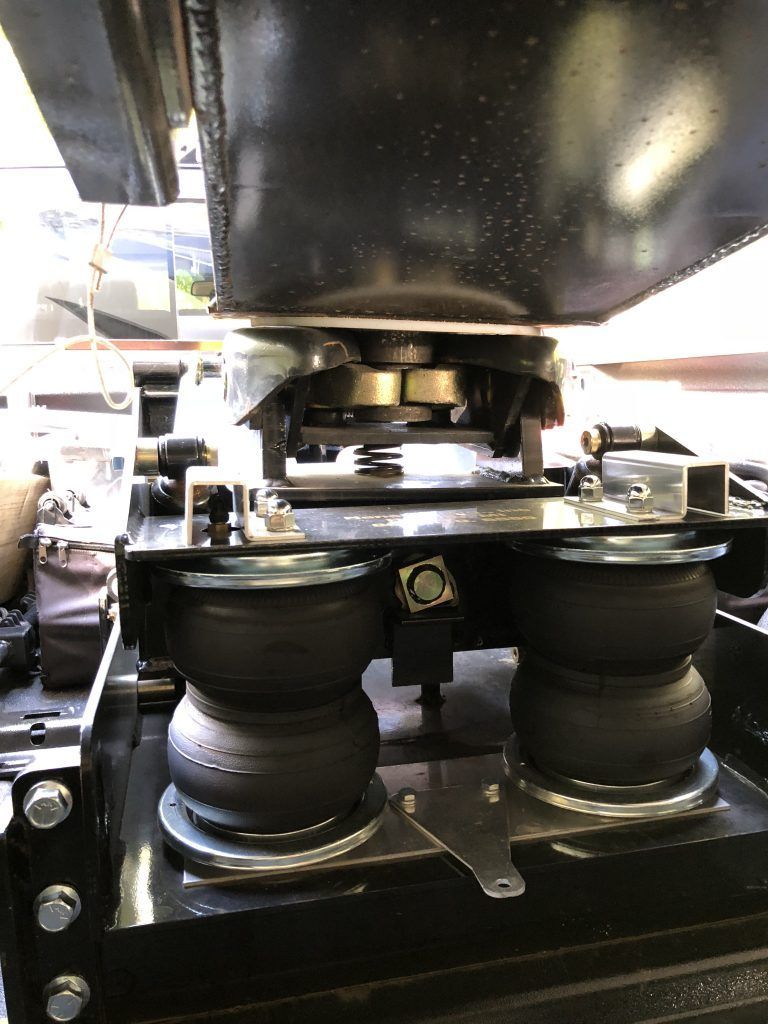
However you unlatch your hitch, do that now.
For me and the Trailer Saver, it involves pulling a pin and using a piece of pipe to unlatch it.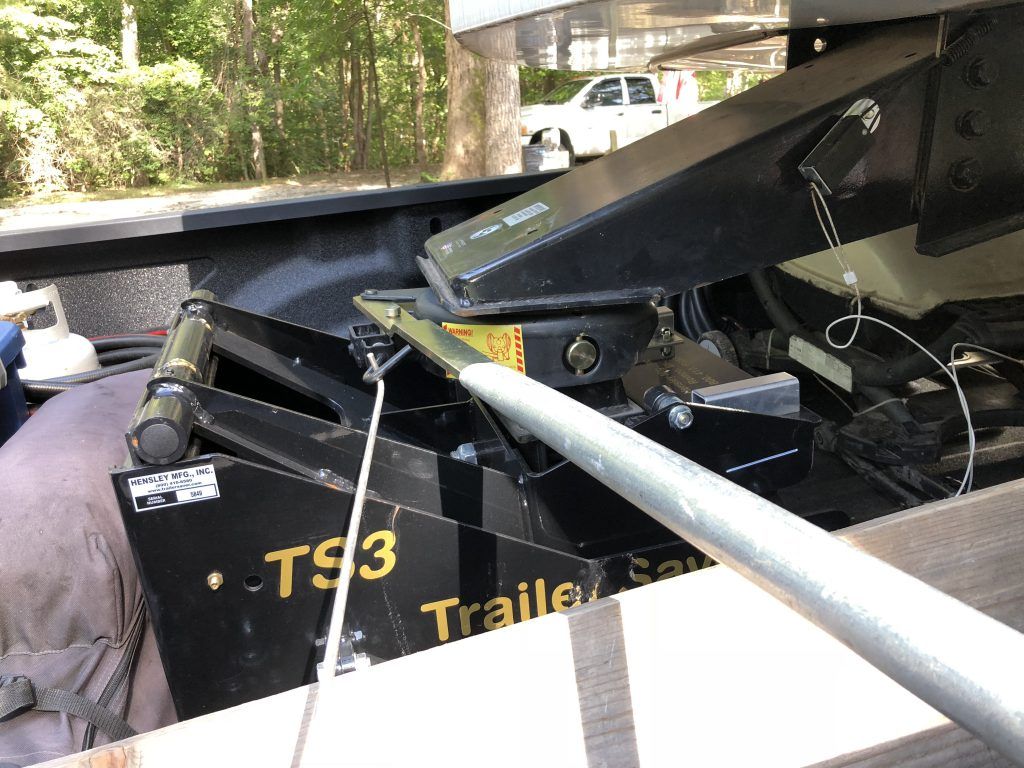
Here’s the hitch in the locked-open position
. I’m ready to drive the truck forward and separate from the camper.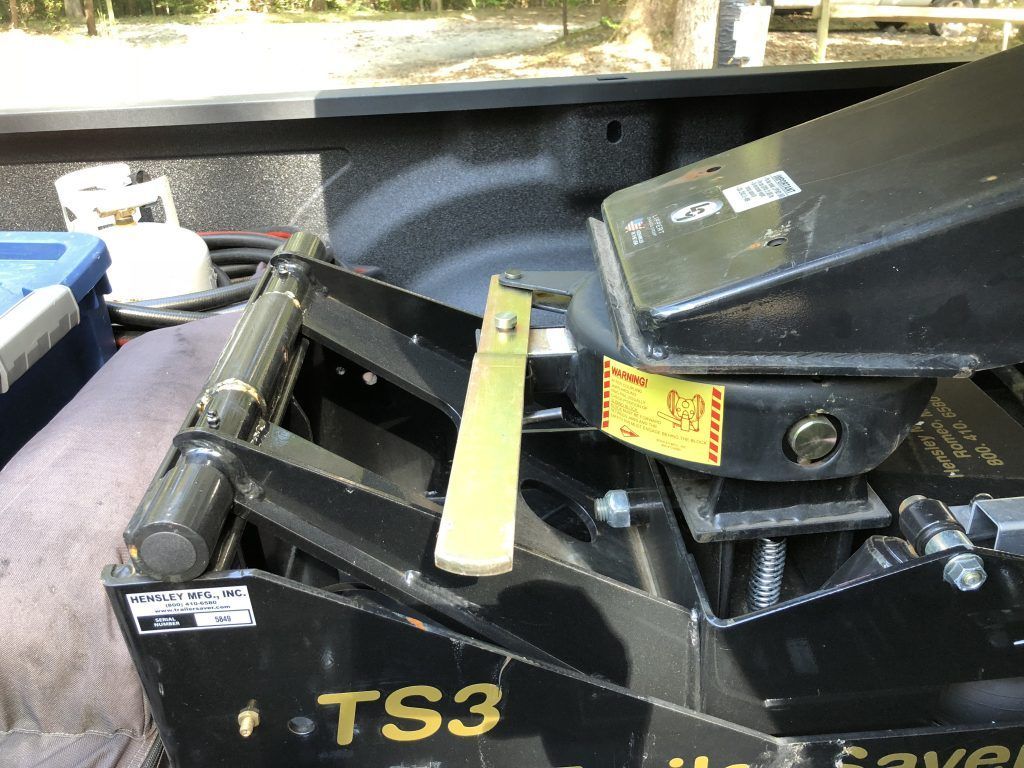
And we’re off.
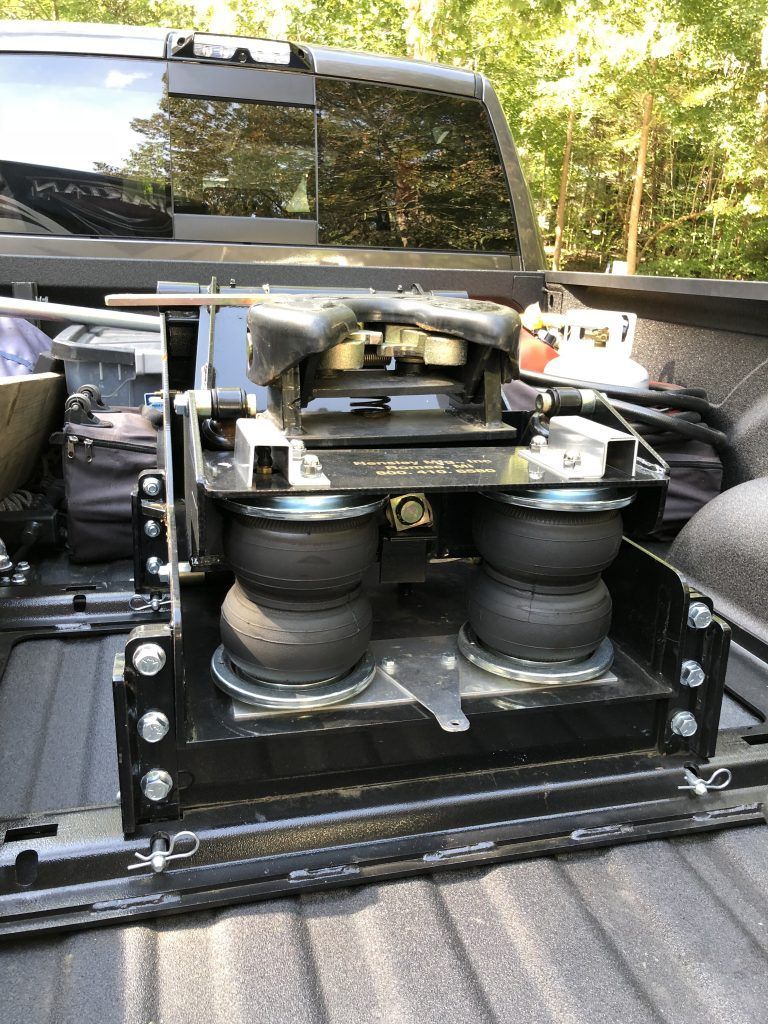
Do you see those air bags? This Trailer Saver TS3 hitch
is AWESOME!
Make sure you pull completely out from under the camper
(especially with the LevelUp leveling system as it can lower the nose of the camper to get level).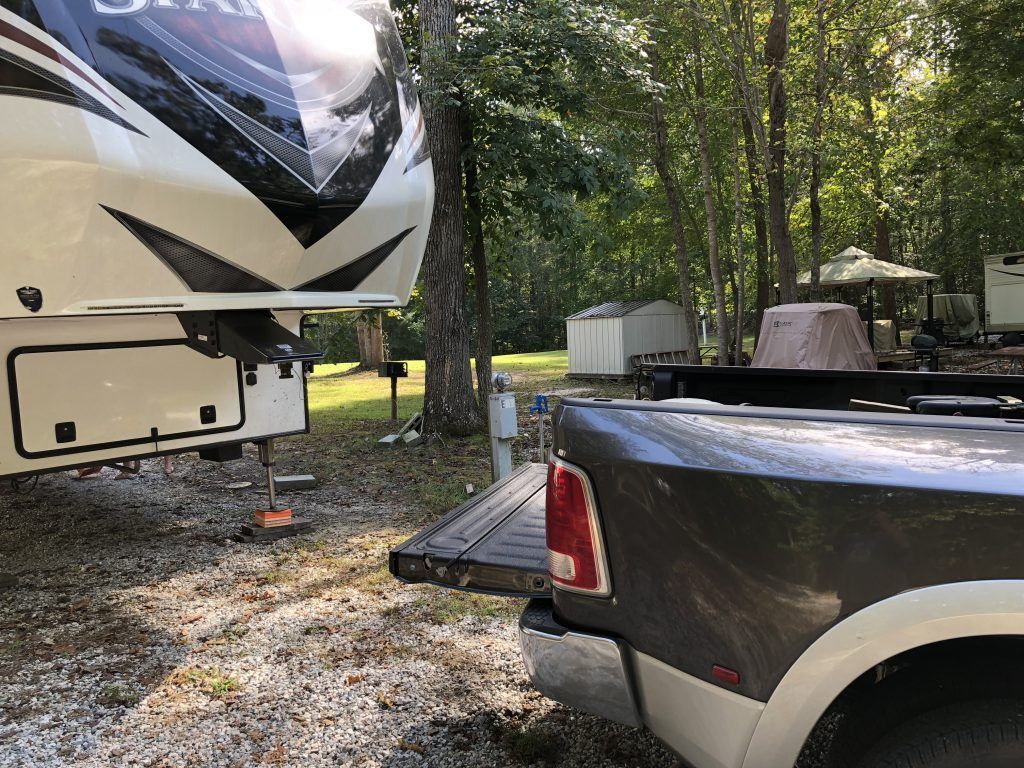
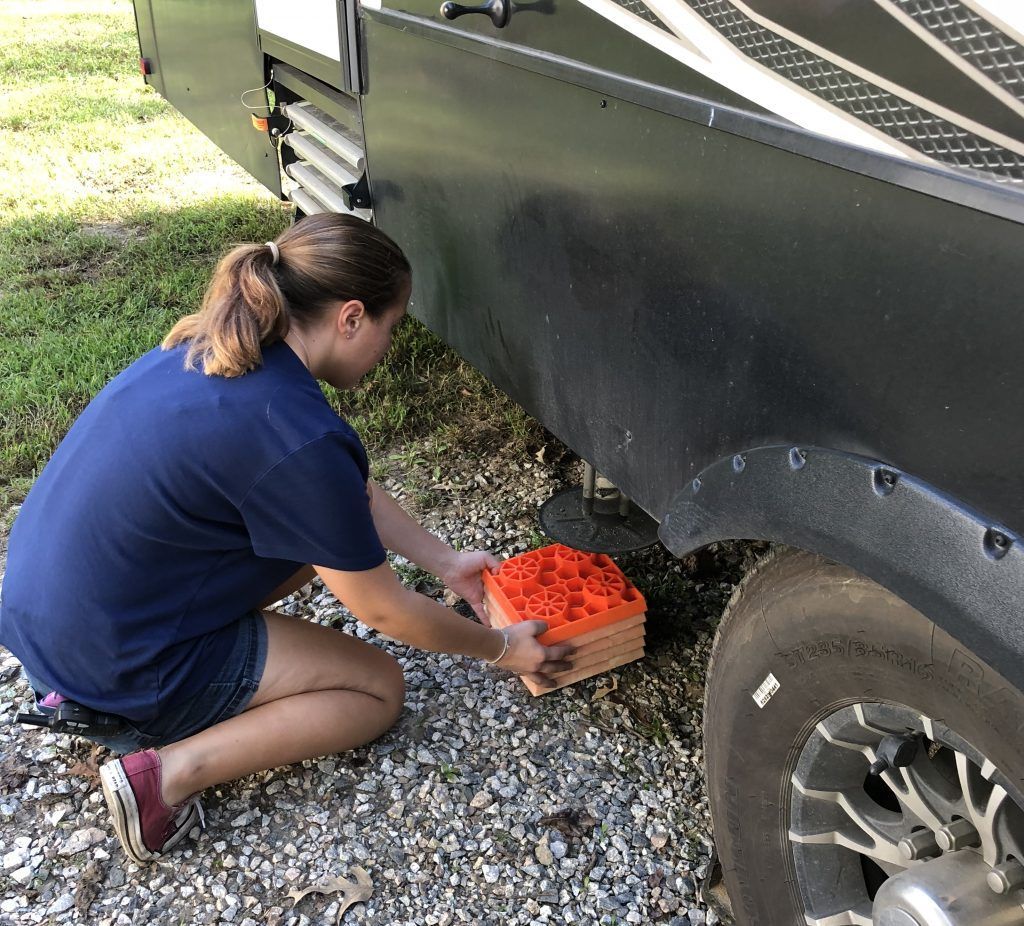
If you have an automatic leveling system, it’s time for leveling
. As we do with the front landing gears, we add blocks under each of the leveling system feet. Here my daughter is positioning the blocks under the leveling foot
.
Pushing the “autolevel” button and let the computer do its thing.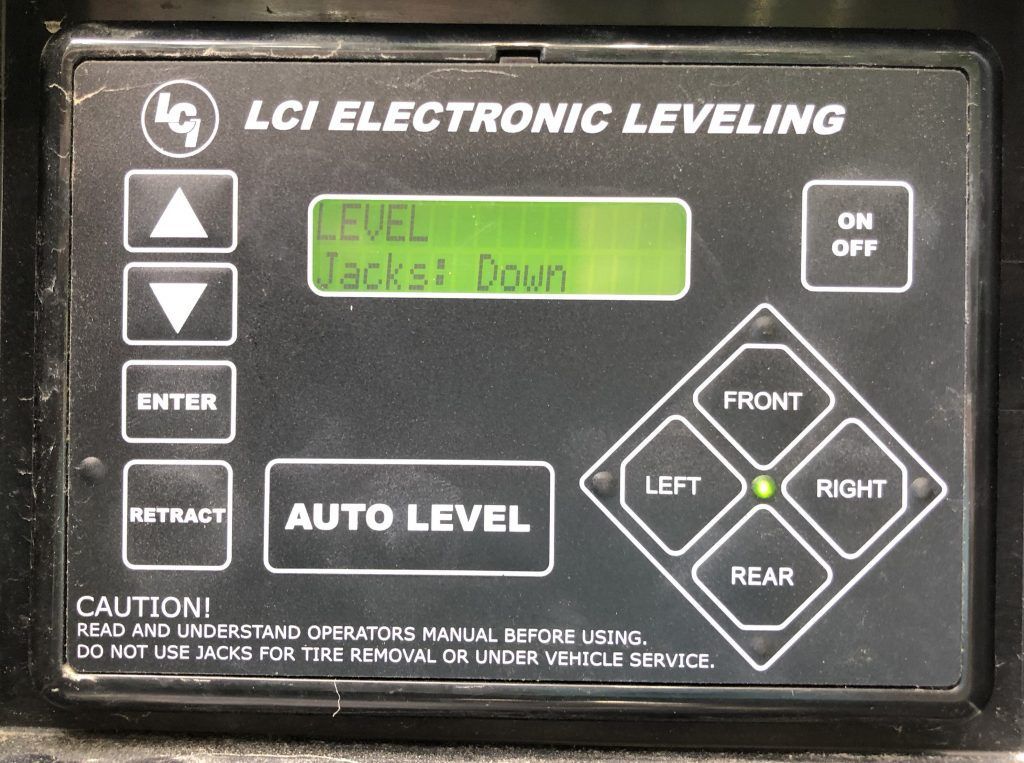
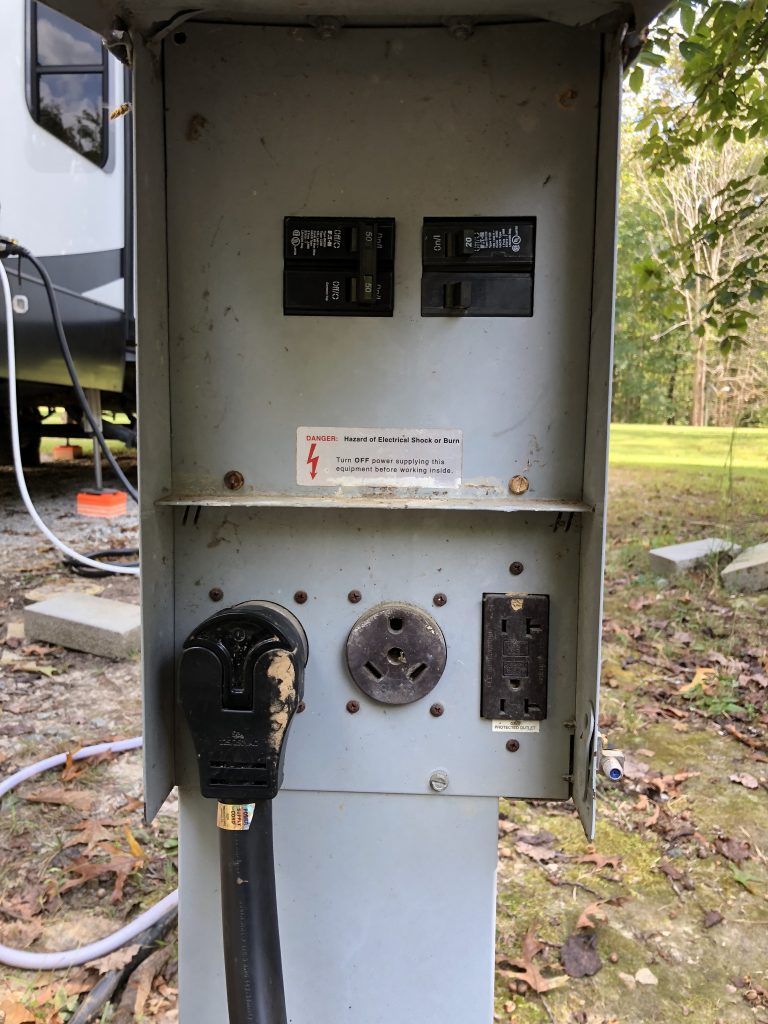
However, the absolute most important part of connecting electric is ensuring that the
electrical outlet is safe
for your camper (and you!)
. I never plug in without my EMS
and you shouldn’t either. If you can’t afford an EMS right now, at least
test the outlet
with a
multimeter
.
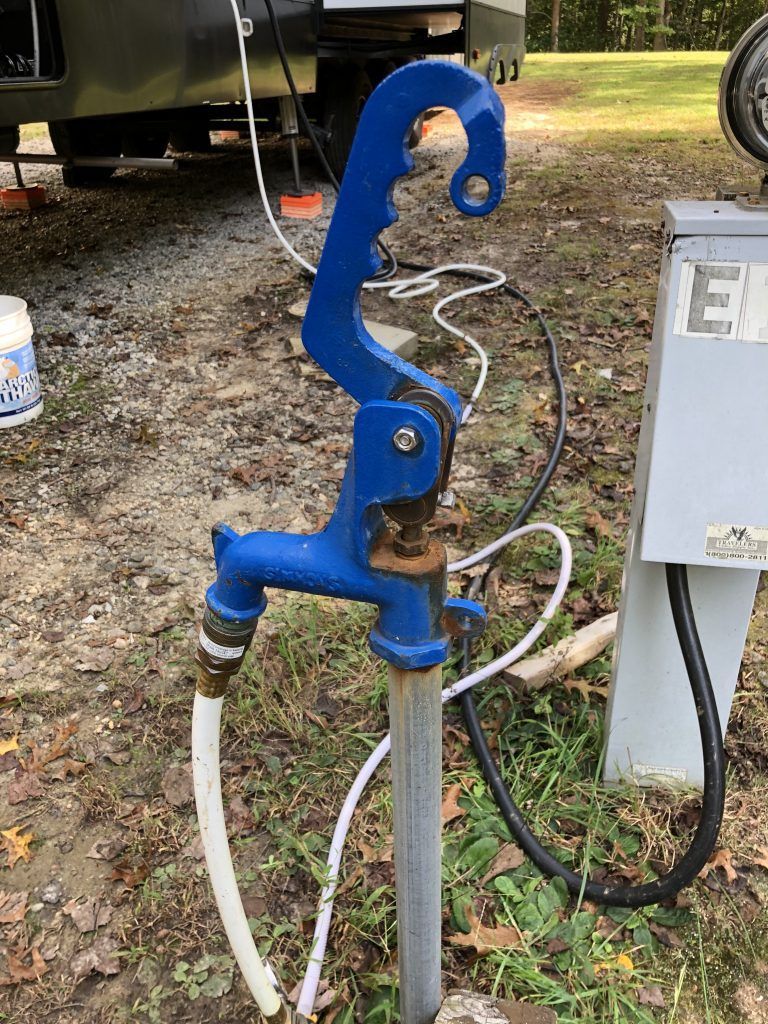
It’s not pictured, but I also have an in-line water filter
. For now, it’s an inexpensive
Camco
filter but I’ll soon upgrade to one from the
RV Water Filter Store
.
And then ewwy,
time for sewer
. It’s easy with just one sewer outlet but takes a little more hose and accouterments
if you have 2 outlets
.
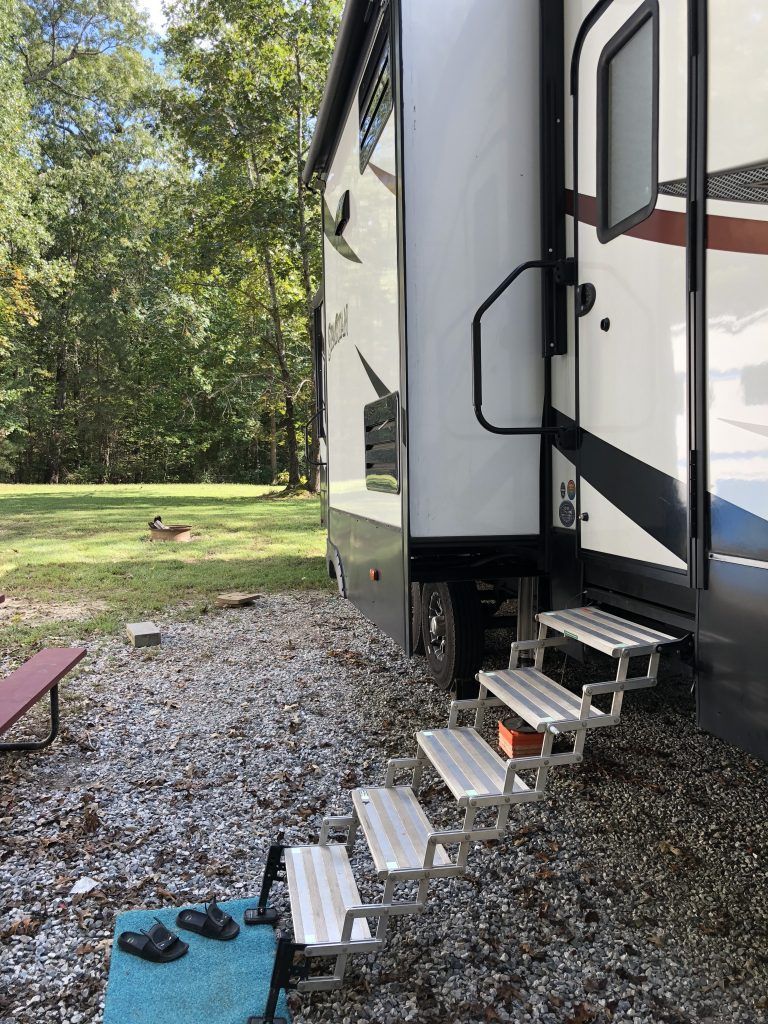
Slides out, steps down, and welcome mat out!
It’s time to enjoy your rest and relaxation. Build a fire, crack a brew, or do whatever is you do to relax and unwind.