Building a solar rack to maximize solar on your RV
Sean McDermott • April 10, 2025
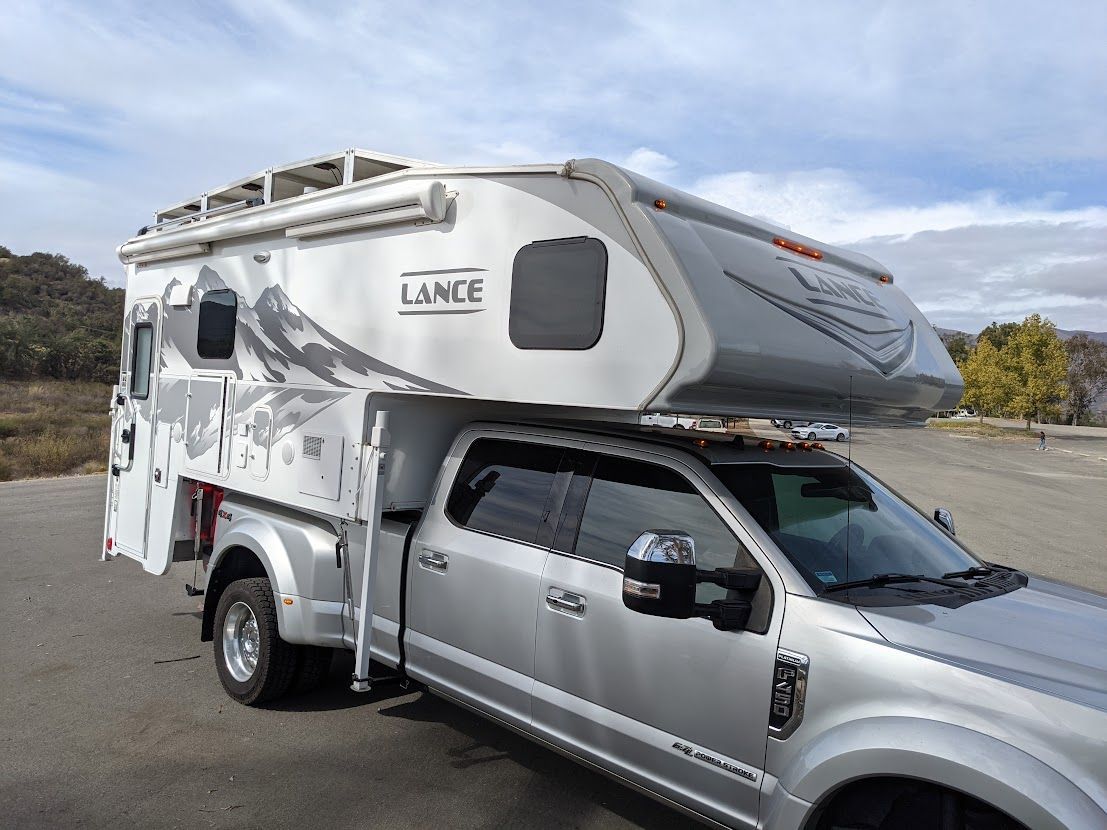
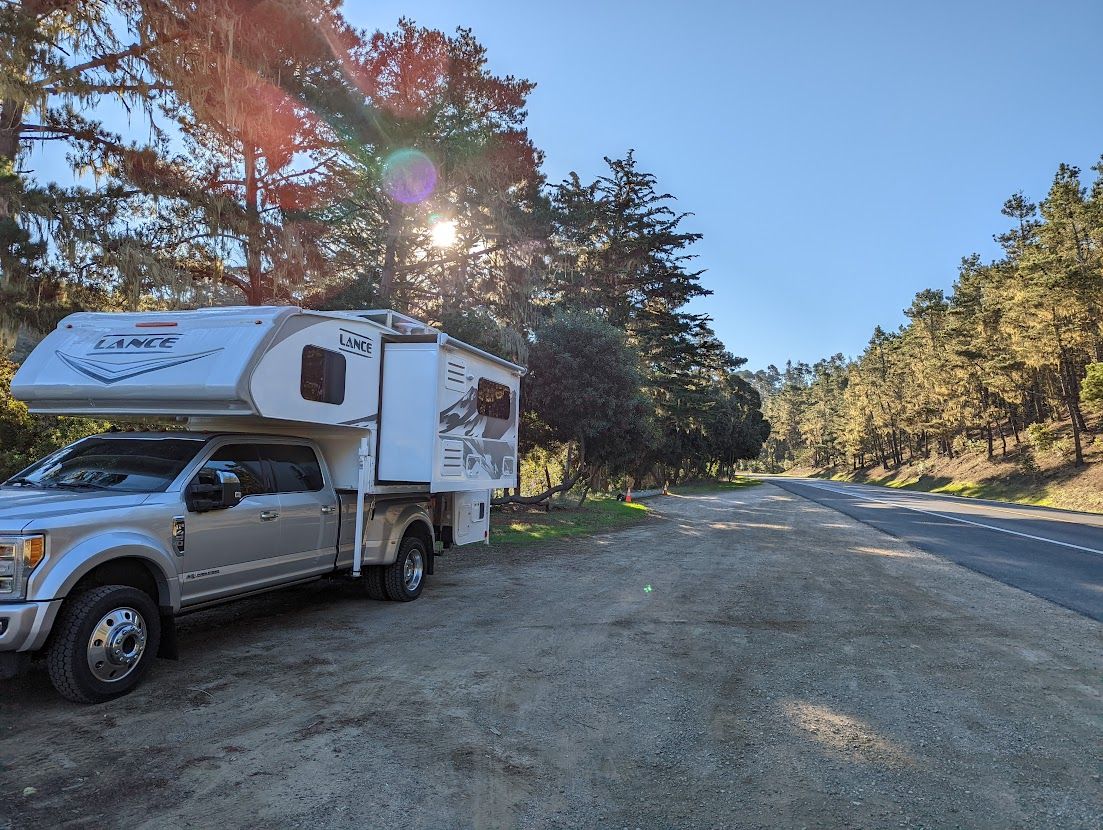
Having a tiny space like a truck camper makes maximizing solar difficult, at best. When you only have so much free roof space that has things that are going to throw shadows, what do you do? You rack above everything and just black out the roof.
Intro
(This is another guest post by Sean McDermott. I’m incredibly thankful to him for his support of the site!)
I need to give up front credit to a Lance Camper owner called John Stryker who was the first to do an install like this. I spotted his solar build in a Facebook group and reached out to him for some help. The angle aluminum mounting approach and front panel lowered for stability is all his original concept. As a result of his approach and help, I call this DIY approach to large solar panels & mounting on an RV, “The Stryker Method”.
Solar Panels
I wanted to have a lot of solar on my truck camper roof. But as all truck camper owners know, space on the roof is limited.
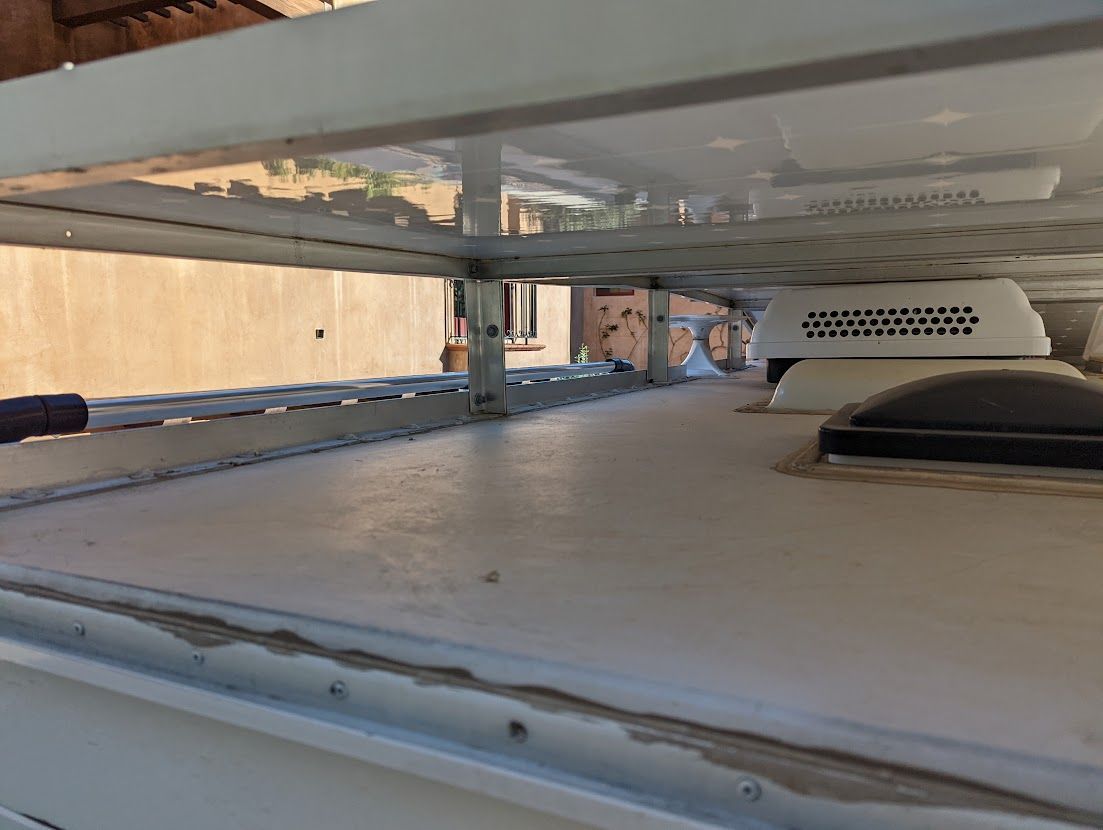
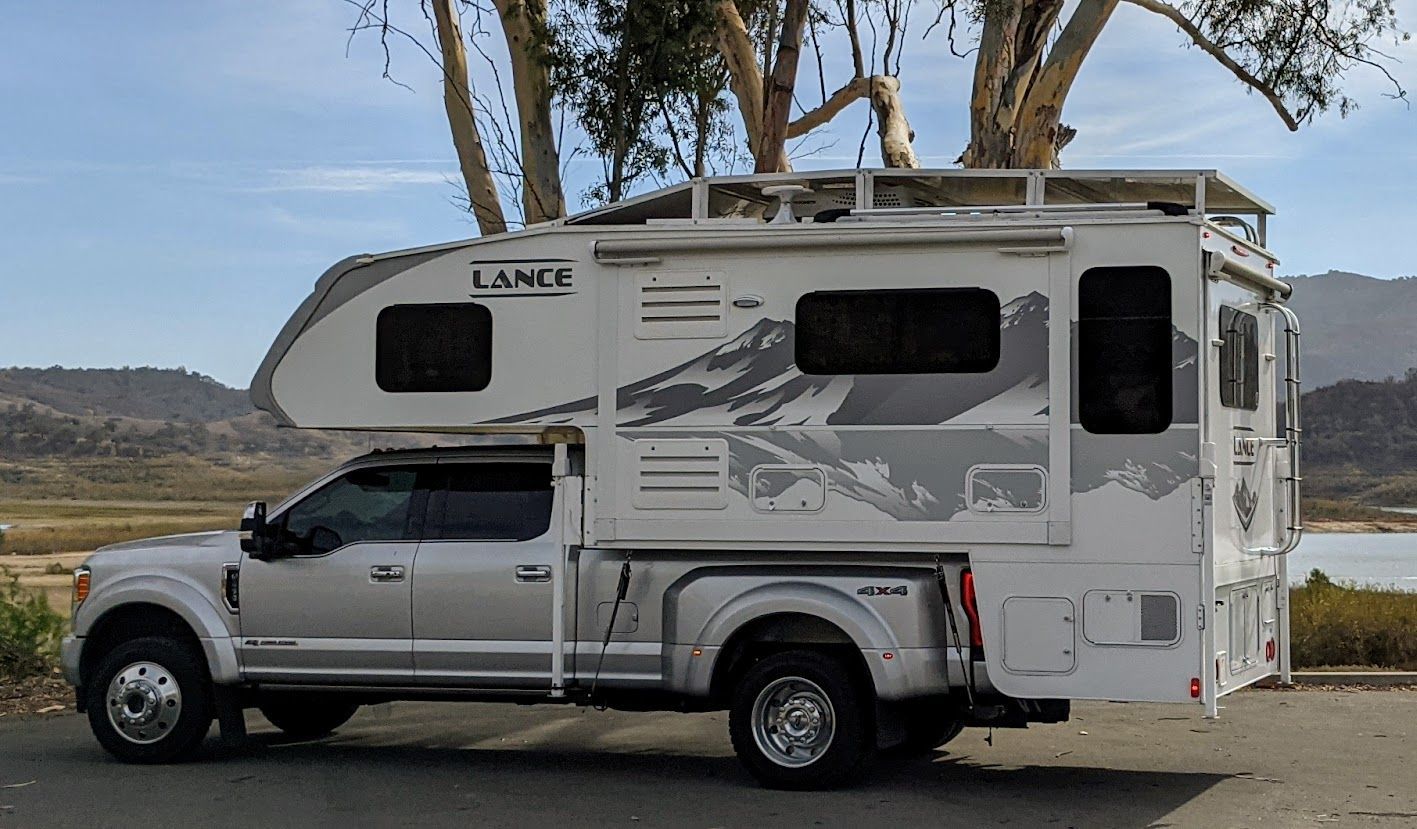
I have 1600W in 200W panels on the roof of my fifth wheel and could probably push 3000W+ if needed. However, getting even 3x200W panels on a truck camper roof is tricky. The AC unit and various roof vents don’t leave a lot of open roof space. So instead of working around all the roof components, the easiest method is to “rise above it all”. So elevating the panels so there is a clear run over the components.
In terms of panel wattage, a lesson learned from my fifth wheel and other RV installs is try to use the biggest panels you can. I was able to source used 435W Sunpower panels in Florida for $150 each and only $100 to ship four of them to California. That is under $0.40/watt which is a great price for these high quality panels. Similar panels sell for more than $1/watt. I tested all panels when they arrived using a Victron MPPT and lithium battery and was able to sustain over 400W on every panel just pointing to the sun in October!
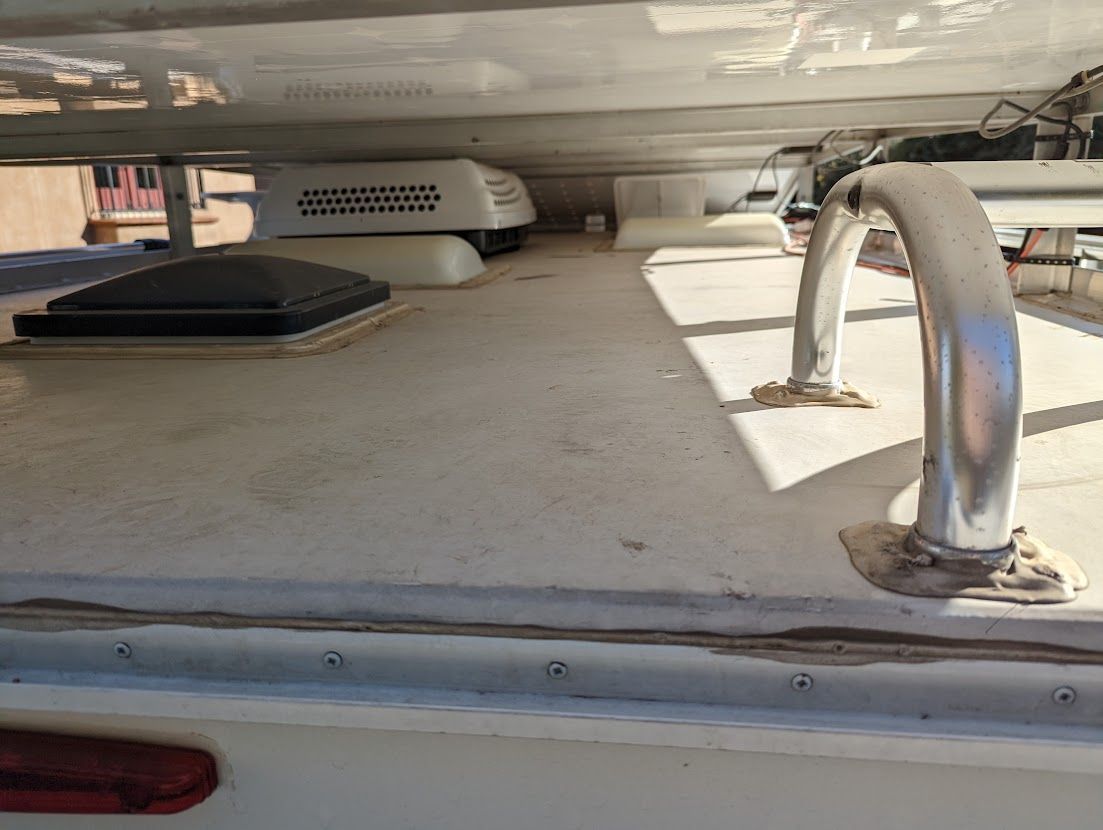
An aggressive approach would be to remove the rooftop AC unit and add a split unit AC on the rear instead. In the Lance 1172 , the rear is a slide which makes that approach particularly difficult. I decided to keep the AC on the roof and have the panels peak at 12″ above the roof at the rear of the AC unit, clearing it by 1″. The AC unit does not get direct heat anymore and probably runs more efficiently. The “hot” air coming from the AC unit when running is probably in fact cooler than the AC panel in direct sun and the air blowing along the roof probably helps cool the panels, resulting in higher efficiency. Win/win.
Solar Mounts
The tricky part of picking large solar panels and then having precise requires on mounting is that you have to get creative on the mounting solution. Maybe I could have found commercial mounts to buy online but having already saved a ton on used panels, I thought I’d try out the DIY mount approach that John had done, but took his recommendation to move from 1.5″ angle to 2″.
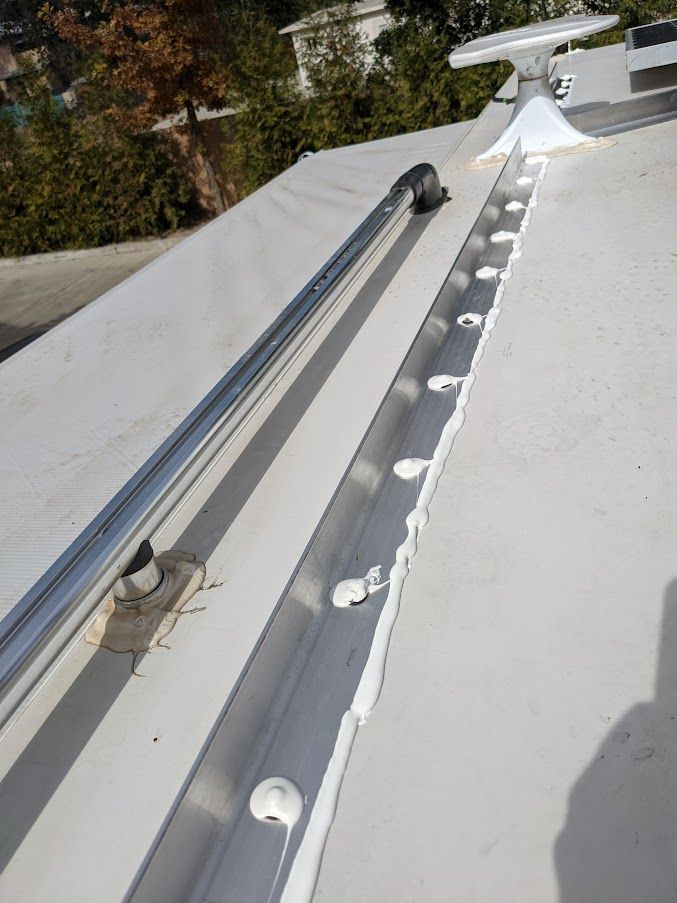
So all the mounting is done using 2″ angle aluminum. After several screwups with the Lowes in-store ordering system, I sourced several 8′ length 2″angle from Grainger at $27 per unit. Long lengths are secured to both sides of the roof, glued with an industrial glue, screwed with roofing screws with felt tips (about every 6″) and then Dicor self leveling lap sealant covers all screw holes and the perimeter of the 2″ aluminum run.
I tried to identify from Lance where the cross supports are on the roof and made sure I ran screws at those points. Aggressive attempts to move the strip after gluing and screwing resulted in zero movement on the full length.
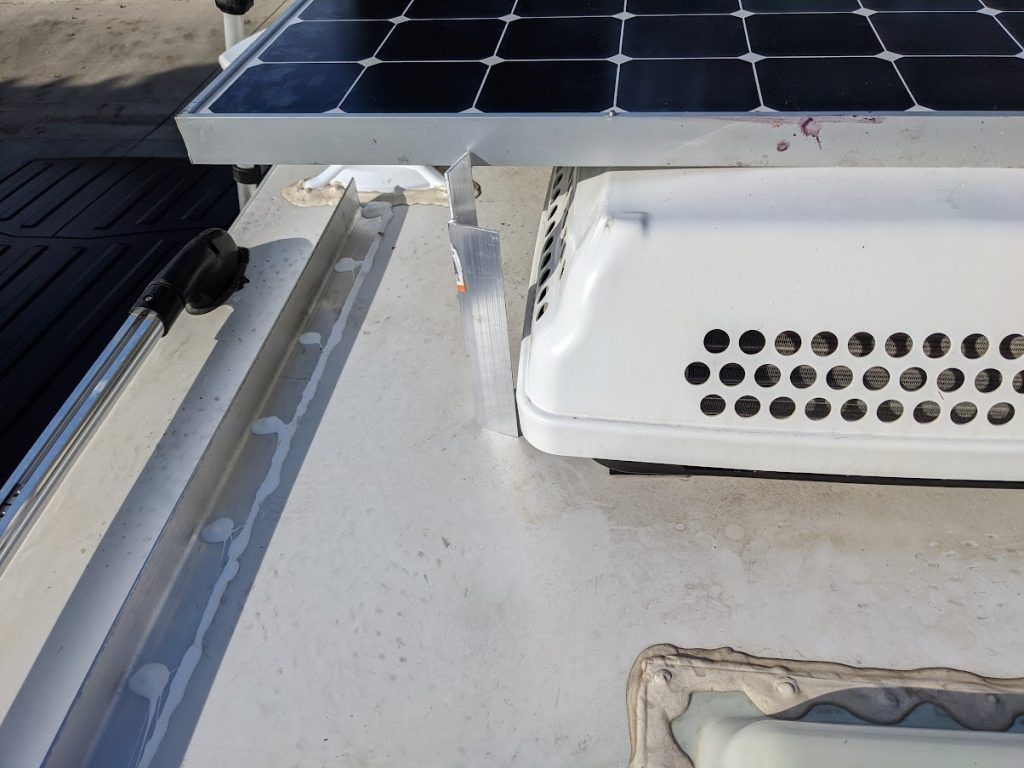
The vertical mounts are from the same 2″ angle aluminum. They are cut to ~11″ (slightly different at each panel to create a sloping shape overall). The top of the vertical mount is cut on one side to allow the panel to sit on it while the outside is taller to allow it to be bolted to the panel (photo below). The bottom of the mount is basically straight cut and bolted to the angle on the roof. Where two vertical mounts from neighboring panels meet, they are bolted to each other.
Cutting the angle was done with a 14″ chop saw and cutting/filing edges was with a 4.5″ angle grinder. Bolts were 3/8″ galvanized with double flat washers, a lock washer and nut, also sourced from Grainger.
This panel to panel mounting approach combined with the front panel that is directly at roof level at the very front, results in a very rigid structure in all directions. I entertained the possibility of 4 panels parallel to the roof but the required cross bracing ended up complicated and also I liked the shielding provided by the front panel.
Solar wiring
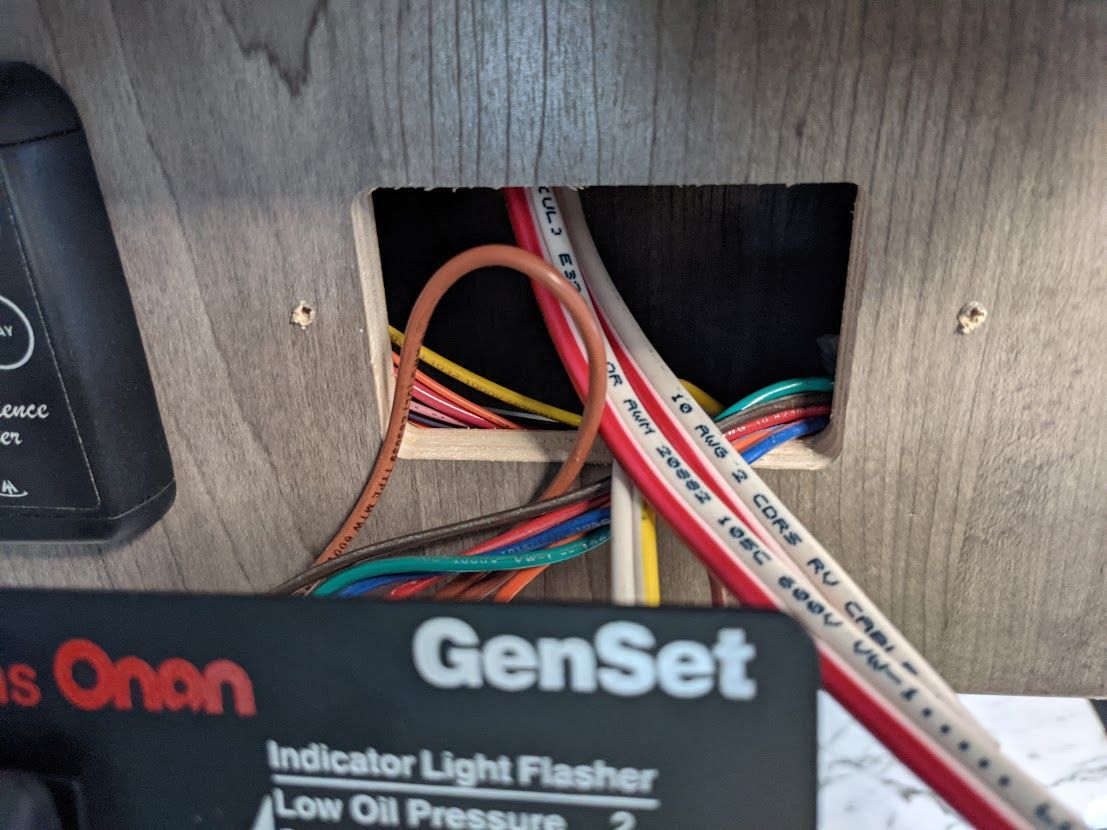
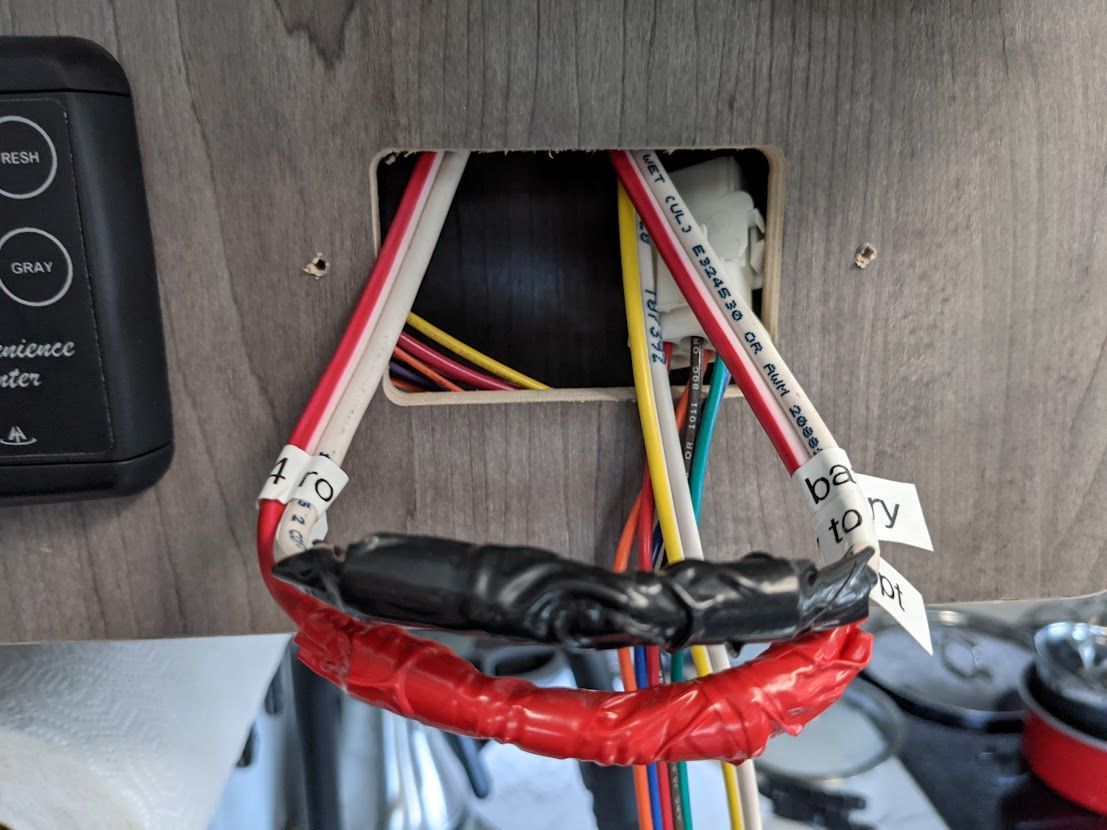
The solar wiring that came stock in my 2021 Lance 1172 is set up for 2 x 100W panels with a solar controller installed next to the generator start in the indoor panel area. The 10awg stock wiring from the MC4 roof entry plate goes to the indoor panel area. Then another 10awg wire goes from there to connect to the battery. The positive on that wire goes to the cutoff switch area, but disconnected. The negative was connected to the negative battery post at the rear of the camper.
The Sunpower 435W panels run at ~75V and 6A so 4 running in parallel is only about 24A max so the stock 10awg wiring is fine. I would prefer 8awg but I actually won’t see 24A in my system due to the angles of the panels. I have not seen more than 15A in practice. A more optimal setup for the panels would be a separate controller for the front panel but I couldn’t be bothered at this point. I just write-off the output of the front panel as only useful with low sun in the morning (when I point my camper in that direction). This would be my only critique of this setup – it is not maximizing the solar panel potential.
In order to make the stock wiring work, I disconnected both of these and extended them to run to my solar controller. Then I joined the wires inside the RV to create a continuous run from the roof entry plate to the solar controller. Certainly not what Lance intended but a great way to create a direct 10awg run from the roof to my controller – no wire pulling needed, just a short extension.
Electrical Components
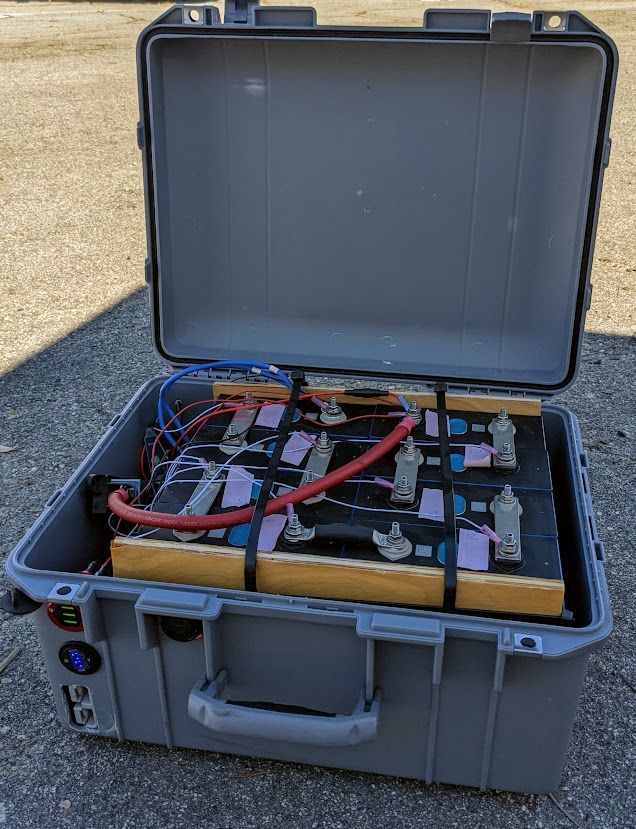
The battery bank is a 24v DIY lithium battery pack.
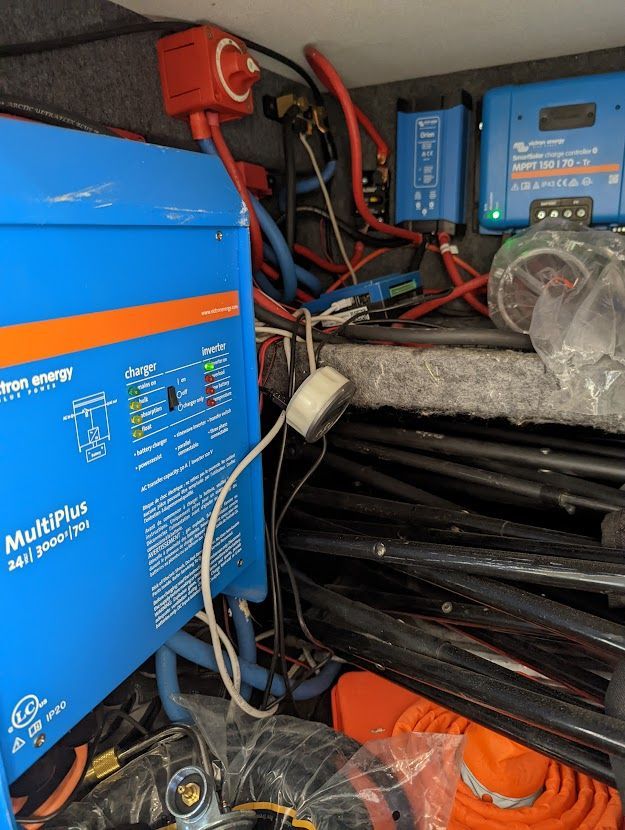
The following hardware was added to make it all work – all these are installed in the RV “basement” which is the rear door on my Lance 1172. The battery pack is installed in the generator bay – this camper was intentionally factory ordered with no generator or solar panels.
- Inverter/Charger: Victron Multiplus 24V 3000VA inverter (70A charger)
- DC Converter: Victron Orion 24/12 (supplies up to 70A of 12V to RV)
- Battery Monitor: Victron BMV-712 (for battery state of charge %)
- Solar Controller: Victron MPPT 150/70 (sits between panels and battery)
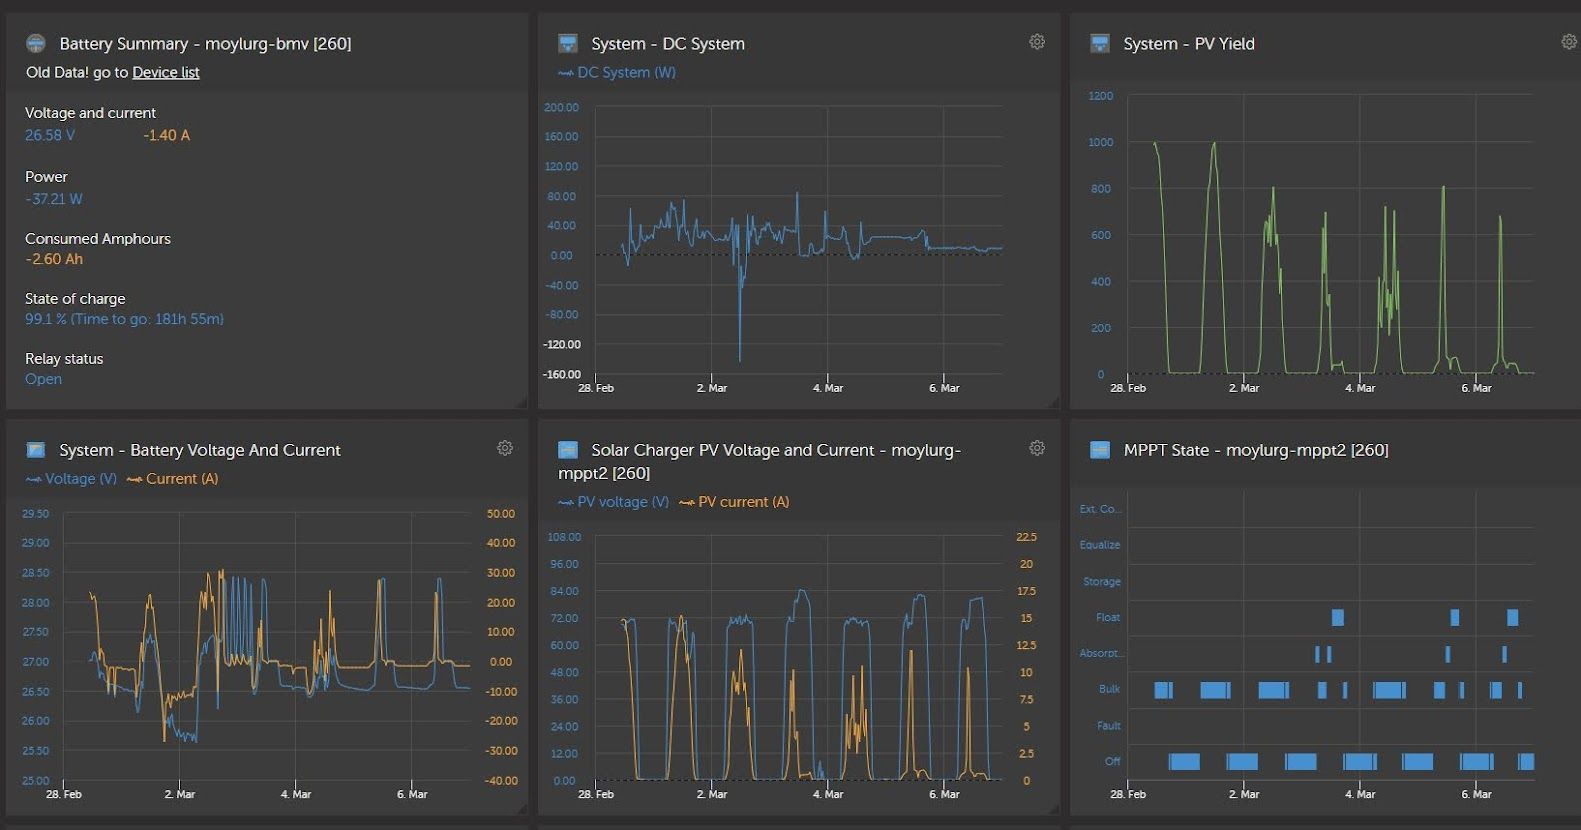
- Internet access: Victron Venus GX (sends data to free Victron VRM Portal)
(Yes, needs a better/tidier picture but my basement is SMALL!)
Conclusions
As mentioned above, the front panel is useful for sun early/late in the day (depending on the camper orientation) but the main solar supply is from the 3 panels that are essentially parallel to the ground. My peak photovoltaic (PV) yield over the winter has been ~1000W on 1740W of panels so I expect that I will peak at around 1200W by the summer. That’s an acceptable loss for me given the design and price efficiencies.
Also the front panel is a fantastic protector for all the roof components when going through areas with low branches, as tested out recently on a wrong turn on a trip to Baja. There is almost nothing for a branch to get caught on so they just get pushed up and glide over the roof.
The solar panel build cost about $1000 for 1740W of panels and DIY mounts/hardware. Add $800 for Victron solar controller and some wiring/breakers/etc. I think this would cost about $5,000+ as a professional 1740W solar install with new panels so it pays to source used and do the work yourself, even though it does take some time and learning.
I am very happy with the final results and have several months and about 2,000 miles under my belt including a boondocking trip down The Baja. I officially declare The Stryker Method successful on a second truck camper.
Let us know how it goes for you!

