

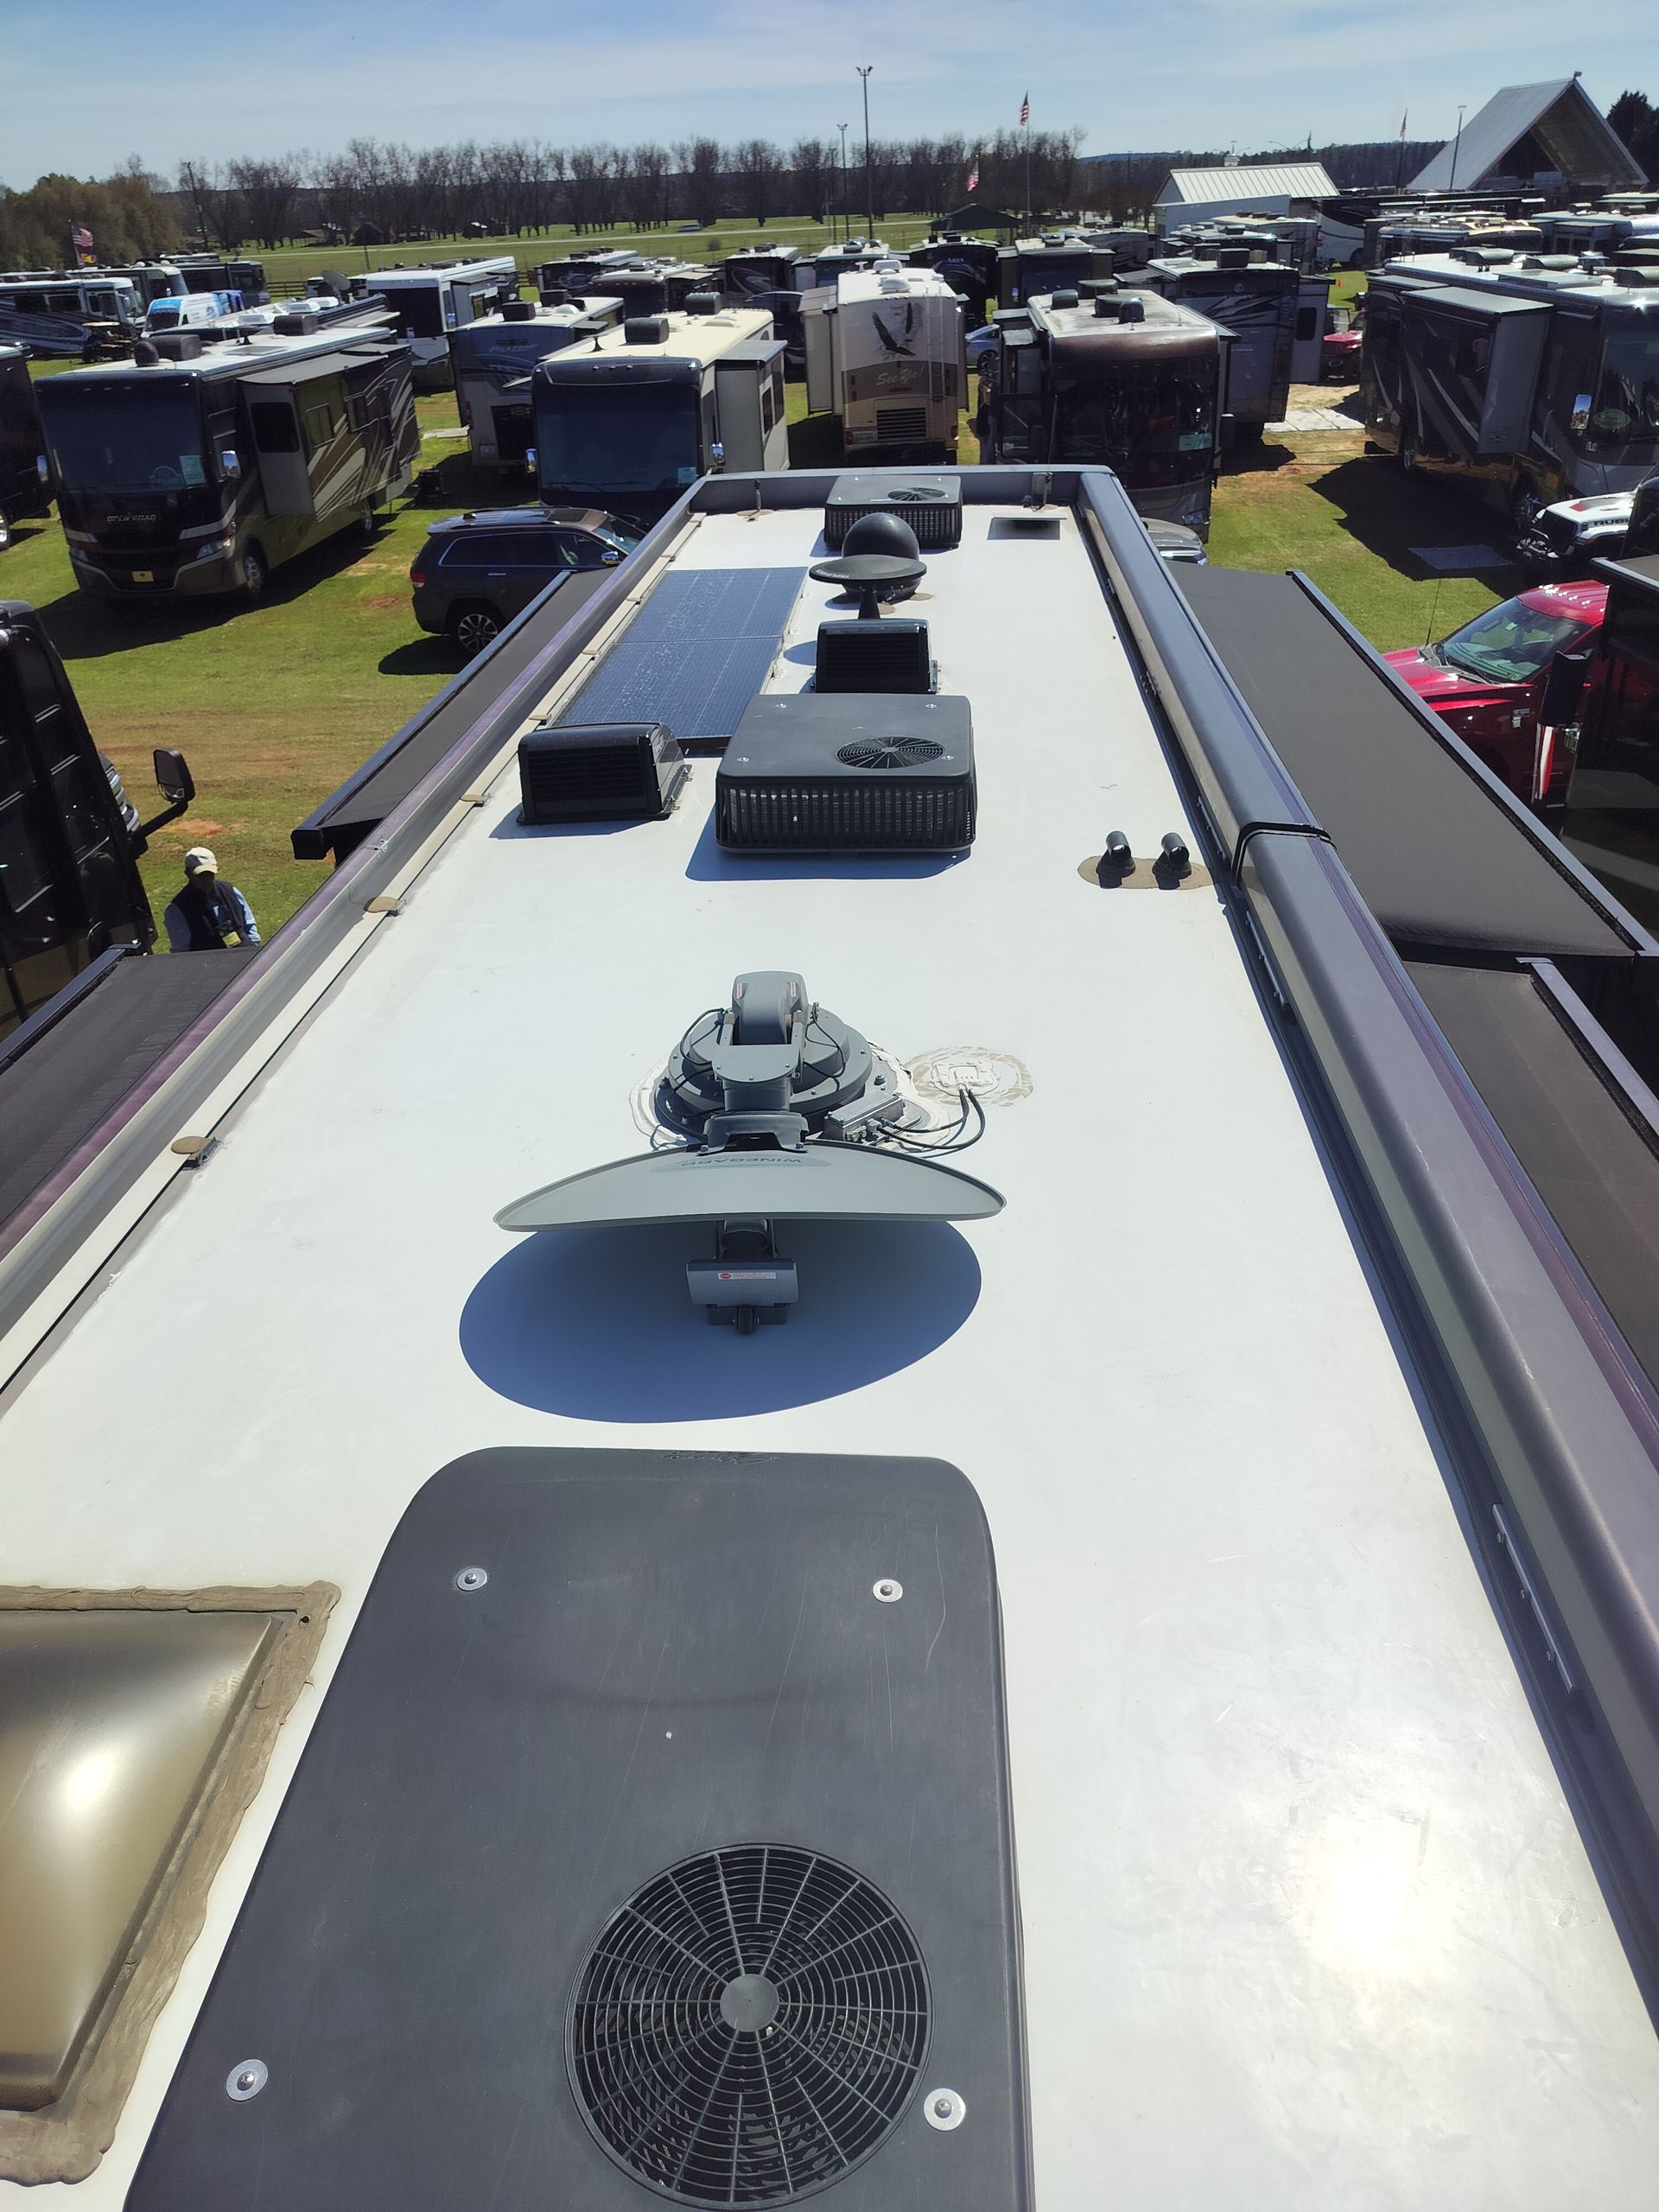
Whether your RV roof is showing its age or you just want to stay ahead of summer damage, know when to DIY and when to call a pro. Learn the warning signs

Do you really need a sewer hose to dump your RV tanks? RV black tanks, Grey tanks and Freshwater tanks tips. Get the complete RV tank guide from Learn to RV.

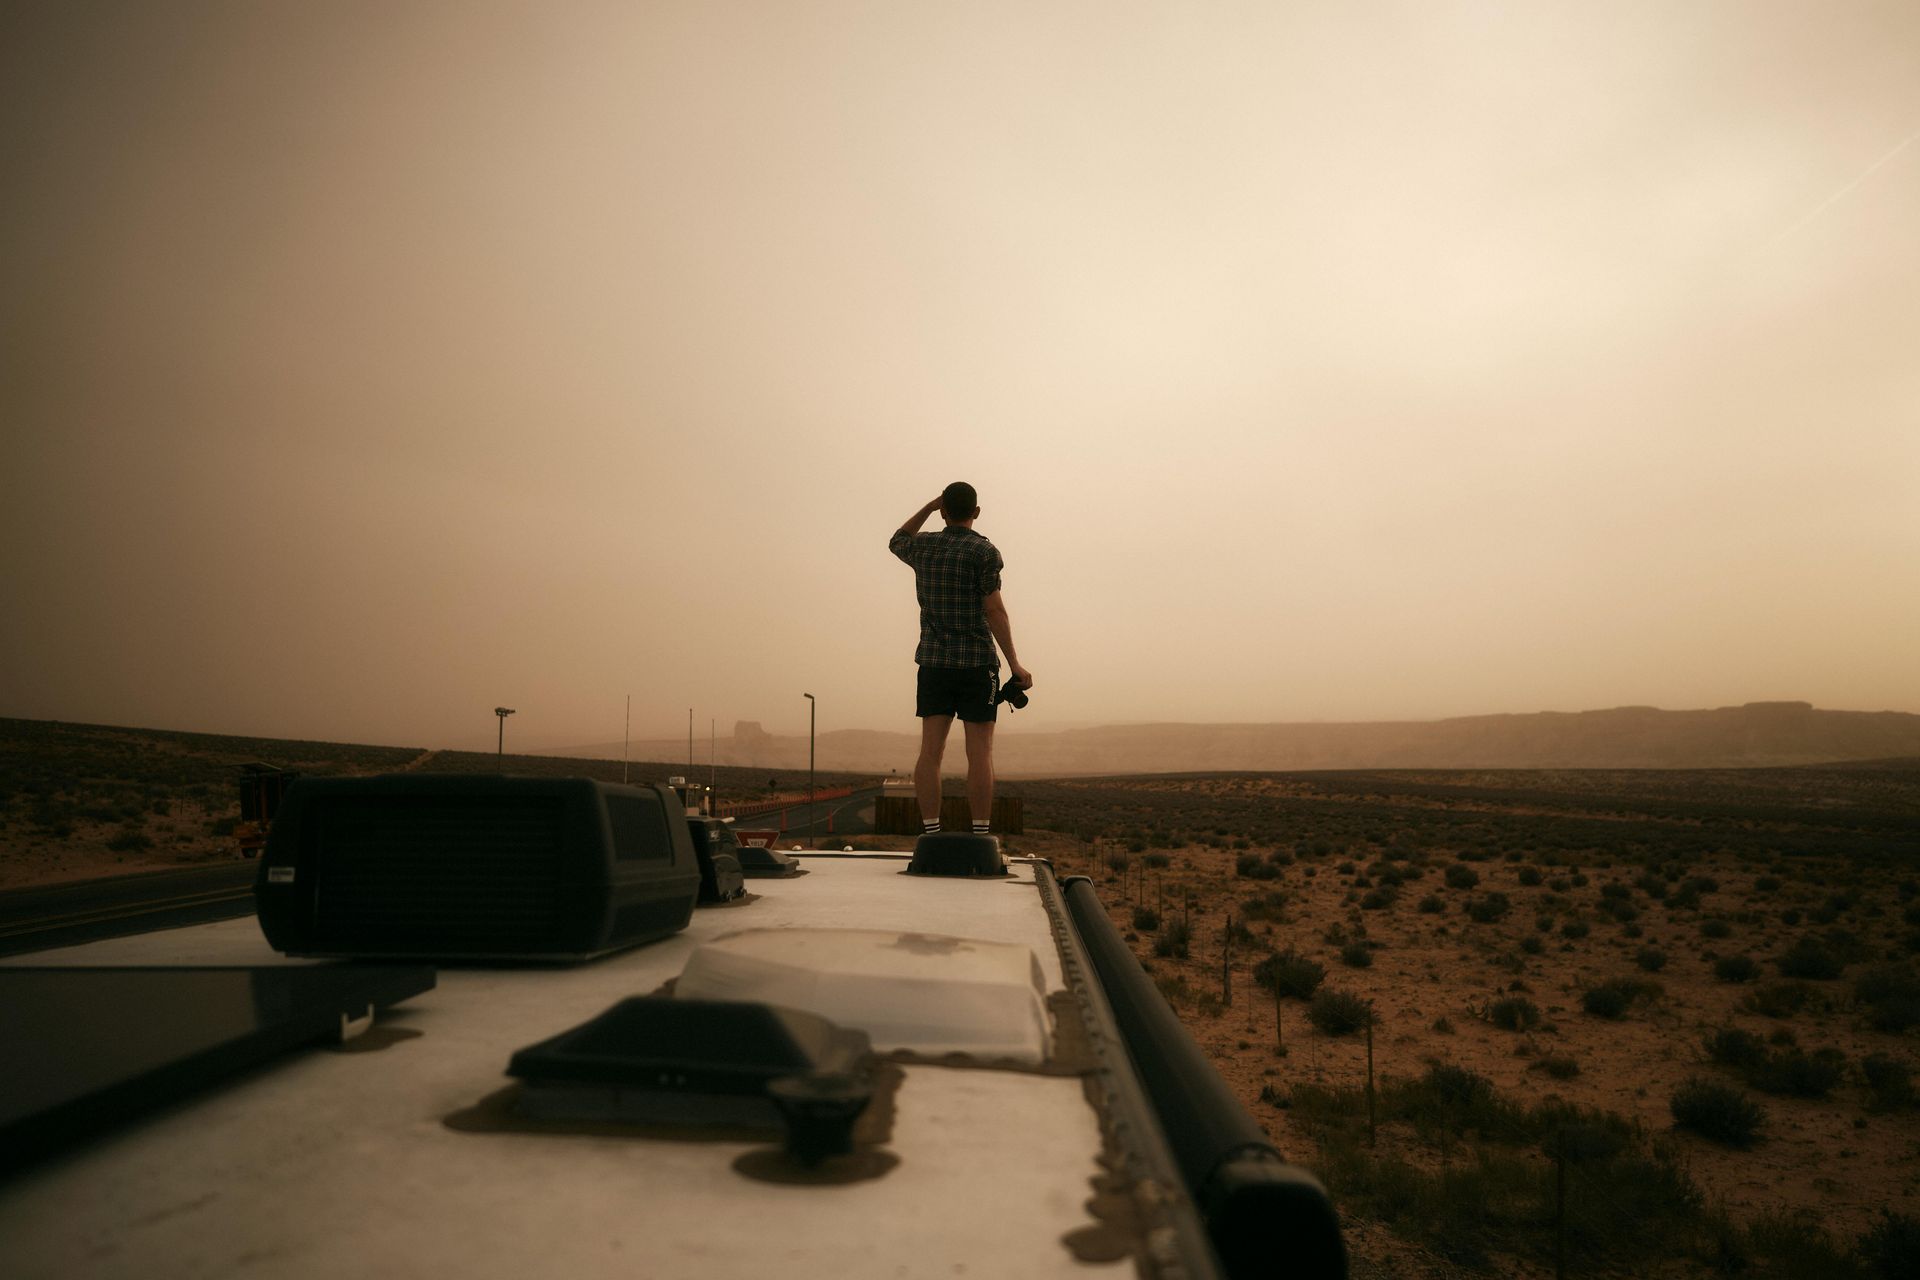
The best classroom doesn't have four walls — it has four wheels. This summer, the whole country is your curriculum.

If you’re a full-time RVer, you already understand something most people don’t....that life doesn’t always go according to plan. You’ve chosen freedom. Flexibility. The ability to wake up in a new place whenever you want. But with that freedom comes a unique responsibility—especially when it comes to your health insurance. Because when you’re constantly on the move, having the right coverage isn’t just important… it’s critical. And recently, I was reminded exactly why.

Full-time RVing families can road-school around a passion — how to find WCA speedcubing competitions and make your child's Rubik's Cube hobby a reason to travel.

Your child is just wired differently. Learn the signs of dyslexia, what actually works, and how roadschooling families can take action today. with Russel VanBrocklen
Where Can RV Entrepreneurs Find Business Resources and Support? The RV Business Hub connects RV entrepreneurs with tools, tips, and resources to build and grow.
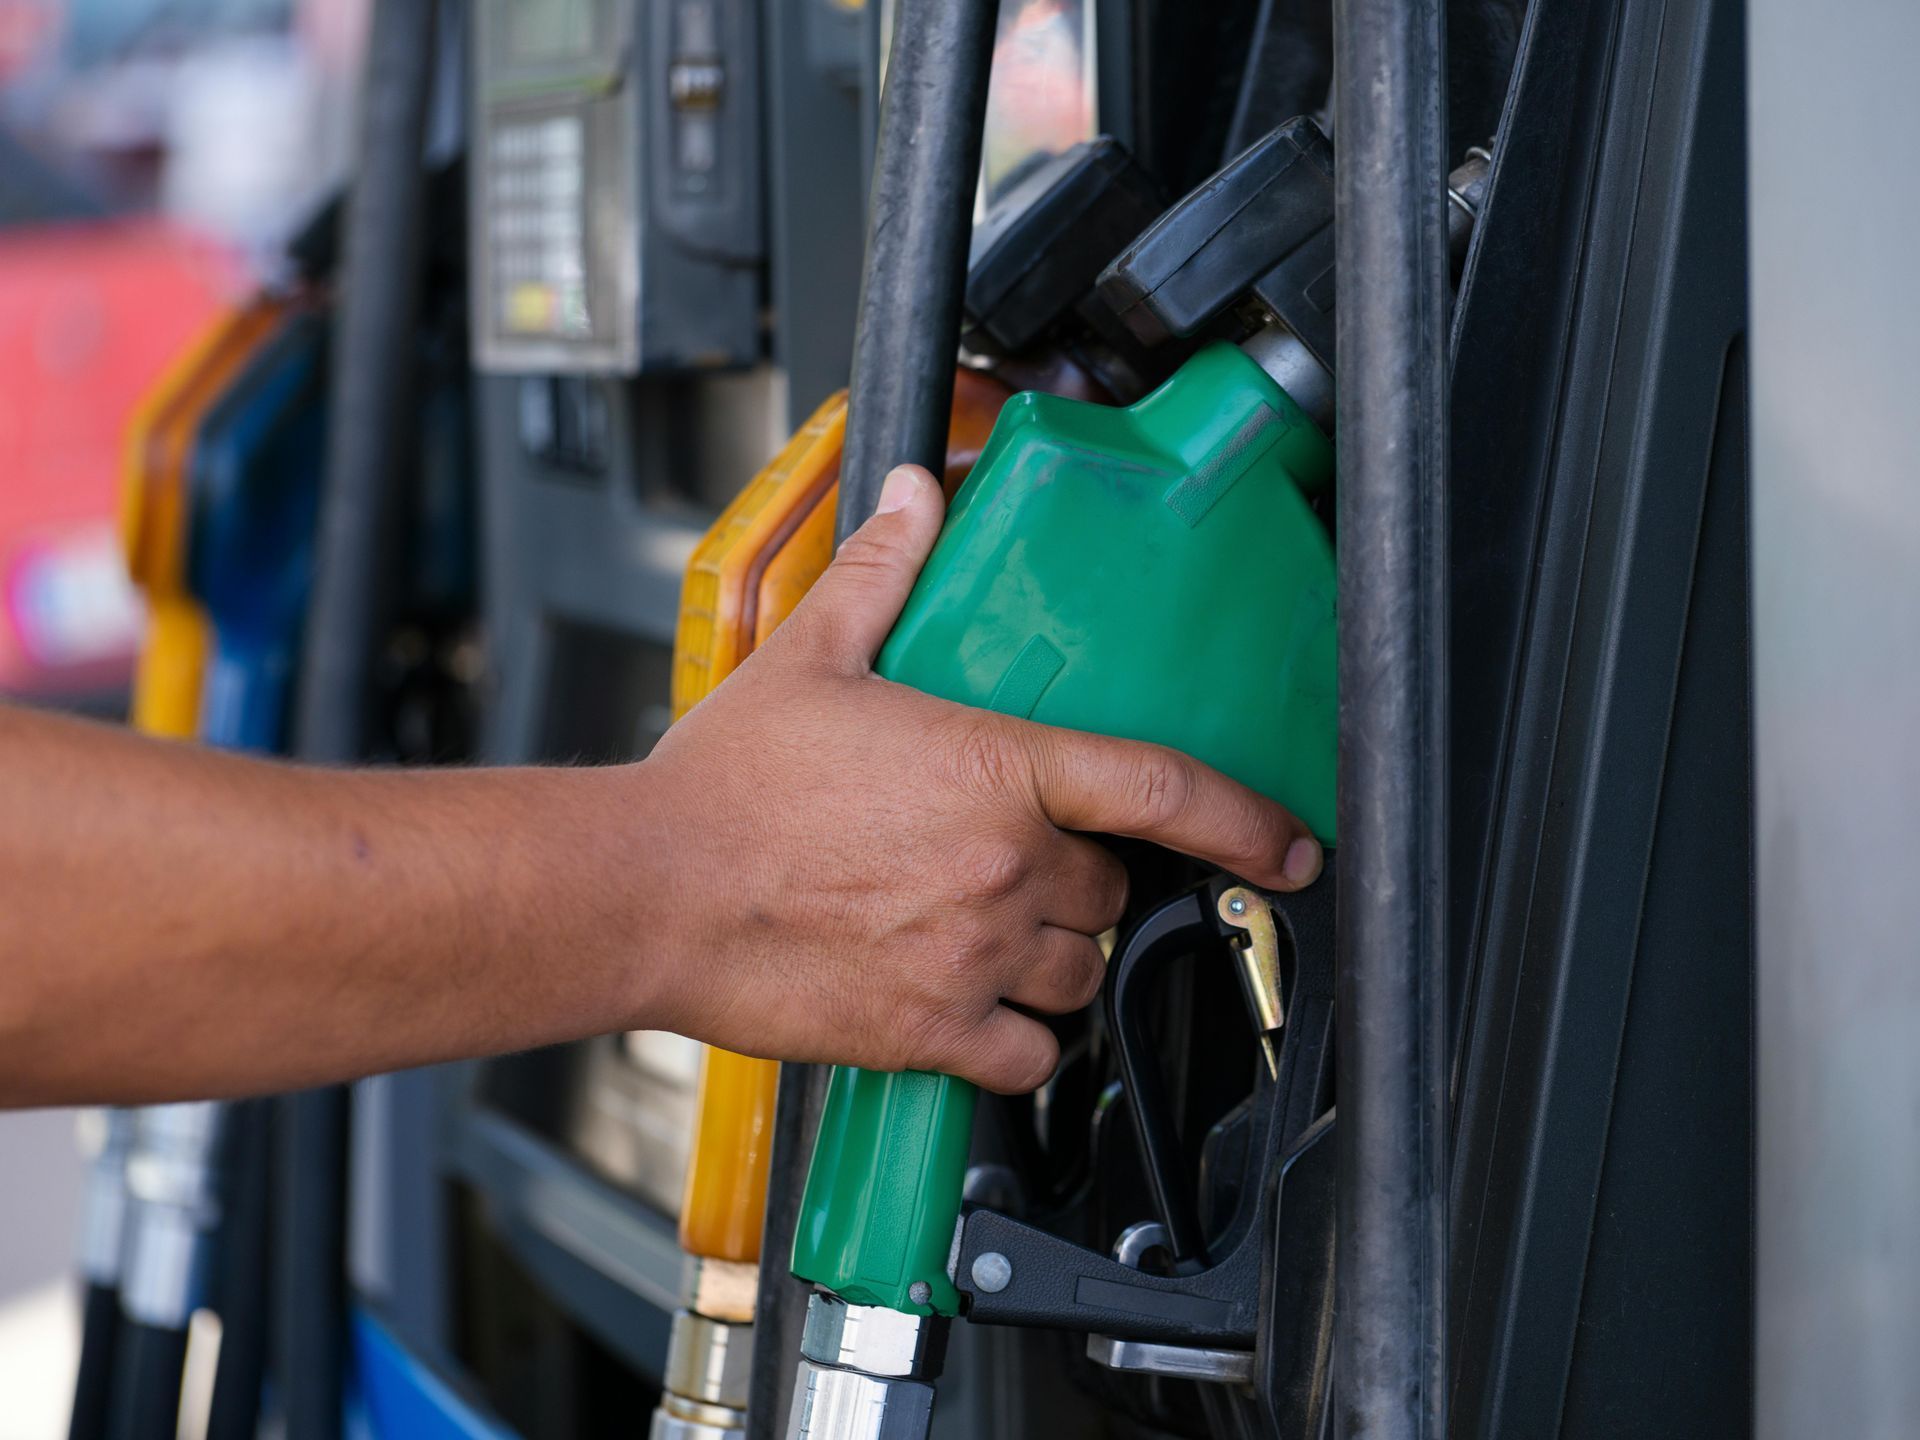
Fuel prices got you second-guessing your summer? Open Roads is too good to be true — except it's not. Free to join, diesel savings, VIP perks, tolls and more.

Most RVers don't know what their policy won't cover until it's too late. Learn the most common coverage gaps & the questions to ask before you need to file a claim.
Your RV roof coverage has limits—and age makes it worse. Learn what insurance won't pay for, what aftermarket systems really cost, and the questions to ask before it's too late.
