
- A “
RV Blowout Plug
” – this screws into your city water connection and lets you push air into the RV lines.
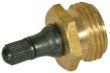
What I have, a brass blowout plug
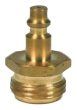
What I want, a blowout plug with quick connect - A
small air compressor
– preferably one that you can control the air pressure. You generally don’t want more than 30 or 40psi blowing into the system. I spent $100 on one at Home Depot. But you can get a smaller one from Harbor Freight or Sears or something. I wanted a bigger one so that I could also use it for airing up my truck and camper tires. ( You are checking tire pressure before each trip and make sure both are inflated to the max- aren’t you
?)
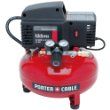
3.5 Gallon Pancake Air Compressor - A couple of gallons of RV Antifreeze – the pink stuff; not what you put in your car!!!
The pink stuff is safe for drinking water lines; the stuff that you put in your car will kill you, seriously. Preferably something that is propylene glycol based (vs. alcohol based).
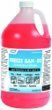
RV antifreeze - A socket wrench, a 1 1/16″ socket and a 3″ socket extension – for getting the water heater drain off (Note, depending on how this was last put back in, this is either going to be “pretty easy” or “holy craptastic that’s hard”. You might need a “
breaker bar
“, too.)
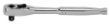
1/2″ Socket Wrench
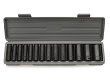
15-piece 1/2″ Drive Deep Socket Set
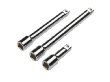
1/2″ Drive Extension Set - For re-installing the drain for the water heater, using a little bit of plumber’s tape or plumber’s putty will make you much happier next year.
- You *may* need an anode rod , depending on if you have one and how it looks when you take it out of the water heater. ( see this link once you remove it to tell if you’ll need a new one )
- If your black and gray tanks aren’t empty, they should be emptied.
- For this step, the water heater should be off and the water should be cold.
- First, find the exterior panel for your water heater and find the pressure relief valve and the drain plug.
- Next, bleed pressure off of the water heater using the pressure relief valve to save yourself angst and woe when you remove the drain plug (think shower of water and possible anode rod rocket). This will let water out, so stand clear.
- Finally, remove the anode rode. It’ll match in socket from #4 above . Use the socket wrench, socket and extension- remove the drain (which has an anode rod attached). This is a thick rod that gets eaten away as it lives and eventually needs to be replaced. This page has a good chart that shows when an anode rod should be replaced.
When you remove the anode rod, the water will glug down the side of your camper to the ground. It’s likely about 6 gallons (but can be up to 10 gallons depending on your water heater). Some people will get some paper towels, twist them and push part of into the camper to wick away the remaining water.
 Optional: some people will use a
water heater flushing tool
to clear out bits of crud from the water heater.
Optional: some people will use a
water heater flushing tool
to clear out bits of crud from the water heater. - Use plumber’s tape or putty on the threads of the anode rod and re-install it into the camper. It needs to be a touch snug, but you don’t really have to put much pressure on it. In fact, too little pressure is OK. Just in spring- when you go to fill it, remember that it isn’t very snug and just tighten it up if it leaks a little.
- Look under your camper for what are called “low point drains”. There are usually 2 of them together. They either have caps on them or maybe have an “on/off” valve that you turn to let water out. You want to open these and let the water drain to the ground. It may help to open/close each water fixture (sink, toilet, shower) to encourage the water to drain out. These drains can be tricky to find sometimes. If you can’t find them, it’s not awful. Let the water out and re-cap/close the lines.
- If you use your fresh water tank, it too will have a drain coming out of the bottom of your camper- you want to empty it as much as possible. The drain can be tricky to find sometimes. If you can’t find it, turn on your water pump and just run the outside shower to drain off as much water as possible. Let the water out and re-cap/close the line.
- Pushing antifreeze into the lines is tricky again because all campers are different. I have a second winterization bypass valve that switches my water pump from pulling water from the fresh water tank to pulling water from an outside hose hookup. I’m able to connect a hose to my freshwater tank fill and have the end of it in a jug of the pink antifreeze stuff and when I run the pump, it’ll actually suck antifreeze from the jug.In other cases, you can use a pump to push the antifreeze in from the city water connection. This is a little more vague to me as I haven’t had to do this. Looks like Camping World has the hand pump and a video (love the guy’s camo).Some people will recommend that you dump a bunch of gallons into your fresh water tank- I really dislike this idea as I feel like this would be hard to undo and get all of the antifreeze out.Final note- in step 6
, if you didn’t have a water heater bypass, you’ll likely end up pushing a bunch of antifreeze into the water heater. There are differing opinions on if you want to leave this in your water heater or not over the winter. Personally, I wouldn’t do it. I’d attempt to drain it out.In either case, you want to follow the same basic procedure as blowing out the lines. In order of faucets, toilets and showers from closes to the water inlet to farthest:
- you want to open the cold faucet
- wait for pink to come out (it’ll likely push some water out ahead of it at first)
- close the cold and open the hot water
- wait for pink to come out (it’ll likely push some water out ahead of it at first)
Again, remember all of your water fixtures- sinks, shower heads (inside and out), toilets, washer/dryer hookups and any water hose hookup that feeds from the camper’s water system.
- If you use the hand pump, you can also push RV antifreeze into a black tank flush (if you have one). If not, see if there is a water hose hookup on the camper that you might be able to use that to push the antifreeze in for you.
- After you fill the lines, you want to back fill your city water connection with antifreeze. To do this, pop off the metal filter screen inside the city water inlet, standing well back and to the side – use a long screw driver press the little button to draw the pink stuff into the line for the city water feed. Note: it will spray pink antifreeze, try like heck to keep it out of your mouth and eyes- it tastes awful.

Whether your RV roof is showing its age or you just want to stay ahead of summer damage, know when to DIY and when to call a pro. Learn the warning signs

Do you really need a sewer hose to dump your RV tanks? RV black tanks, Grey tanks and Freshwater tanks tips. Get the complete RV tank guide from Learn to RV.

The best classroom doesn't have four walls — it has four wheels. This summer, the whole country is your curriculum.

If you’re a full-time RVer, you already understand something most people don’t....that life doesn’t always go according to plan. You’ve chosen freedom. Flexibility. The ability to wake up in a new place whenever you want. But with that freedom comes a unique responsibility—especially when it comes to your health insurance. Because when you’re constantly on the move, having the right coverage isn’t just important… it’s critical. And recently, I was reminded exactly why.

Full-time RVing families can road-school around a passion — how to find WCA speedcubing competitions and make your child's Rubik's Cube hobby a reason to travel.

Your child is just wired differently. Learn the signs of dyslexia, what actually works, and how roadschooling families can take action today. with Russel VanBrocklen

Where Can RV Entrepreneurs Find Business Resources and Support? The RV Business Hub connects RV entrepreneurs with tools, tips, and resources to build and grow.
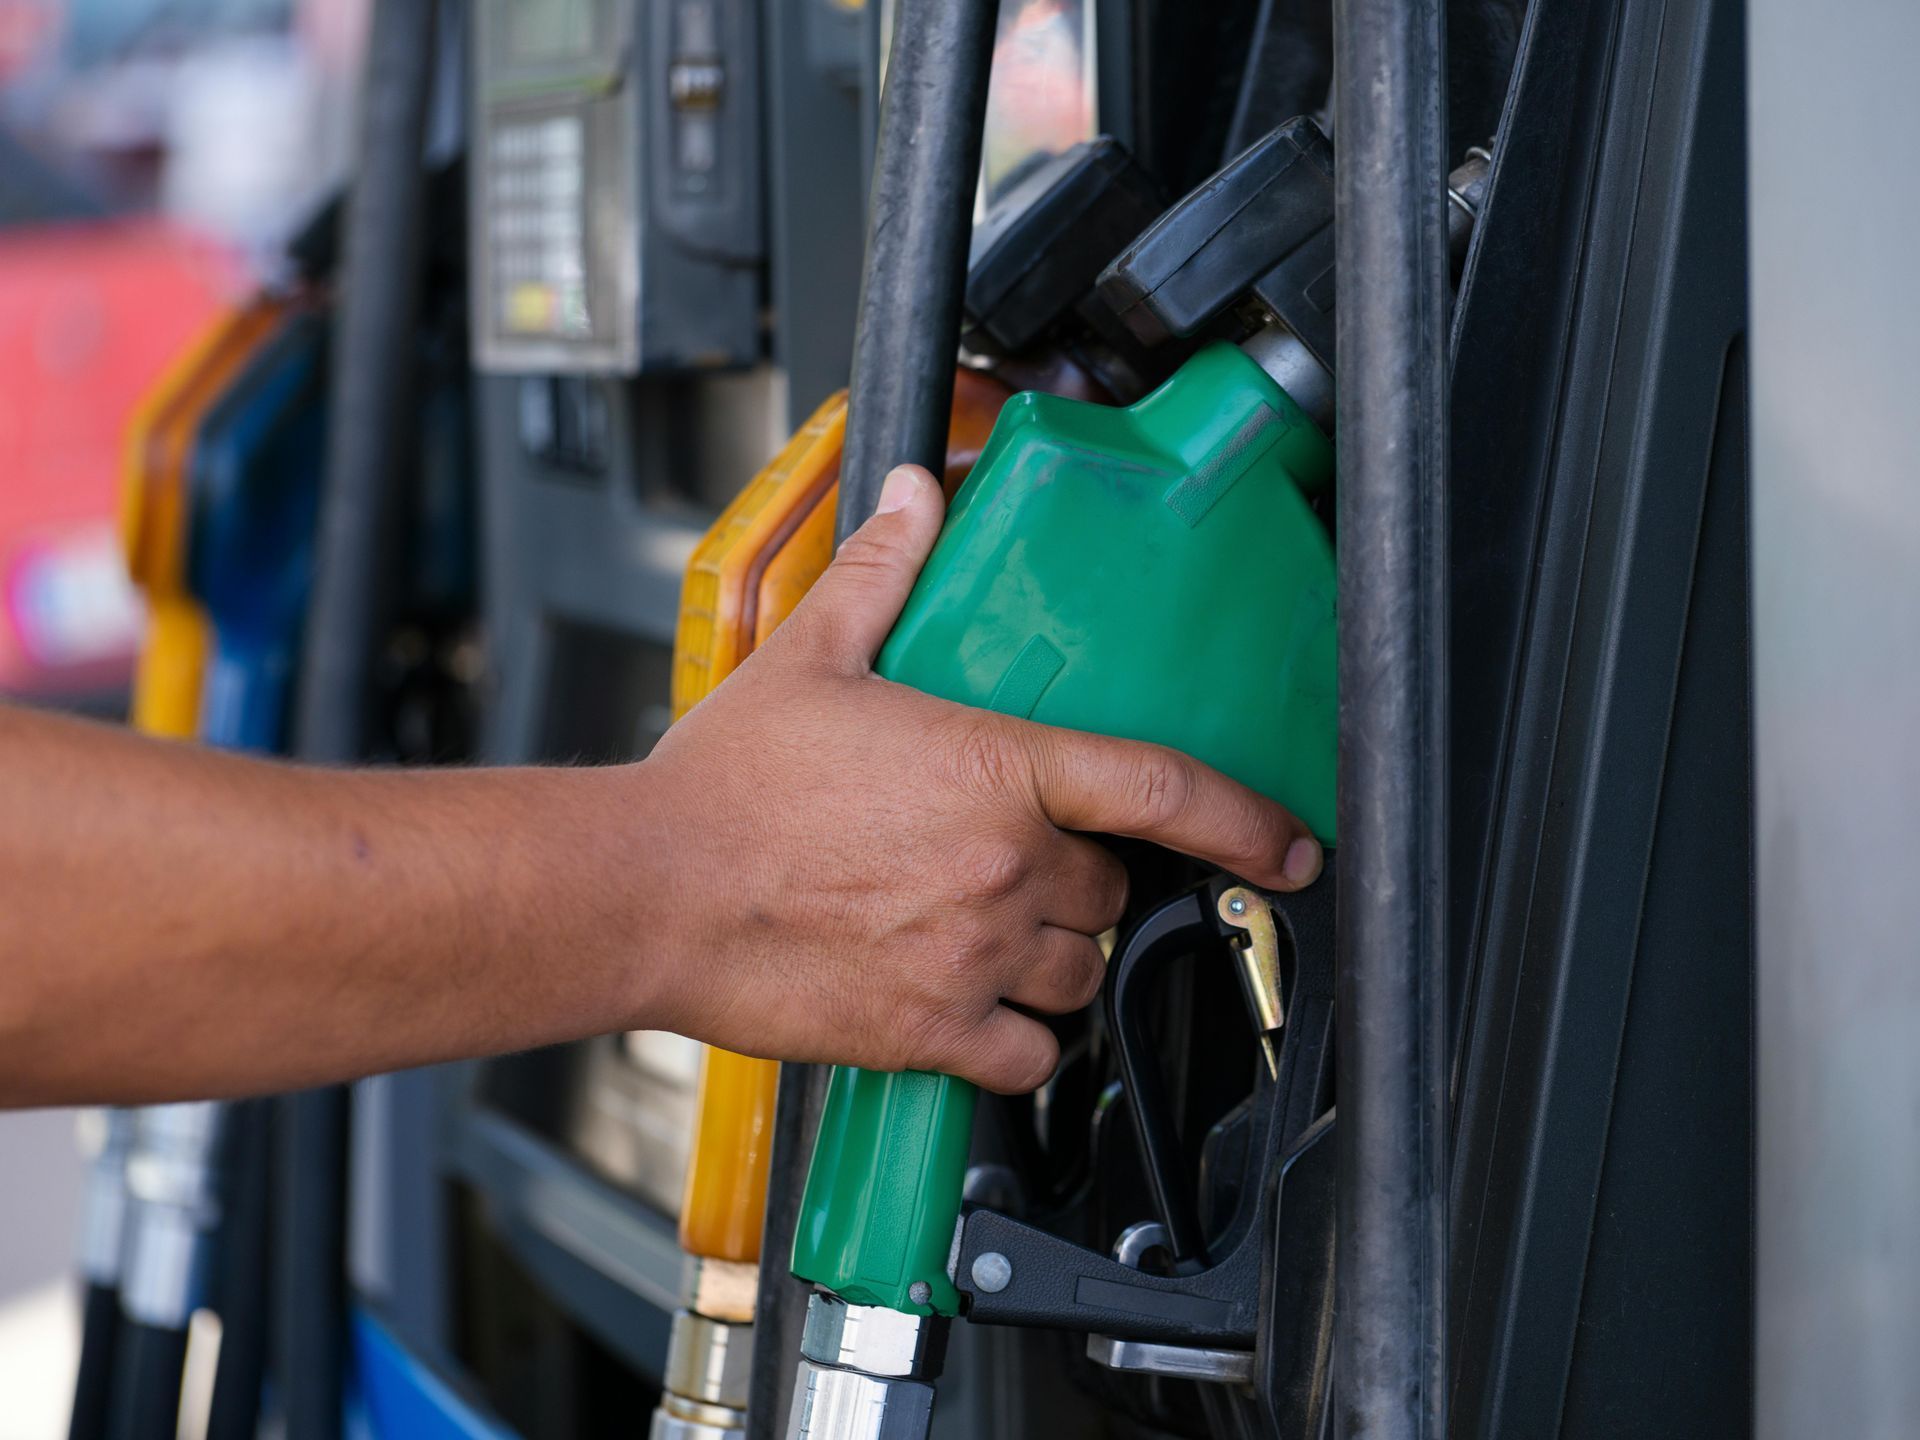
Fuel prices got you second-guessing your summer? Open Roads is too good to be true — except it's not. Free to join, diesel savings, VIP perks, tolls and more.
Most RVers don't know what their policy won't cover until it's too late. Learn the most common coverage gaps & the questions to ask before you need to file a claim.
Your RV roof coverage has limits—and age makes it worse. Learn what insurance won't pay for, what aftermarket systems really cost, and the questions to ask before it's too late.
