How to: Make Your Own Easy Fire Starters
Doug S • April 12, 2025
Ask a dozen campers how they start their fires and you’ll get twenty different answers ranging from the purist – twigs, ruffage and a match to the YOLO crowd who splash some gasoline on the fire (yes, I’ve actually seen this happen in person). I usually kept firestarter sticks on hand and used them. One day walking through a camp store, I saw what was essentially cupcakes with bits of wood in them with some wax holding them together – the problem was, they wanted something like $2/each and I’m way too cheap for that.
I poked around online and found a few recipes for homemade firestarters. This is what I came up with…
Ingredients
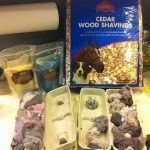
- Either cardboard egg carton
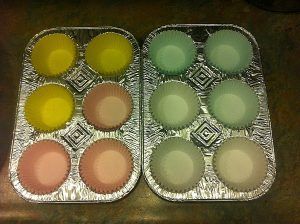
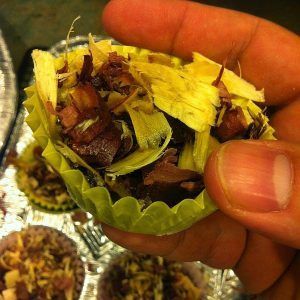
- Or paper cupcake liners and cupcake pan (I used a disposable cupcake pan to save the wrath of my wife if I messed up one of her good pans)
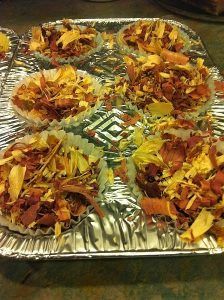
- Cedar gerbil/pet bedding (make sure it’s cedar and not non-wood materials)
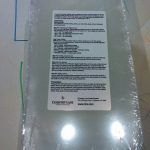
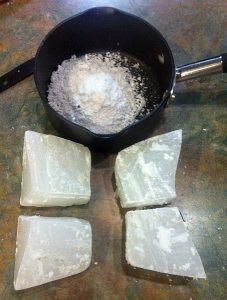
- Block of wax
(the kind for candle making as long as there is no scent)
- A note about wax, bees wax is supposed to smell better and be less toxic for cooking but it is more expensive and wasn’t available when I was shopping
- Optional: dryer lint
Tools Needed
- Small sauce pan for melting and pouring the wax
- Utensil for stirring melted wax
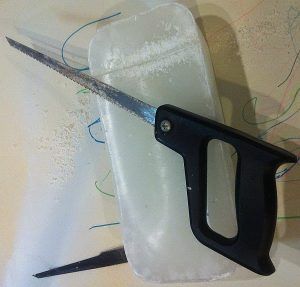
- Method for breaking up the wax
- If using cardboard egg cartons, knife for cutting them up
Instructions
- Bludgeon the wax into smaller workable pieces.
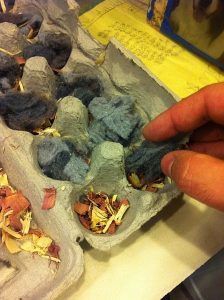
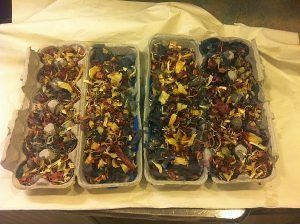
- Fill the egg carton/cupcake liners with cedar bedding
- Optionally also layer in bits of dryer lint (it’s an easy burn to get these going).>
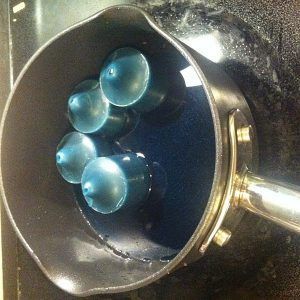
- Melt the wax in the pan
- Be aware, the longer you leave the melted wax in the pan/on the stove, the hotter it gets – it sort of boiled when I poured it in the next step
- Get it melted and then work it right away
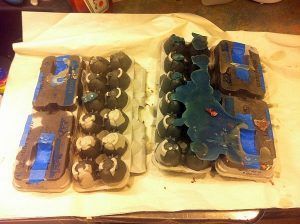
- Pour some wax over the cedar bedding
- You basically need just enough to hold the firestarter together
- You’re not making a candle- don’t get nutty with the amount of wax you use (like I did!)
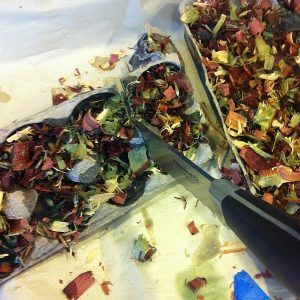
- After cooling, cut into pieces
- Put it outside/in the fridge to cool
- I used my grill and just set it inside until it cooled down overnight
- A bread knife worked great for cutting, the wife wasn’t pleased about the residue left on it

