
- Not shown- make sure that you’re prepared for hitching by verifying the following:
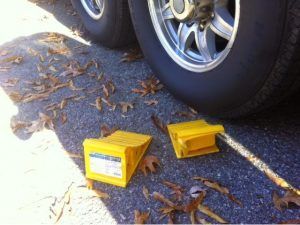
- Wheels are chocked (they should be any time the camper is unhitched; but double-check it)
- Rear stabilizers are retracted, and any triangulating stabilizers are loose so that the landing gear is able to be raised/lowered as needed
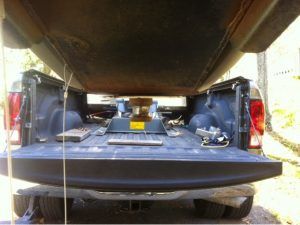
- Ensure that anything that you leave in the truck bed is properly and fully secured – the force of air coming down off of a fifth wheel will suck things out of your truck bed. I’ve heard tell of a person reporting a 80 lb. grill and others of firewood being sucked out.
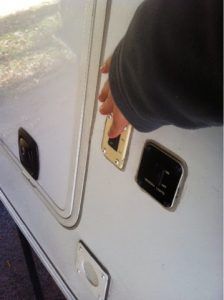
- If needed by your hitch, ensure that the hitch is “open” (handle open/jaws open/bar disengaged).
- Lower your tailgate. (Some people either remove their tailgate entirely or use a notched tailgate ; I use my regular tailgate and just raise/lower it as needed as I like that it locks and the built-in rear view camera.)
- If you have a
king pin lock
, remove it.
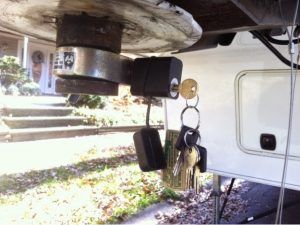
(Link to blog entry on fifth wheel security) - Raise or lower the fifth wheel so that it is slightly lower than the coupler on the hitch. You may need to adjust this over the next couple of steps a time or two if you’re hitching up alone; if you have a partner, they can raise/lower it when you get the hitch and king pin close together.
 Special note about helpers – they should not be between the truck and camper (or even under the overhang of the camper) when the truck is in motion; off to the side is fine, but never between.
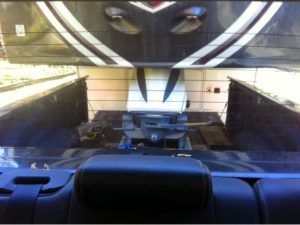
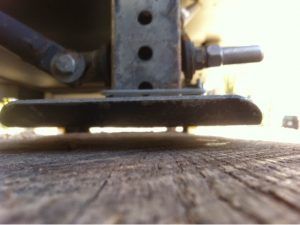
 - Back up the truck by looking through the rear window to line the hitch up with the kingpin. Watch your tailgate to ensure that it won’t make contact with the camper; while rare, it happens and if it is going to- you are going to need to raise the tailgate after you get the king pin inside of the truck bed but before it reaches the hitch.
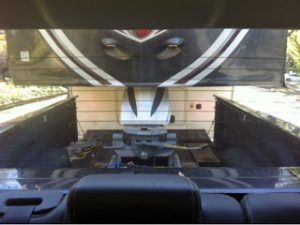
(excuse the clearly filthy window!) - Here you can see that the king pin will properly ride up the hitch.
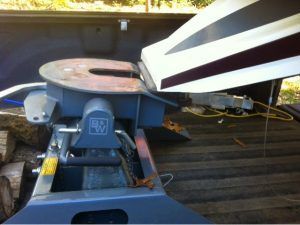
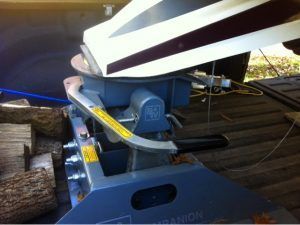
- Next I back gently
under/into the hitch. On my
B&W hitch
, the handle closes when the hitch is properly latched; on others- refer to your manual to know when the hitch locks in place (if at all, you may have to continue onto the steps below).
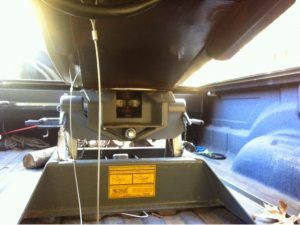
- Visually
verify that the jaws are closed around the king pin. (or bar, or whatnot in the case of your hitch)
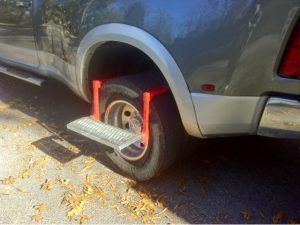
- Here’s one of my favorite purchases that I don’t use nearly as much as I should. It’s a
step that fits over the tire
to make it easier to reach the fifth wheel hitch.
- Pin the hitch in the locked position. (or latch the bar or whatever other hitches do; as well, if you use anything like
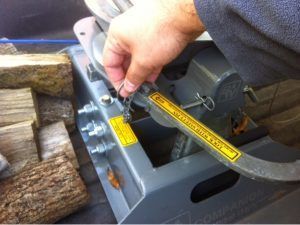
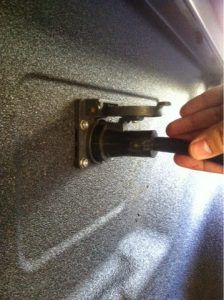
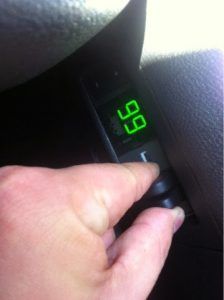
- Plug in the camper’s umbilical cord (aka 7-pin connector). This gives you lights and brakes. (Note, on some trucks- this is plugged into the bumper. The
in-bed plugin
is handy, but not required.)
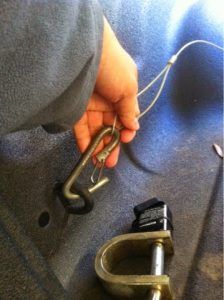
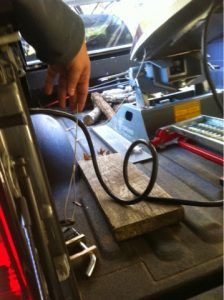
- Connect the emergency breakaway switch for the trailer brakes in the hellish but unlikely event that the camper comes separated from the truck. I connect mine to a corner tie down on the truck. Others use part of the hitch. Note, it’s not a bad idea to check that the pin box end of the breakaway cable is firmly plugged into its box at this time.
- Close your tailgate.
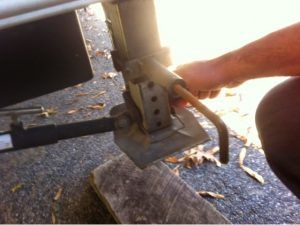
- Next up is a pull test. Raise the landing gear so that the camper is just off of the ground. (Remember, your wheel chocks should still be in place.)
- In the truck, release the emergency brake and engage the trailer brakes. You’re going to attempt to pull the truck out from under the camper; remember, this requires a significant amount of throttle to overcome 2,000+ pounds of pin weight.
- Once you’re certain that you are properly hitched, you can fully retract the landing gear and inner legs.
- Remove the wheel chocks. (from both sides!)
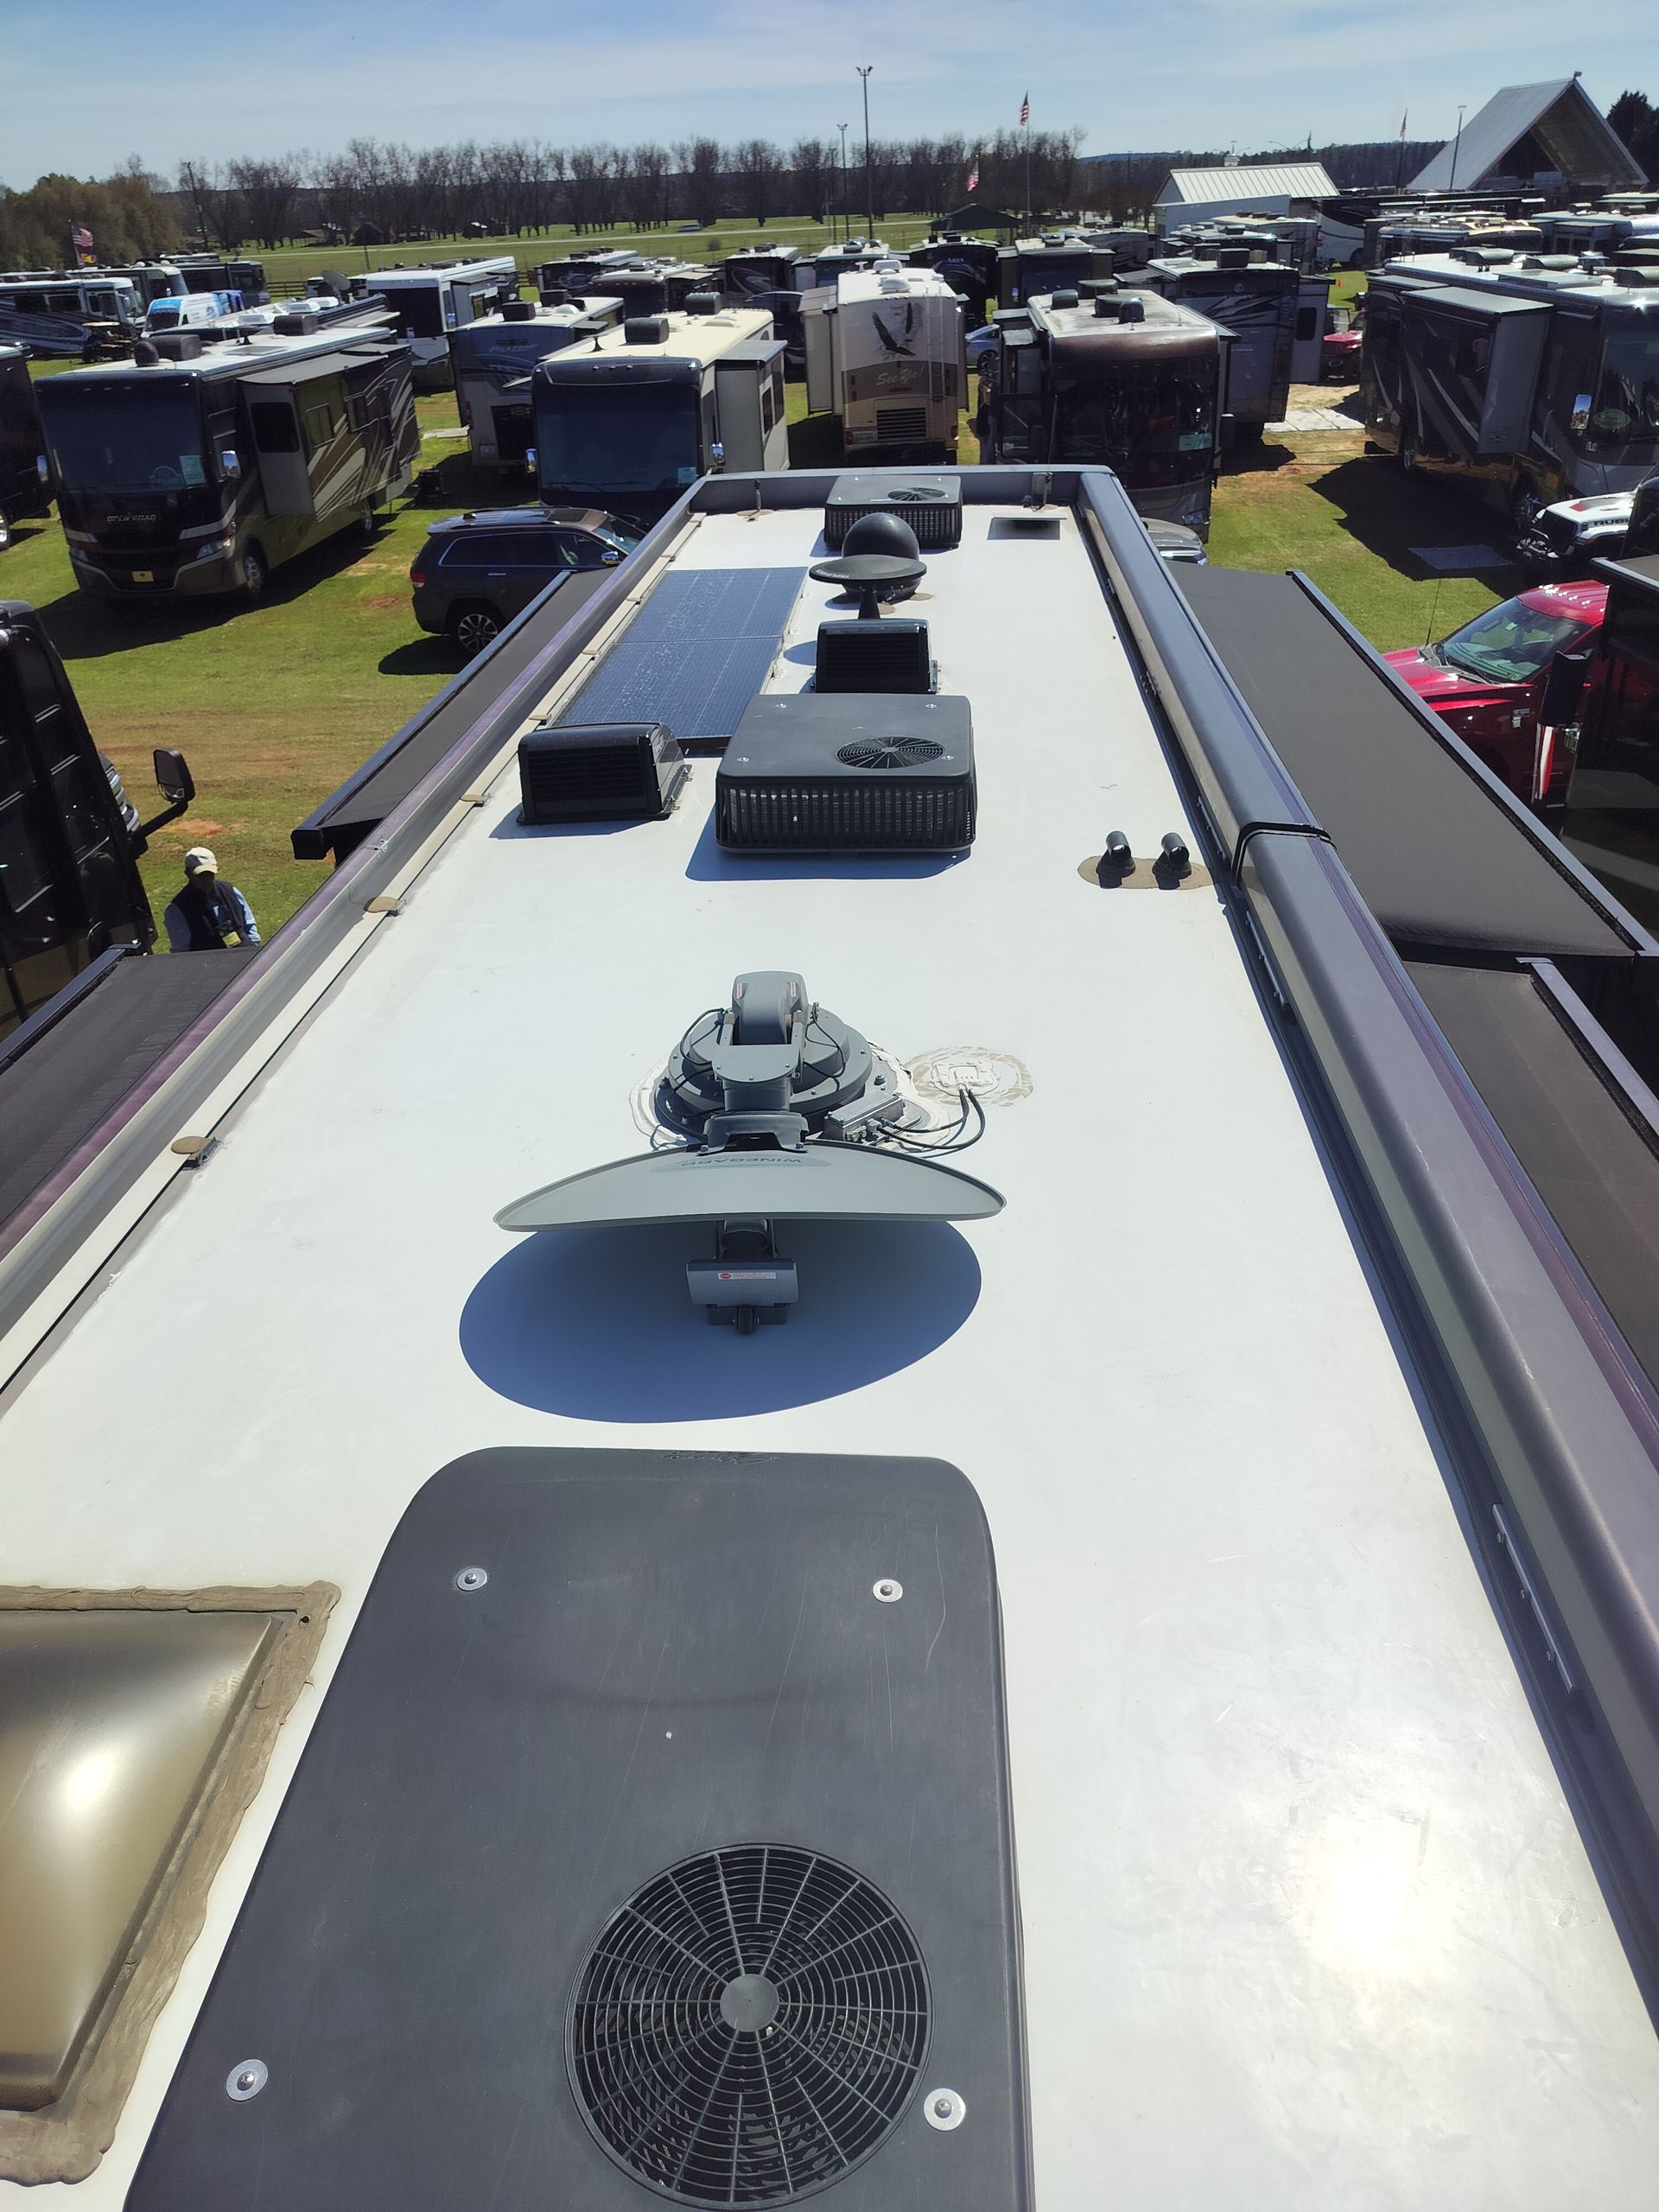
- Before you roll out- do a walk around! You need to do at least 1, if not 2 trips around the camper and truck. You need to check high and low. Check the roof line (specifically look at your TV antenna); check your tires; make sure all of your windows, hatches, and doors are closed and locked; double check the hitch, power cord, and breakaway cable; check as best as you can for brake lights and turn signals.(Note, some folks do their walk around after disconnecting the wheel chocks; I do it before so that I can stow my wheel chocks and ensure those hatches are closed and locked.)


Whether your RV roof is showing its age or you just want to stay ahead of summer damage, know when to DIY and when to call a pro. Learn the warning signs

Do you really need a sewer hose to dump your RV tanks? RV black tanks, Grey tanks and Freshwater tanks tips. Get the complete RV tank guide from Learn to RV.

The best classroom doesn't have four walls — it has four wheels. This summer, the whole country is your curriculum.

If you’re a full-time RVer, you already understand something most people don’t....that life doesn’t always go according to plan. You’ve chosen freedom. Flexibility. The ability to wake up in a new place whenever you want. But with that freedom comes a unique responsibility—especially when it comes to your health insurance. Because when you’re constantly on the move, having the right coverage isn’t just important… it’s critical. And recently, I was reminded exactly why.

Full-time RVing families can road-school around a passion — how to find WCA speedcubing competitions and make your child's Rubik's Cube hobby a reason to travel.

Your child is just wired differently. Learn the signs of dyslexia, what actually works, and how roadschooling families can take action today. with Russel VanBrocklen
Where Can RV Entrepreneurs Find Business Resources and Support? The RV Business Hub connects RV entrepreneurs with tools, tips, and resources to build and grow.
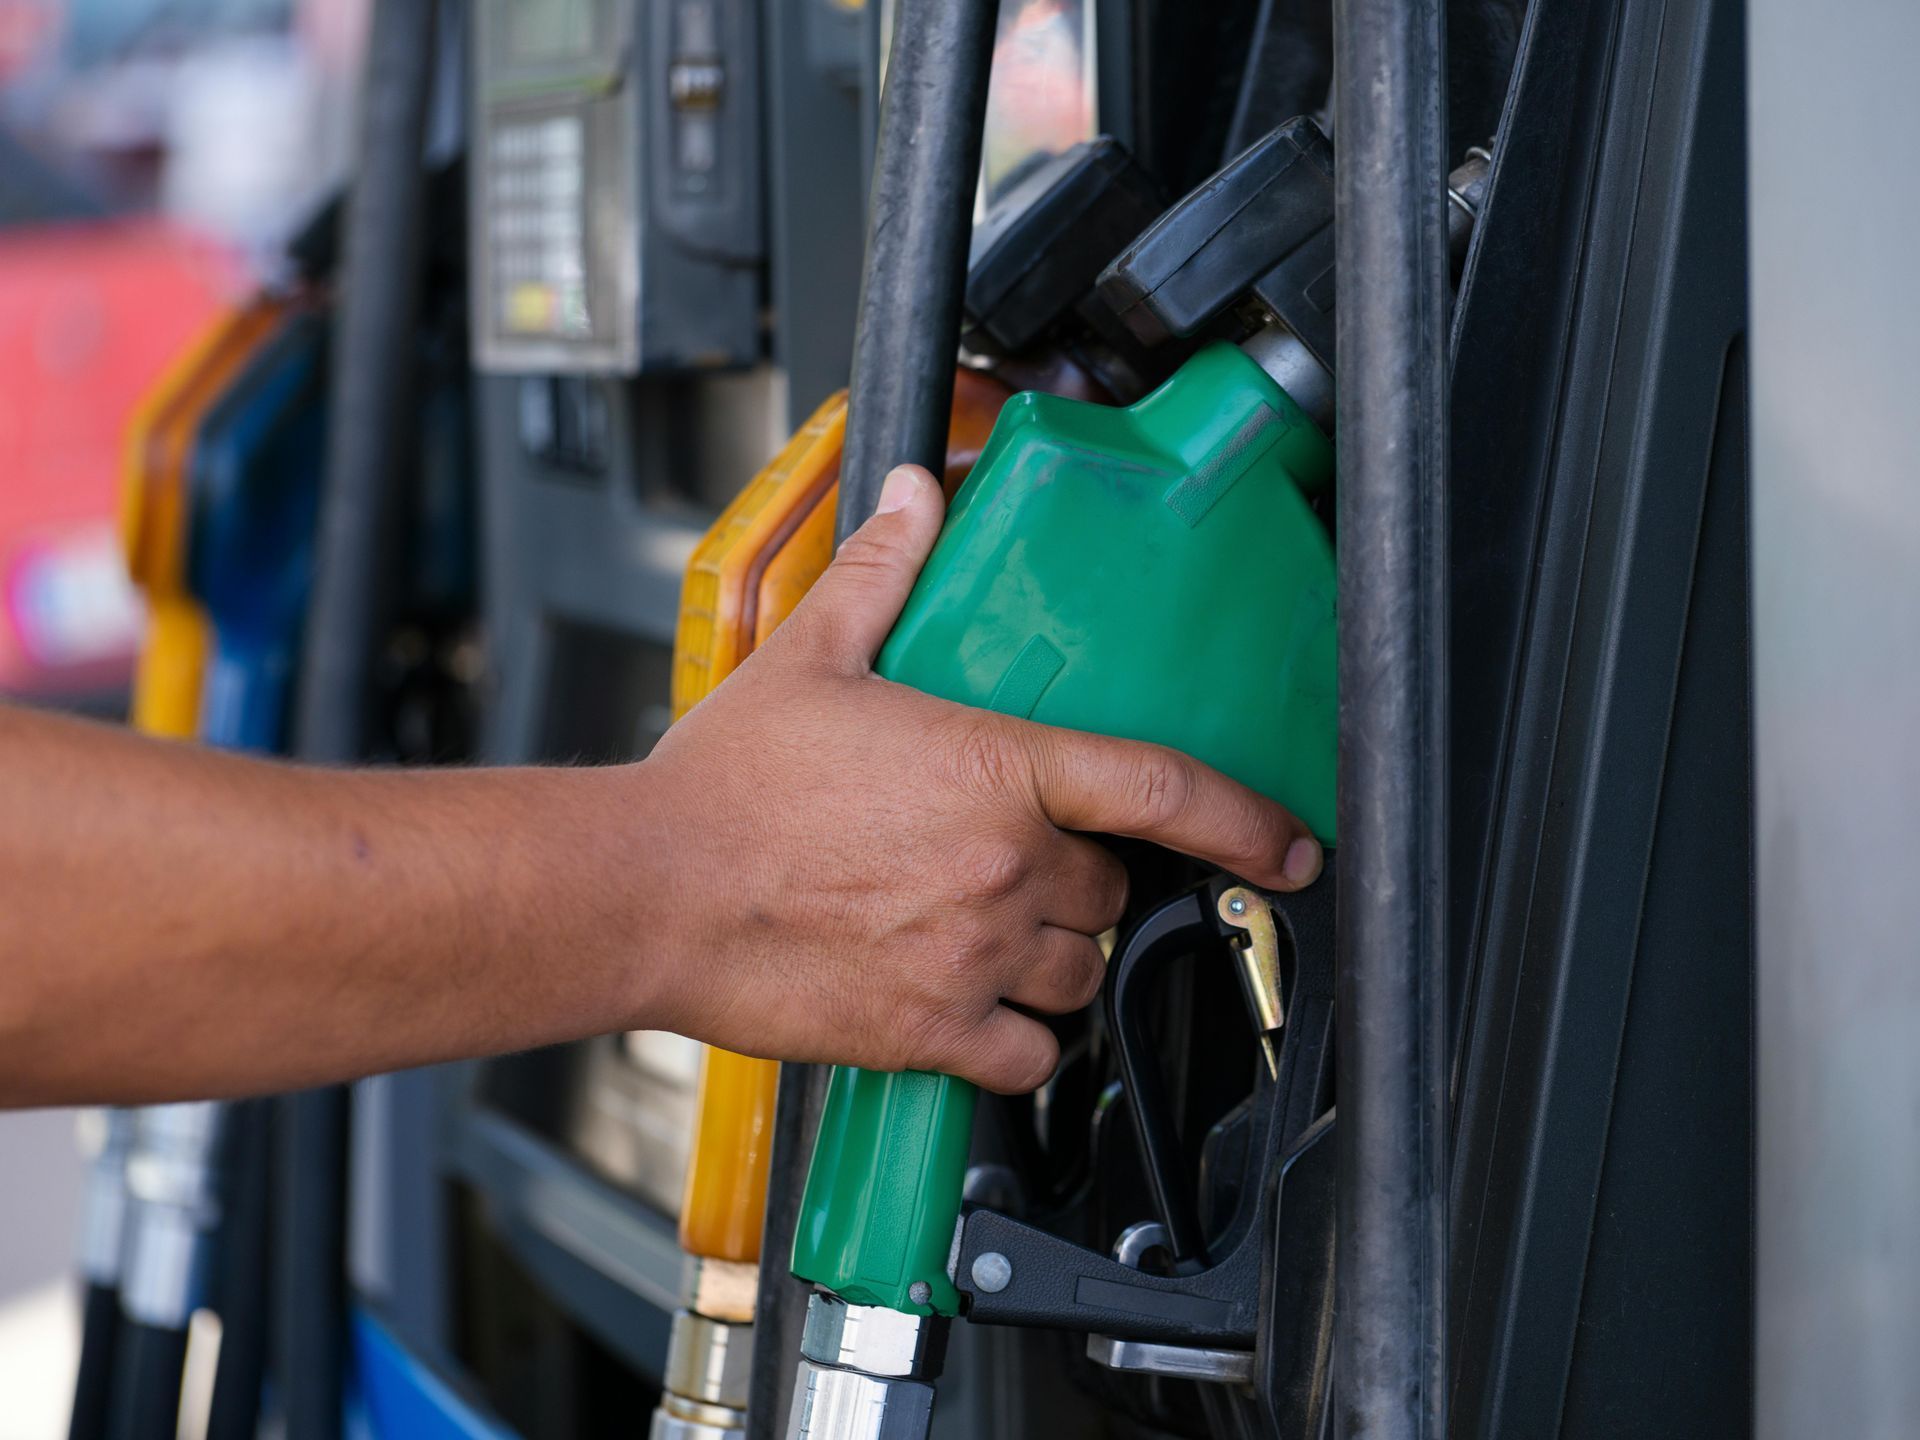
Fuel prices got you second-guessing your summer? Open Roads is too good to be true — except it's not. Free to join, diesel savings, VIP perks, tolls and more.
Most RVers don't know what their policy won't cover until it's too late. Learn the most common coverage gaps & the questions to ask before you need to file a claim.

Your RV roof coverage has limits—and age makes it worse. Learn what insurance won't pay for, what aftermarket systems really cost, and the questions to ask before it's too late.
