Renovating Our RV: A Three-Week Transformation
Desirae Barr • June 3, 2025
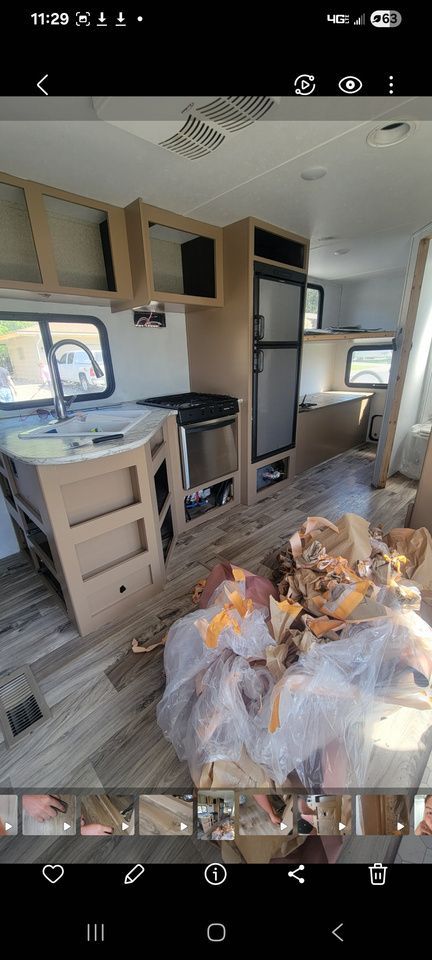
After living in this RV for 3.5 years, my husband and I have decided it is time to upgrade. But to do so, we need to sell it first. Our current trailer was a little dark, dated, and well loved. By well loved, I mean USED. So in hopes of selling it for what we still owe on it.... we needed to do a good cosmetic overhaul.
Before Pictures
Demo Day
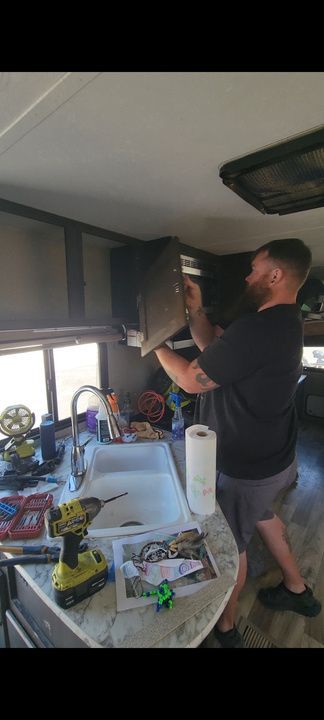
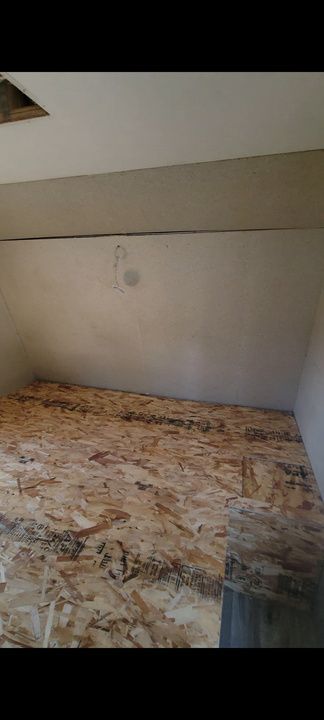
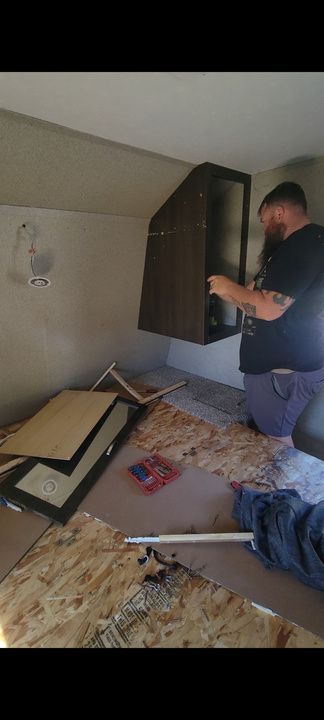
My favorite part of any renovation is demo day. Ilove to rip out anything that doesn't belong and start with as blank of a canvas as possible. Were moved everything from the main bedroom because we knew we wanted to do something completely different in there. We also removed all the cabinet doors and their handles so that we could prep them for paint.
Painting an RV
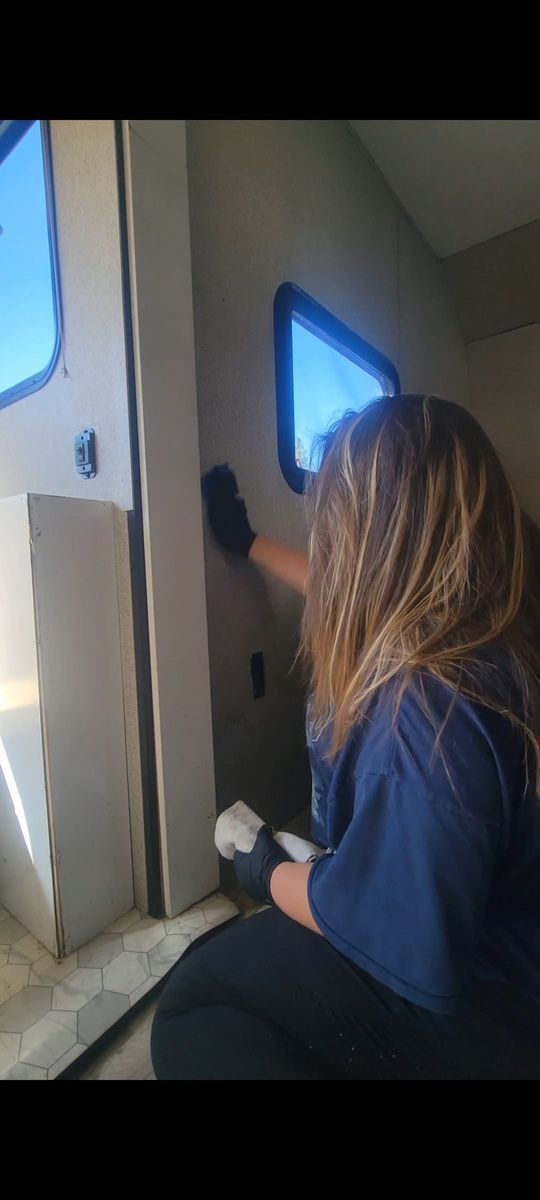
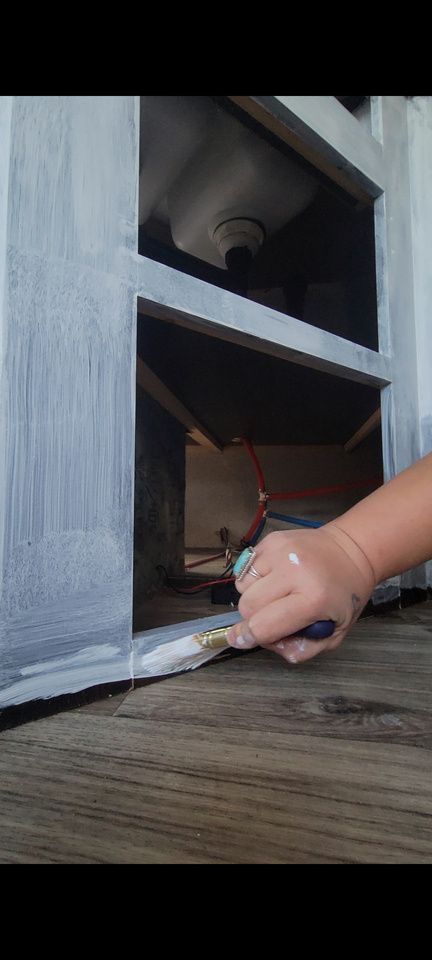
We decided to paint the walls and cabinets. Prepping for paint is key. Scrub every surface withTSP. Watch the dirt, grease, and residue melt away! Some people like to sand their walls and cabinets prior to paint, personally, I don’t think its necessary. The walls in an RV are pretty much textured wallpaper. With a good cleaning and priming process, you have nothing to worry about. You want to clean thoroughly, 2 coats of primer, and 2 coats of paint. With a light sanding and tack cloth clean pics in between each step. The sanding is to eliminate any clumps or thick drips of paint. The tack cloth is a sticky cheesecloth, it will pick up all of dust you made while sanding.
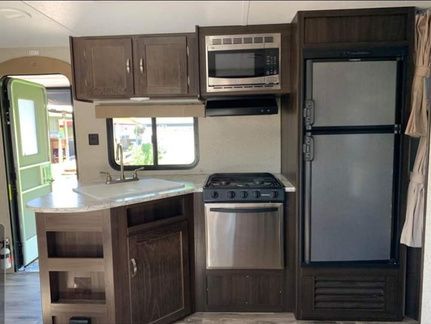
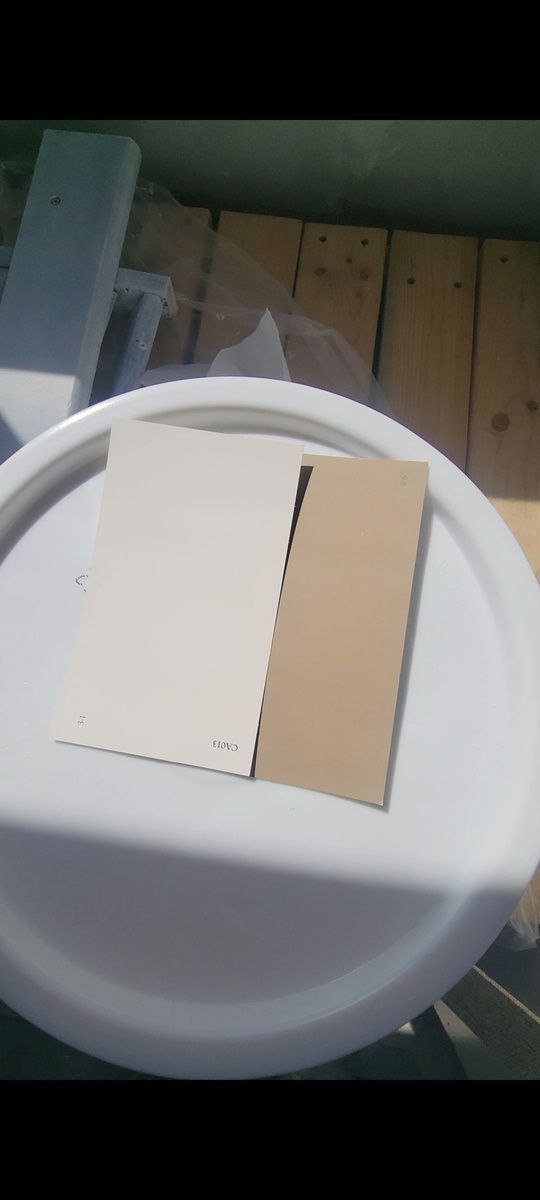
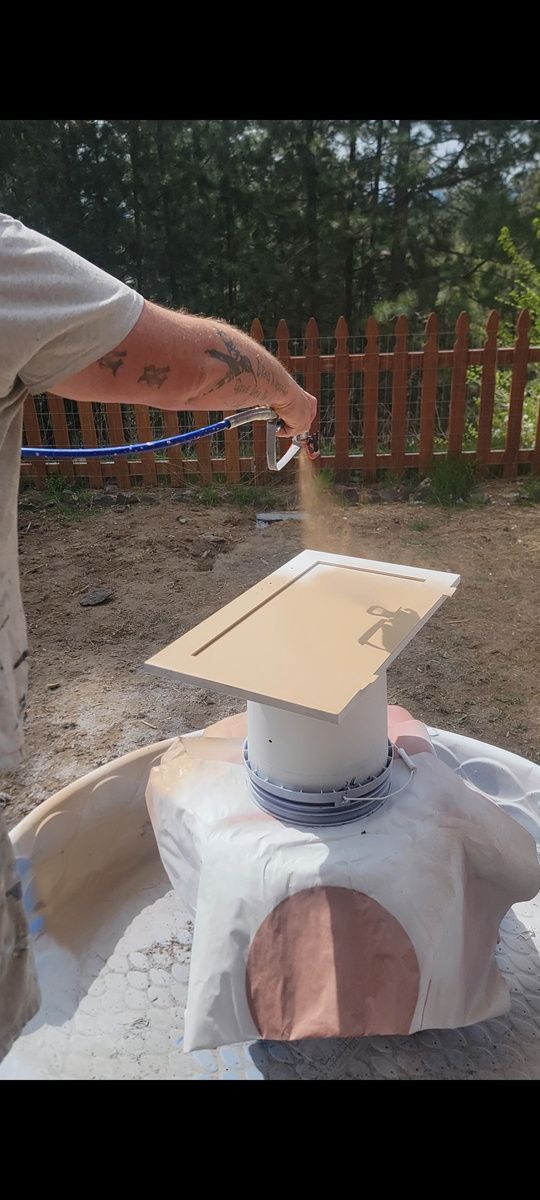
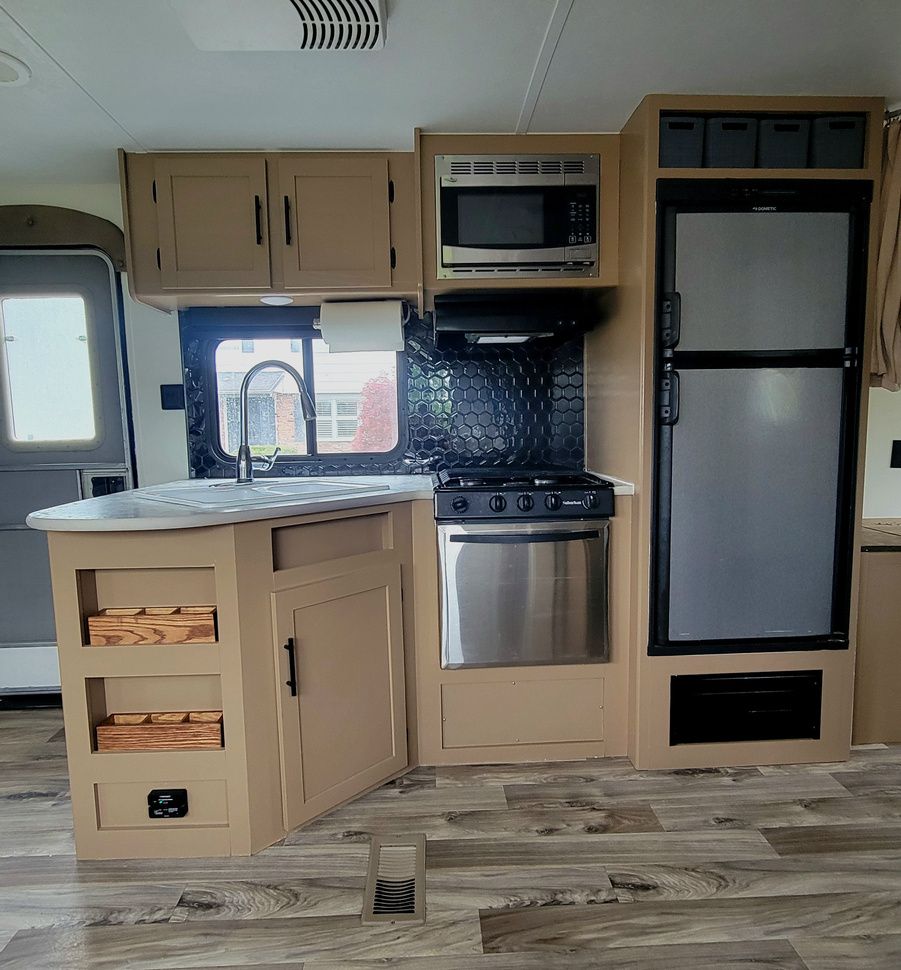
For the walls, we chose a slightly warm white to keep the space feeling bright yet cozy. The cabinetsgot a fresh update with “Wheat” by Rodda Paint, which added warmth and sophistication. While we used rollers on the walls for better control in small spaces, we opted for a paint sprayer on the cabinets. Sprayers are ideal for smooth surfaces like cabinetry because they provide an even coat without brush marks or roller texture, giving a more professional finish.
Why Renovate Just To Sell?
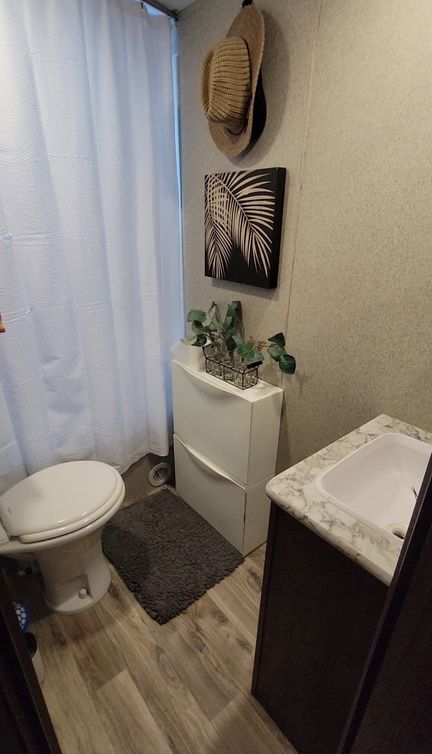
Like many RV owners, we’re currently upside-down on our loan - meaning we owe more than it’s worth. We owe $18,000, but the market value for our rig is closer to $13,000-$16,000. So, this wasn’t just about making it pretty (though it’s very pretty). We’ve also invested in upgrades likea new toilet (glamorous, I know), water heater, aftermarket roof from RV Roofing Solutions, and regular maintenance. Our hope? These improvements will bring us closer to that $18k mark when it’s time to sell - or at least soften the financial blow.
Using a Paint Sprayer for Cabinets
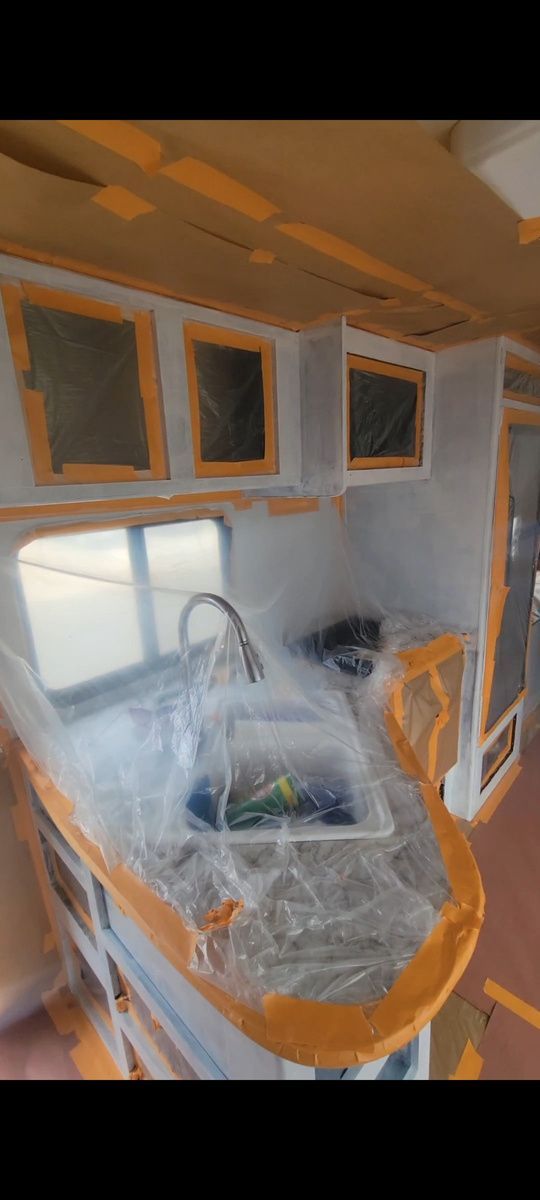
Painting cabinetry with a paint sprayer gives the best final look. So we opted to attempt it for the 1 time, and let me tell ya..... it is a lot of work!!!! MASKING... my goodness masking took me FOREVER. You must cover everything you don't want painted because overspray can be challenging to control.
When it comes to the cabinet doors, we sprayed the inside of the doors 1 , then the next day flipped them to paint the sides and front. Best tip I have for this process is go on light for the 1 coat and go for the coverage on the 2 coat. Light sanding and tack cloth in between every step.
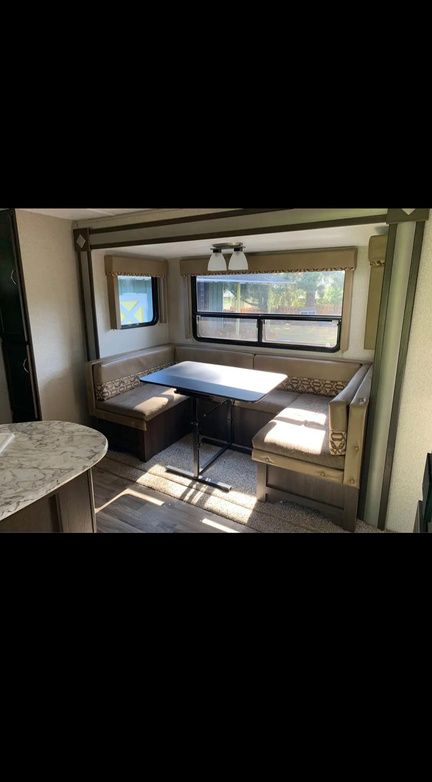
U Shaped Dinette Had To Go
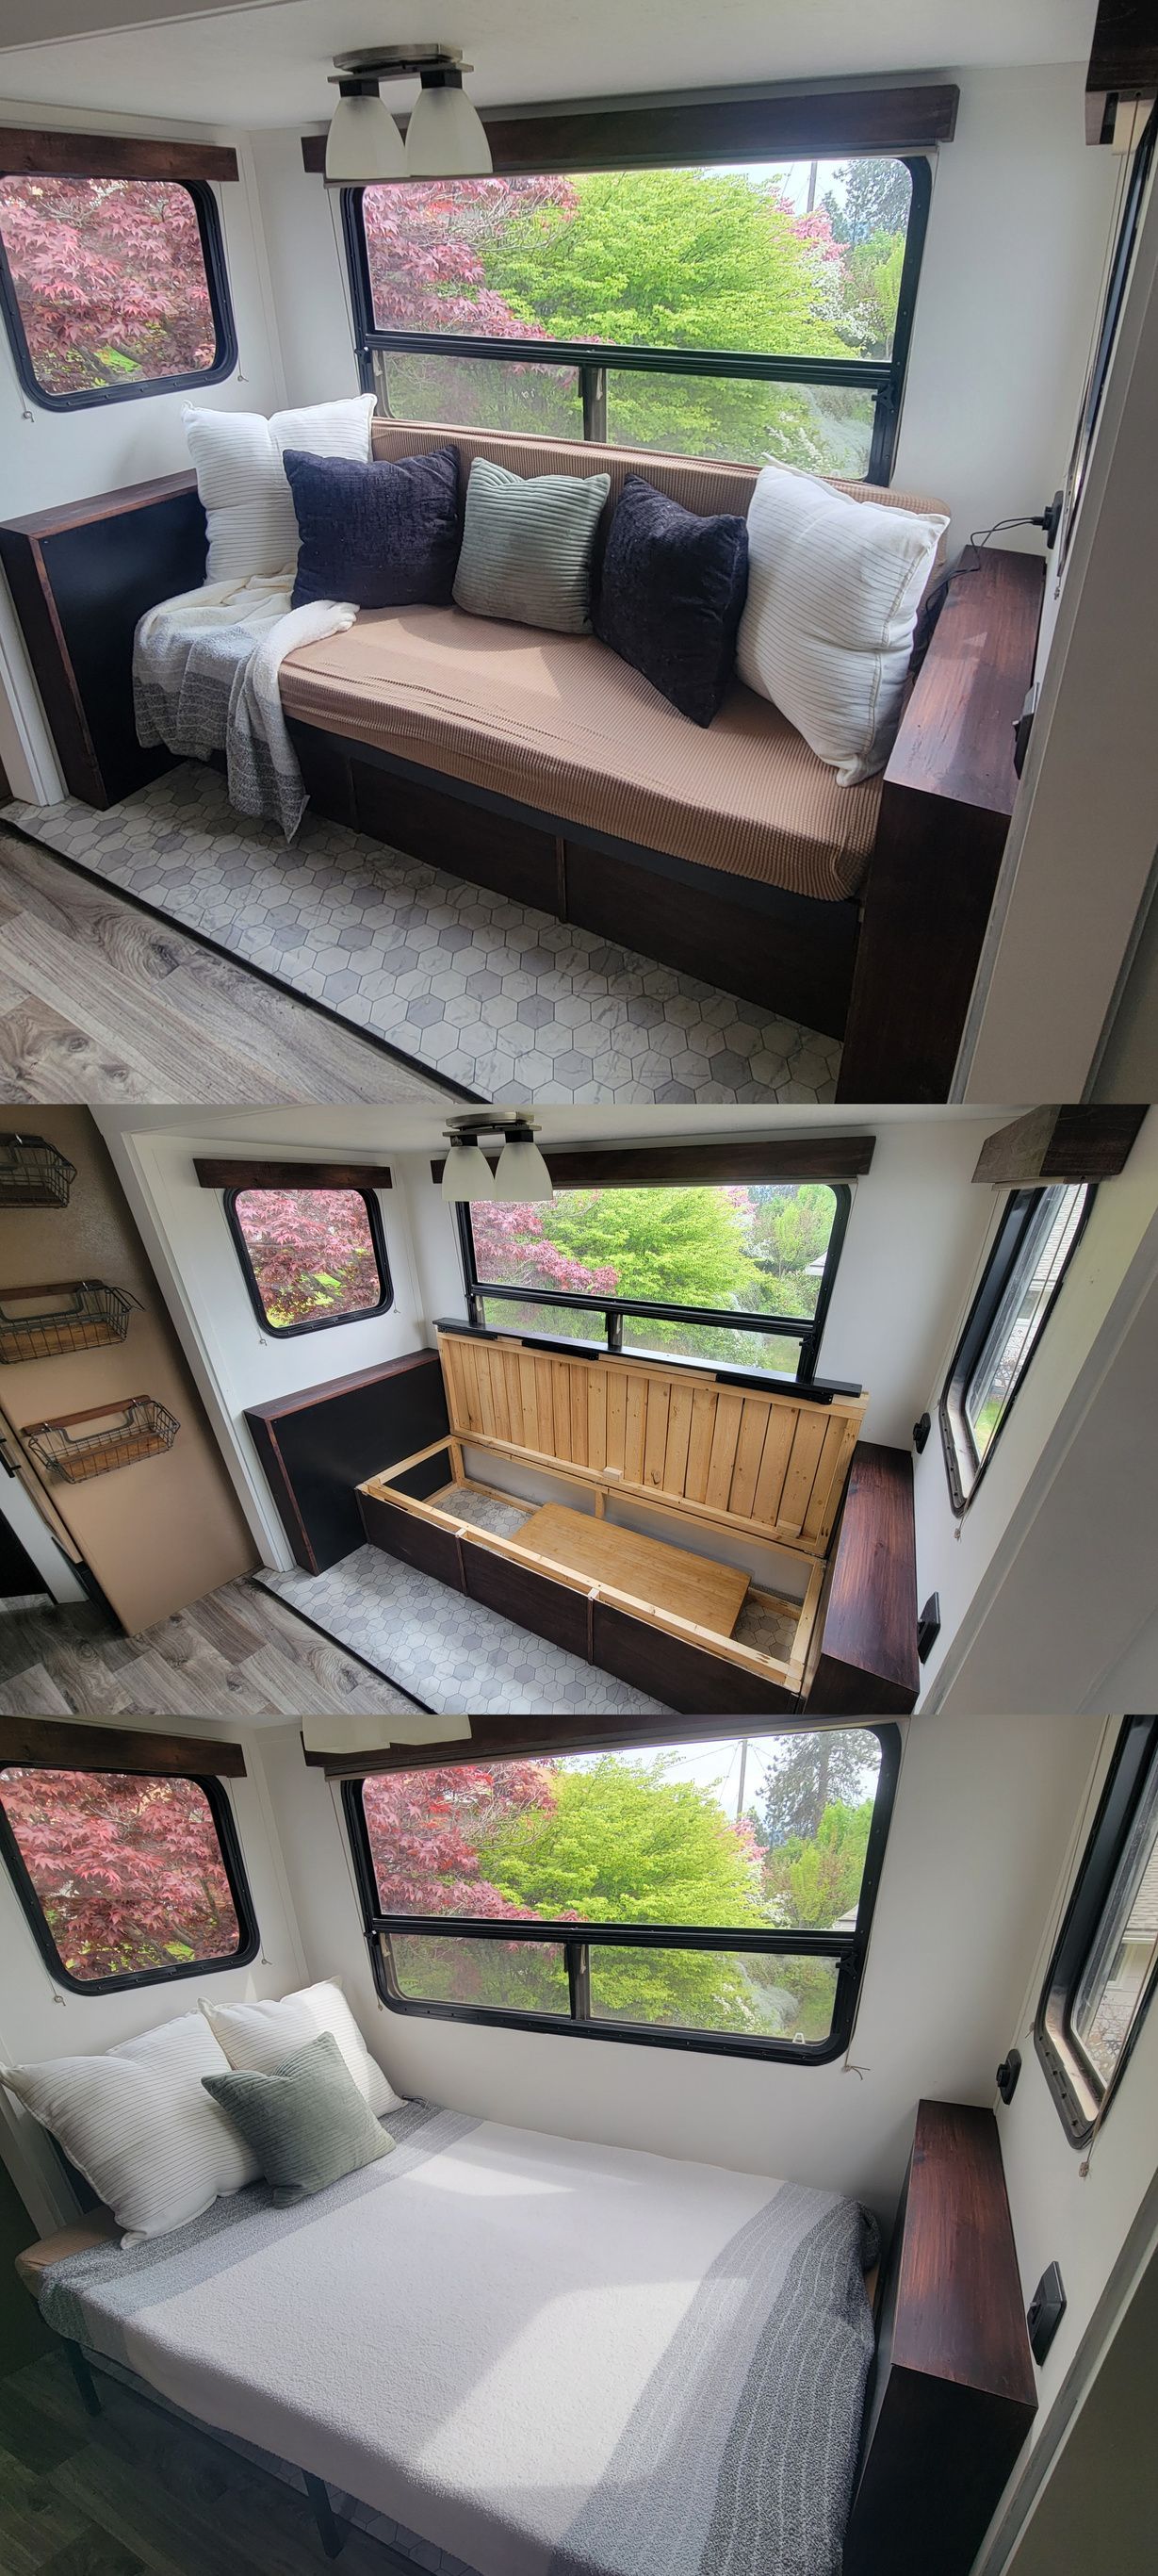
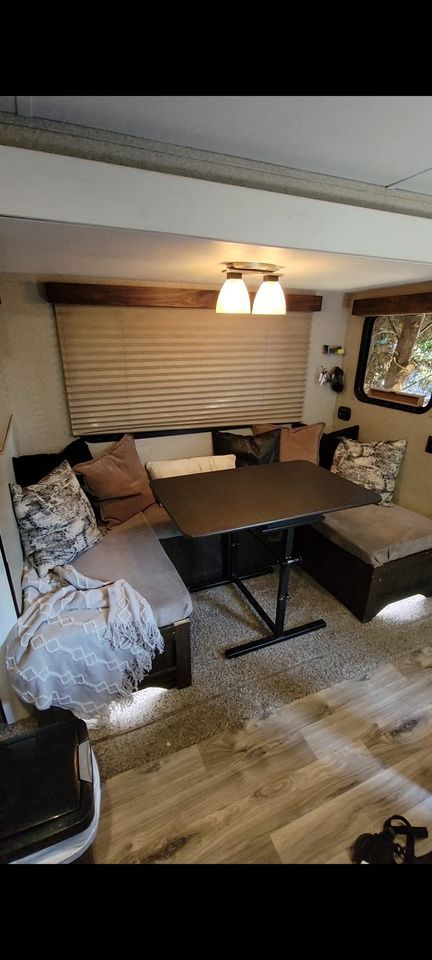
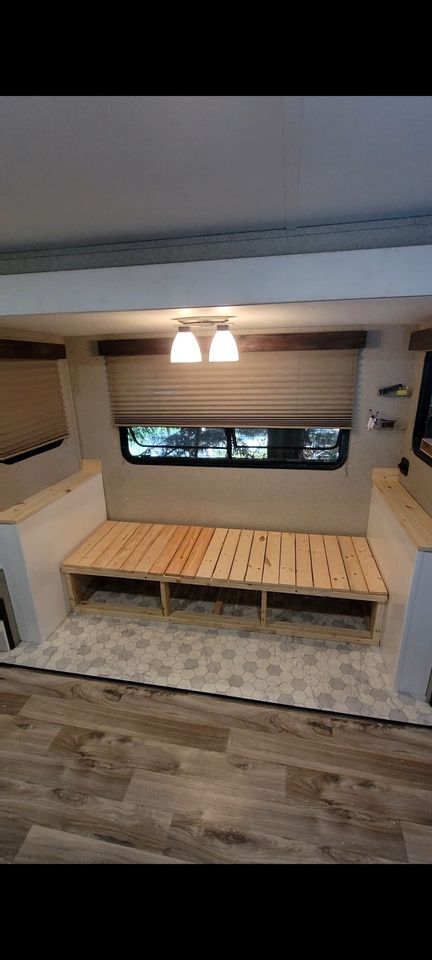
In the living area, we built a custom couch from scratch.Not because we’re overachievers (we can be), butbecause the dinette was awful for us. When guest stayed,the make-shift bed was slippery cushions that slipped rightoff the fold down table. The seating was tight and notcomfy. We knew we needed to replace it with somethingmore desirable for buyers. The problem was, we couldn’tfind one that fit everything we believed this space couldbe. So we built a custom couch that has storageunderneath, and can pull out to a full size bed.
A New Main Bedroom
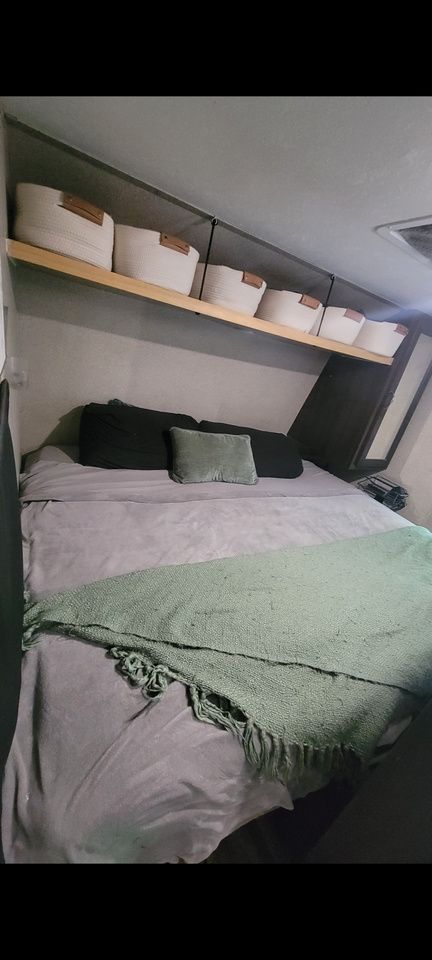
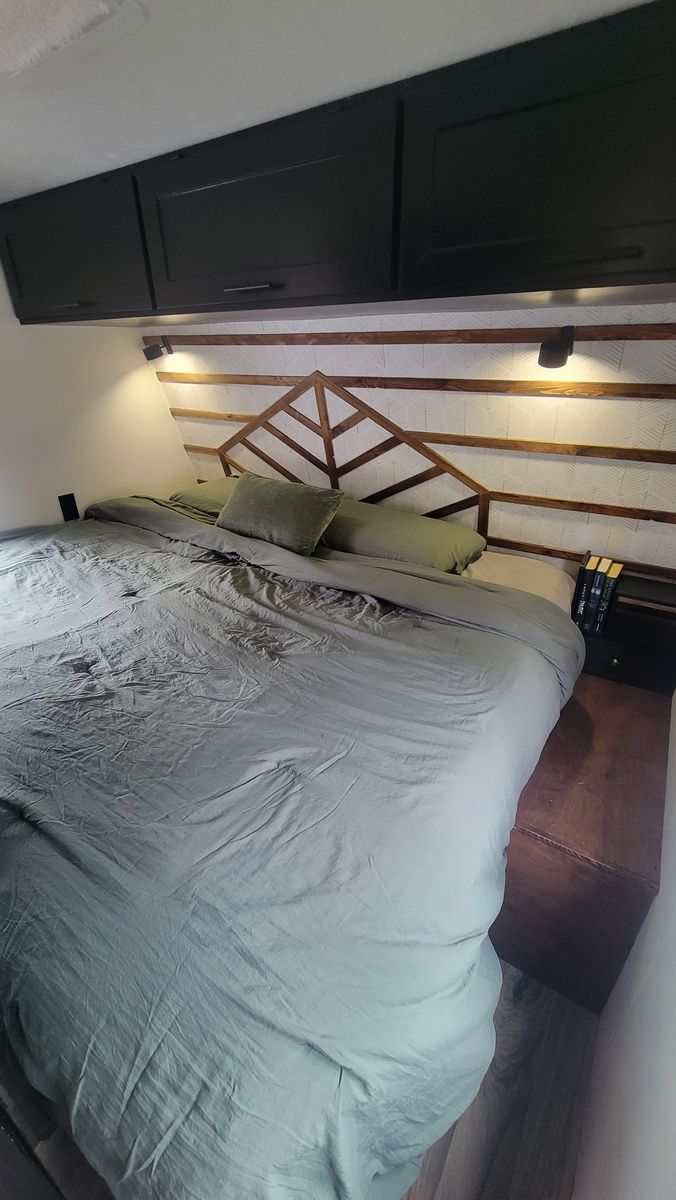
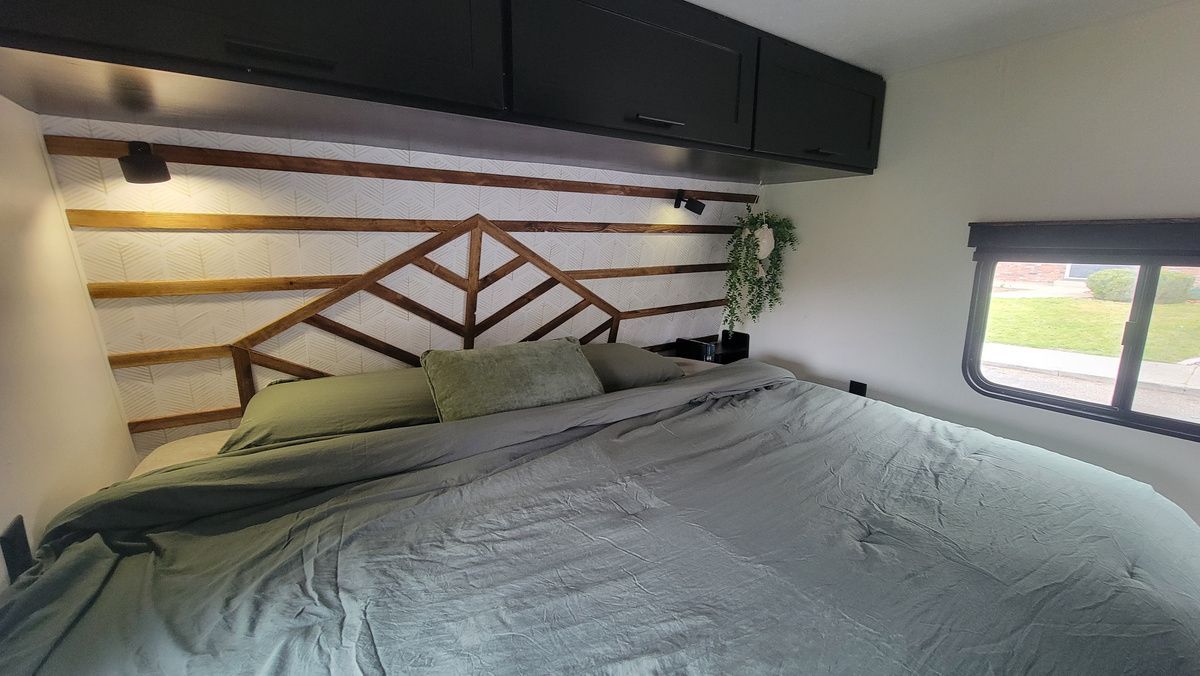
Before the renovation our bedroom, with a King size bed,had one long shelf and a small closet. I didn't like the closet, it made the bedside table practically unusable. We opted to remove all of it and custom build upper cabinets.This leaves the bed side open and gives the space a largerfeel. We also added wallpaper and a designed wood slat wall to act as a headboard and eye catching element to the space.
Final Results
The theme for our design was "black and tan". We changed the hardware from silver to black, we added black backsplash and opted to paint the entertainment center black. Overall our thought process for the design was to keep it fairly neutral in hopes of creating a space that anyone could add their personality to. It is masculine enough for a hunting cabin on wheels and also chic enough for a girlie glamper.
Other blogs you might like...
