DIY Power Awning Support Poles
Doug S • May 7, 2025
A while back, I wrote about support poles for your power awning. They had been made by a couple members of the Forest River Forums (FRF) but unfortunately due to shipping issues and just plain change of interests, neither are actually selling awning poles any longer. I have also changed campers and needed new poles for my awning. This led me to start looking at DIY options for awning poles. A common theme is to use extendable Wooster paint poles but it still left a challenge of what to use for the brackets. User ryand on FRF came through with an idea for using bathroom stall brackets and adapters for the paint poles.
I did my rear awning last fall and posted it to the LearnToRV Facebook page (you’re a follower there, right?!). I just did the front awning and took a series of pictures as I went along. We have now had the awning out for the past month (almost non-stop) due to our coronavirus pause and this is one of my favorite modifications.
Disclaimer
Disclaimer: the act of tying out your awning can be a contentious subject. As well, you have to accept the risk that you’re going against the manufacturer’s recommendation of not retracting it during wind and rain. On top of that, you’re drilling into the arms and that may void its warranty. I make no promises that if you follow the steps in this article that you won’t end up with a $2,000 destroyed awning and/or voided manufacturer warranty. These instructions are specifically for Dometic awnings.
The Purpose
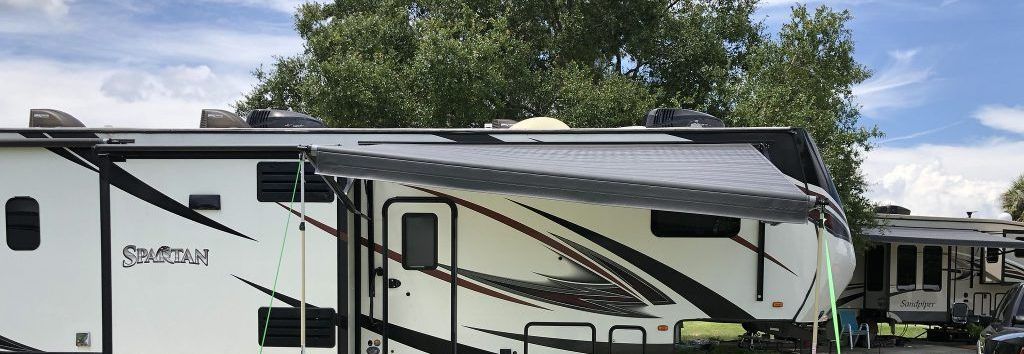
As I mentioned in a previous article, power awnings are great but they’re weaklings. I utilize poles to support the awning arms from being pushed down due to wind and rain (assuming you have a proper slope that the rain runs off). To keep the awning from being blown up and over the top of the camper, straps are used.
DIY Solution
These instructions are specifically for Dometic/A&E awnings. If you have a different awning, you need to determine if and how these instructions apply to you. As always, the risk is yours to follow these instructions whatsoever.
Parts
You’ll need 2 each of the following:
- 1 1/4″ “U” Bracket (for bathroom stall walls)
- Threaded Brush Adapter
- Wooster Paint Pole (mine is 8′, you may get away with the 6′ version)
- 3/4″ bolts and corresponding nylon lock nuts (from hardware store)
- Shaft locking pin (it’s like a d-shaped pin, from the hardware store)
- 15′ ratchet straps (preferably bright in color !)
- Tie downs (see below for options)
- Optionally, sticky backed Velcro
Tools Needed
- Drill
- Drill bit sized to match the 3/4″ bolts
- Socket wrench and end to fit the 3/4″ bolt/nylon lock nuts
- Open-ended Wrench to fit the 3/4″ bolt/lock nuts
- Ladder
Installation
A one-time installation of the brackets to the awning needs to occur. This will install the bracket and paint pole adapter onto the awning.
Start by extending the awning about 6-8″. This lets you secure the backside of the nuts & bolts that you’ll be manipulating.
Ensure you have a safe and secure ladder – a fall from up here is no joke. A while back I got a telescoping ladder from Cosco products. The nicest part is its “soft close” feature which keeps the ladder from slamming closed. After using the ladder for about 8 months now inside and out, I can definitely recommend it.
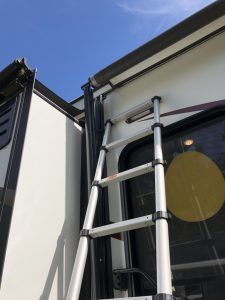
Starting the actual installation, you have to remove the bolt that holds the end of the awning arm in place. Gravity is working in your favor here, so it’s not going to come apart.
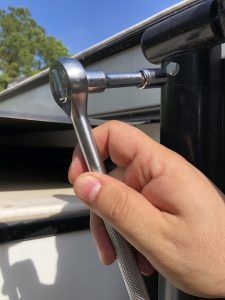
Once the bolt is removed, you’ll put the 1 1/4″ “U” stall bracket into place and re-tighten the bolt that you just removed.
With that in place, make sure the bracket is nice and straight as you’re now going to drill a hole for a second bolt.
-
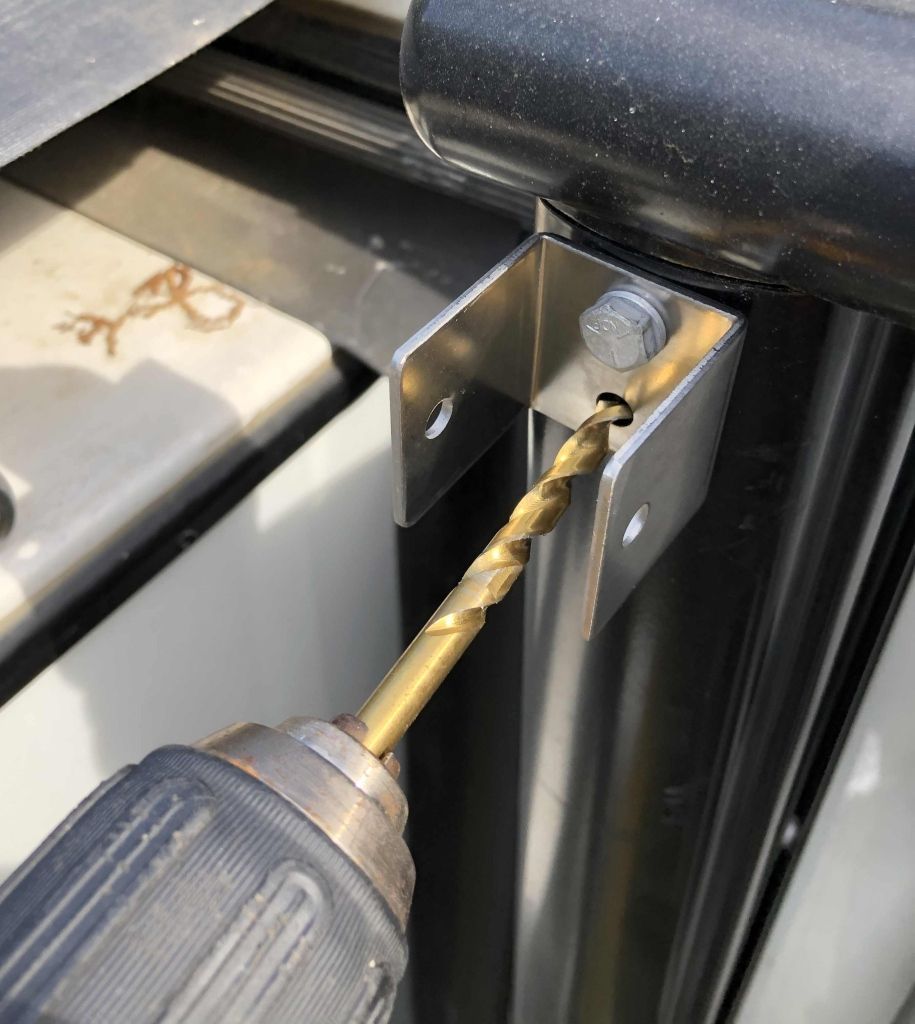
Carefully drill the awning arm (check for wires behind where you’re drilling!) -
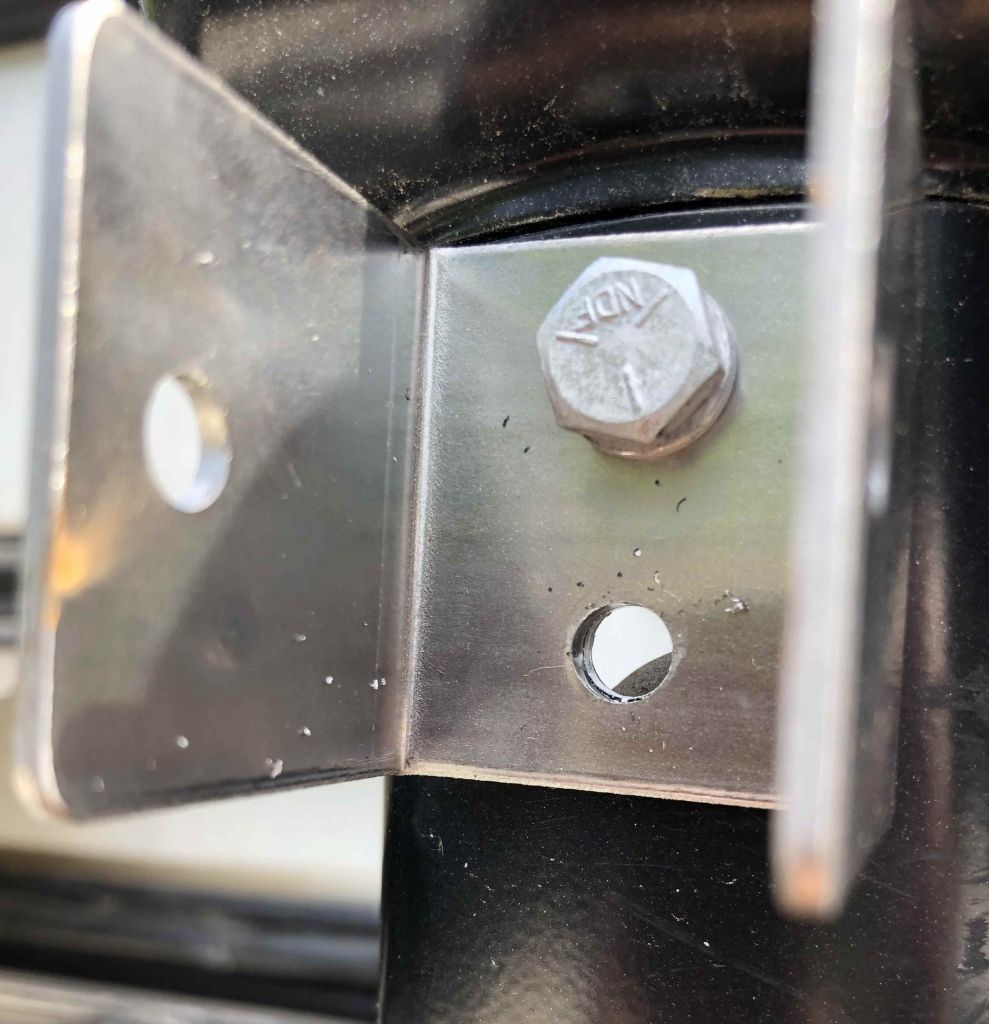
The hole has been drilled and is ready for the bolt & nylock nut -
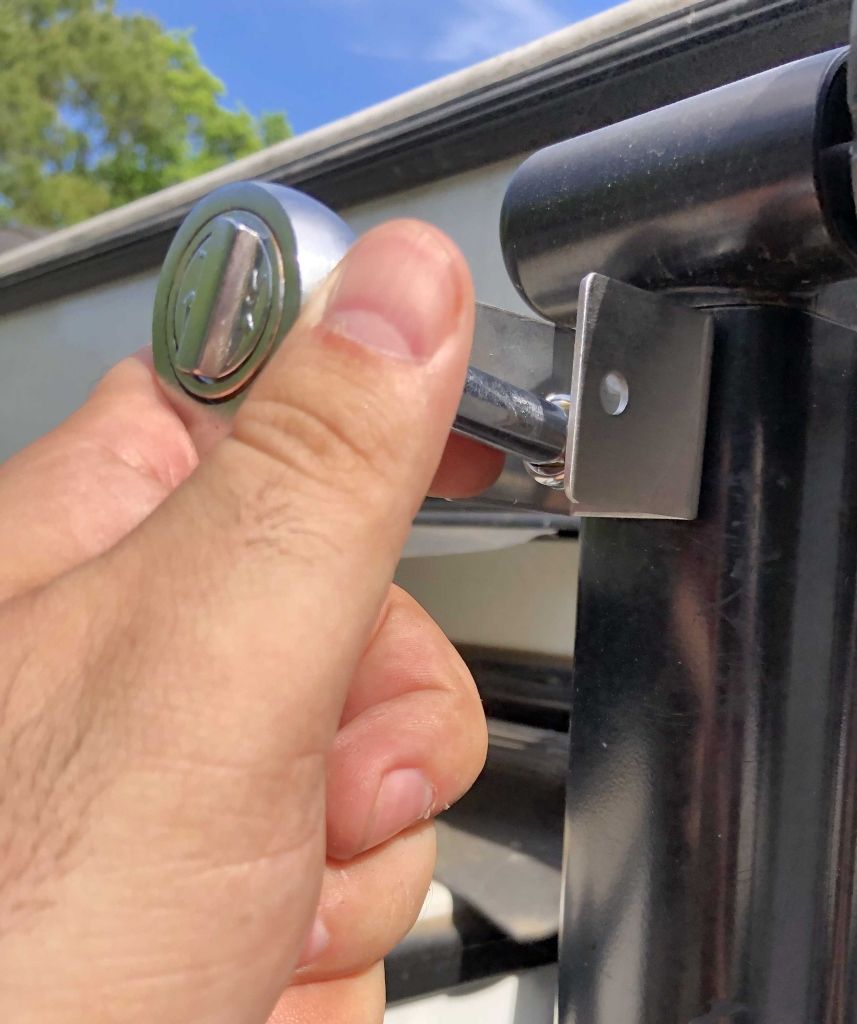
Tighten the nylock nut using the open ended wrench and socket
Bracket installed, we’re now going to connect the paint pole adapter. This could be bolted in place, but I use a locking D-ring instead. If I wanted to skip the Velcro, I could just attach these with the poles.
-
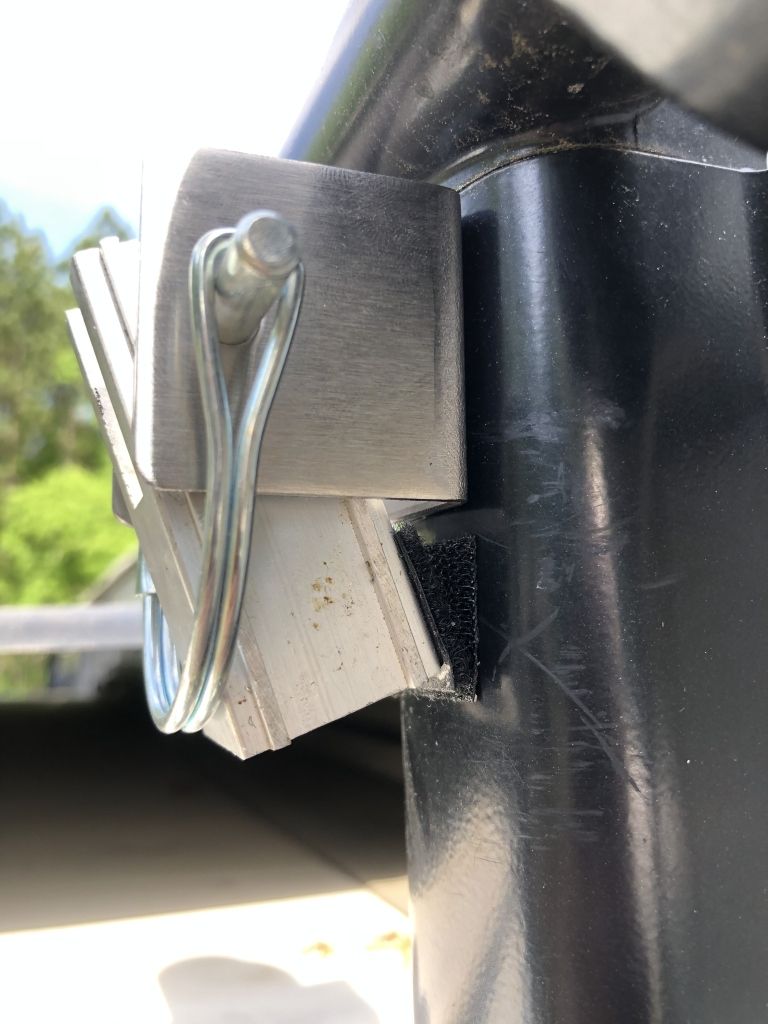
Final assembly of the paint pole adapter connected to the “U” stall bracket -
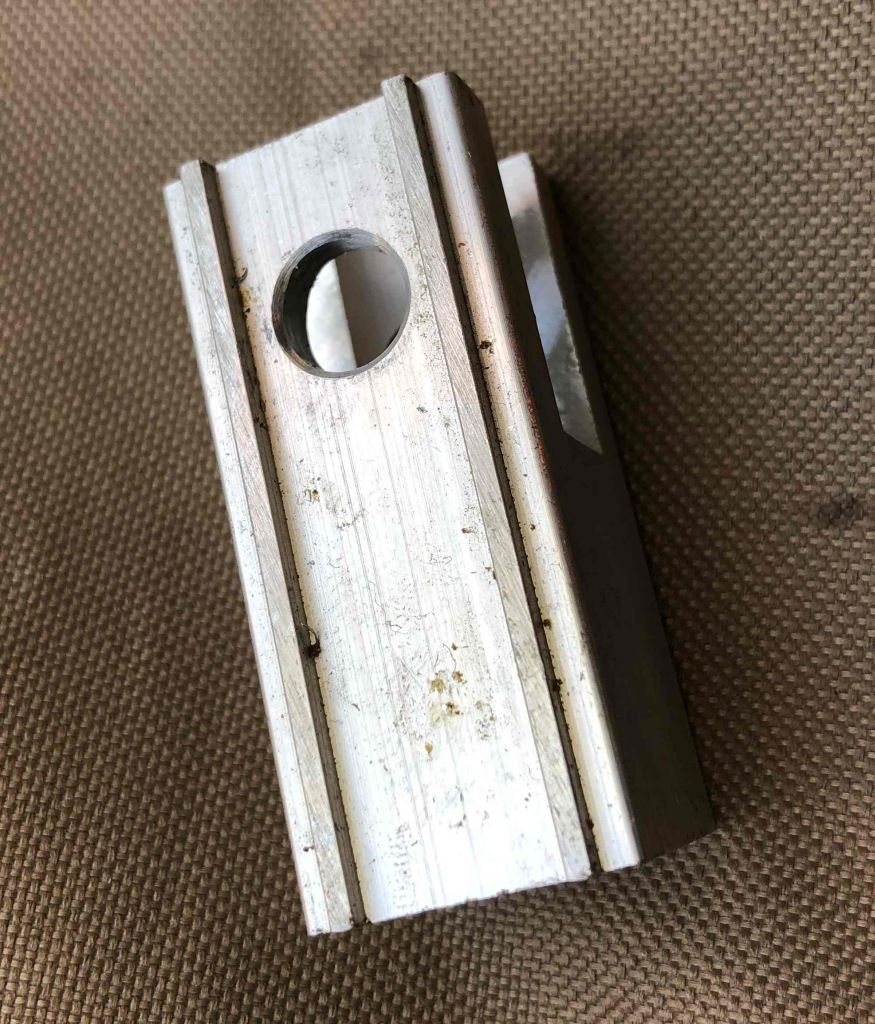
Paint pole adapter -
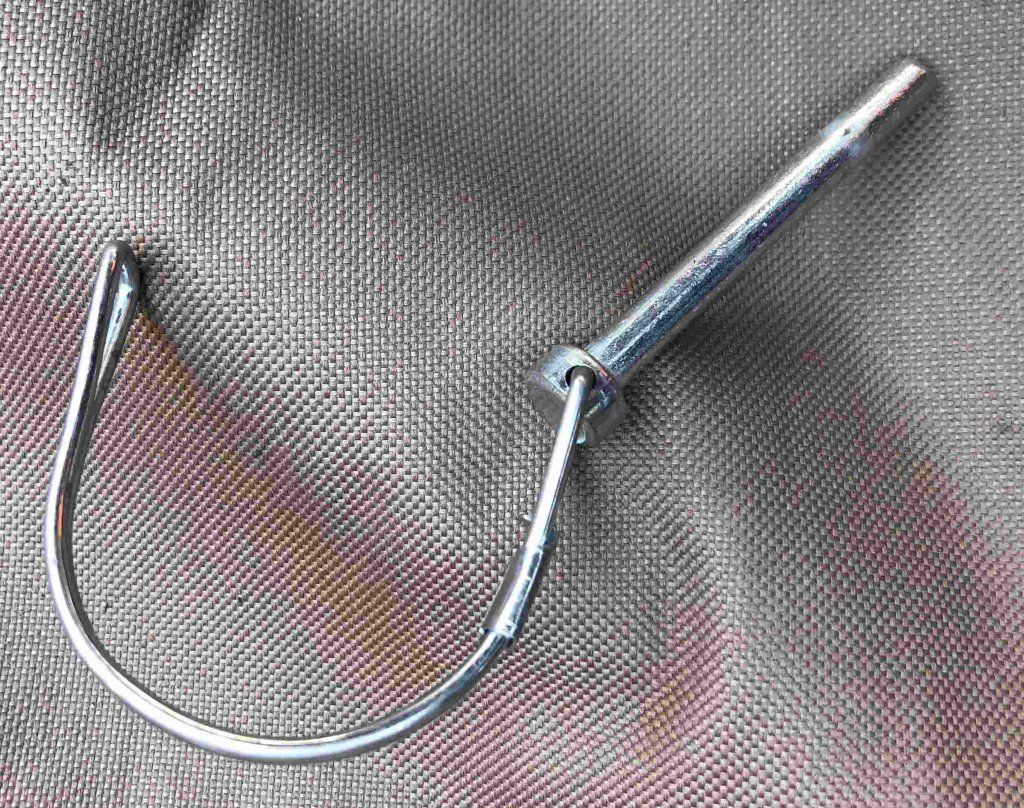
D-ring “wire safety snap” pin
In the first picture there, you can see the Velcro that I used. This keeps the bracket from flopping around in travel and wearing down the powder coating. As I said, I could just remove this piece and leave it attached to the pole but it’s easier with Velcro.
Repeat for the other awning arm.
Camp Setup
Now that you’ve taken care of the one-time installation of the brackets to the awning poles, you’ve gotten to camp and double-checked the weather forecast. (Remember, these things aren’t a cure all.) You’re ready for the campsite setup.
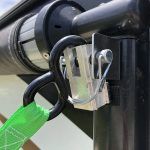
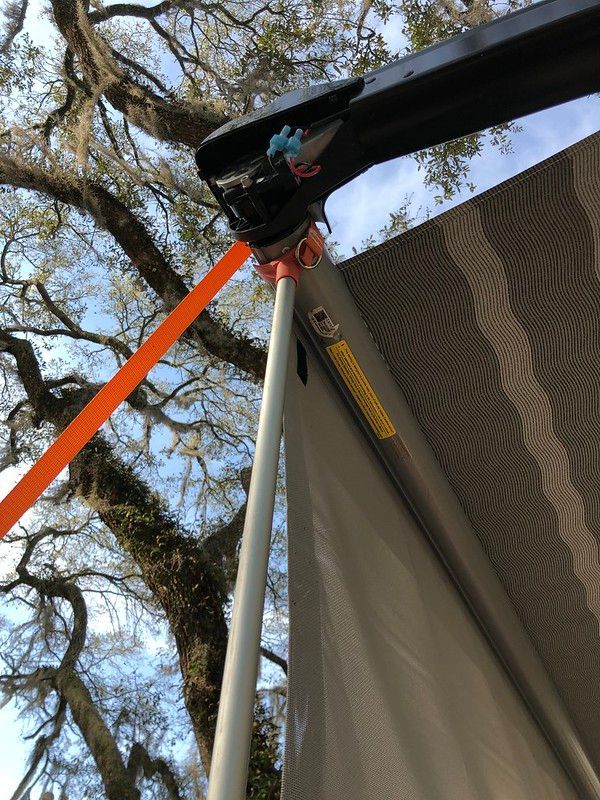
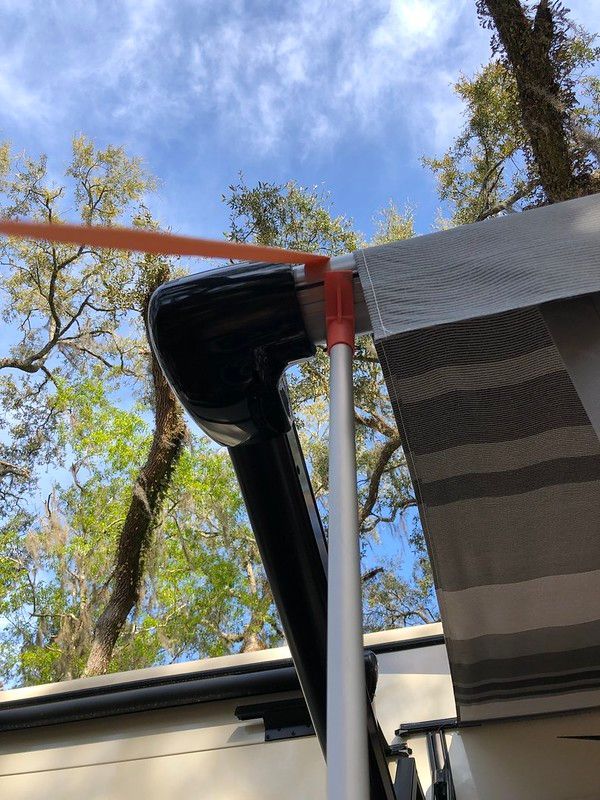
First, I start with my ladder up against the camper like the top picture in the installation instructions. I loop the hook end of my 15′ strap over the top of adapter and the D-ring pin. (I connect the long end of the strap up high because my new awnings are stupidly tall and I can’t reach them from the ground to tighten the ratchet strap.)
My wife or daughter will then extend the awning.
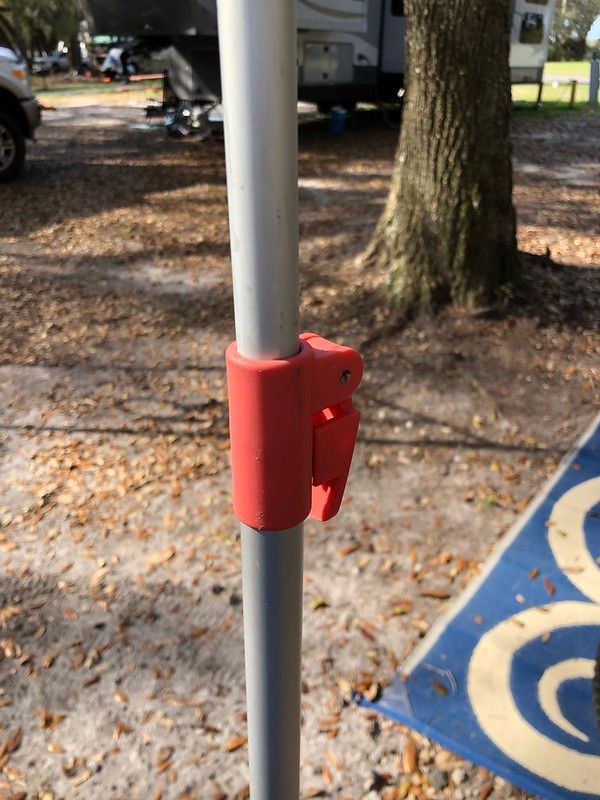
I screw the paint poles into the threaded adapter. The Velcro lets go of the adapter with the slightest nudge. The height gets adjusted so that one pole is almost touching the ground and the other so that I have to pull that end of the awning down for rain run off.
I secure my tie downs so that they’re a bit out from the awning. I want to claim it’s about 40-45° but really it’s more of a, “about here should do it.”
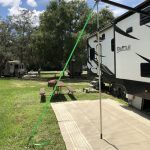
Hook the other end of the strap to the tie down.
Tighten the straps so that the poles are snug. I’ll try to lift the poles. If they easily come off the ground, I’ll tighten it up a little more. Don’t go crazy with it.
Repeat for the other awning arm.
Tie Downs
In my time with support poles for awnings, I’ve used dog stake tie outs, The Claw anchors , and most recently the Anchorsmart anchors.
The dog stake tie outs were the cheapest and most easily found. Unfortunately, the ground had to be “just so” for me to be able to twist them in. And, I got a little nutty with the screwing them in and broke more than my fair share.
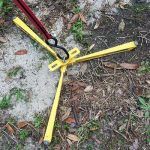
I really like the Claw but it works best when the force is pulling upwards. I typically put my awning straps at about 45° to the awning poles. They’re expensive and only available from a few vendors, but they are solidly made. Bonus, you can get replacement nails from a hardware store. (You know, when you nail them into hard packed stone at a campground on a mountain in Colorado… or maybe that was just me.)
This time around, I tried out the SmartAnchors anchors. These are similar in design to The Claw tiedowns that the nails go into the ground in 3 different directions. One of the 3 can be rotated so that you can give better pulling strength at an angle. The downside is that the hoop at the top of the anchor is quite small and getting my straps through it has been challenging in use.
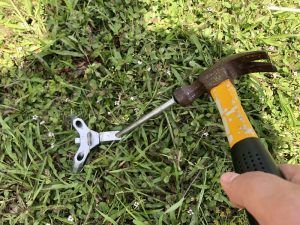
I want to try out the Groundgrabbas next. (Never did I ever think that I’d be talking about my preferred tie downs.)
Negatives
As with anything, there are negatives to everything. There are 2 things that bother me with using power awning support poles.
First, they can make you over confident of your awning and potentially leave it out in winds that can cause damage. I had a couple occurrences of this with my first RV where I ended up having to leave the awning out because it got too windy to safely bring it in.
Though, with this new system where I can just unscrew the poles, I have had 2 of us holding the poles while a 3rd person ran the awning in. Once fully retracted (and protected!), I disconnected the poles.
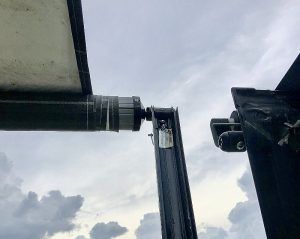
And second, I have noticed that the awning fabric will shift on the tube or up against the camper. When this happens, the awning arms will twist and won’t close properly.
The fix is pretty easy, and that’s to readjust the fabric. Some suggest putting a screw to hold it in place. Ironically, I had a mobile RV tech put the screw in for me but it caused the awning tube to not be able to rotate. So now I’m a little gun-shy of that solution.
Commercial Solution
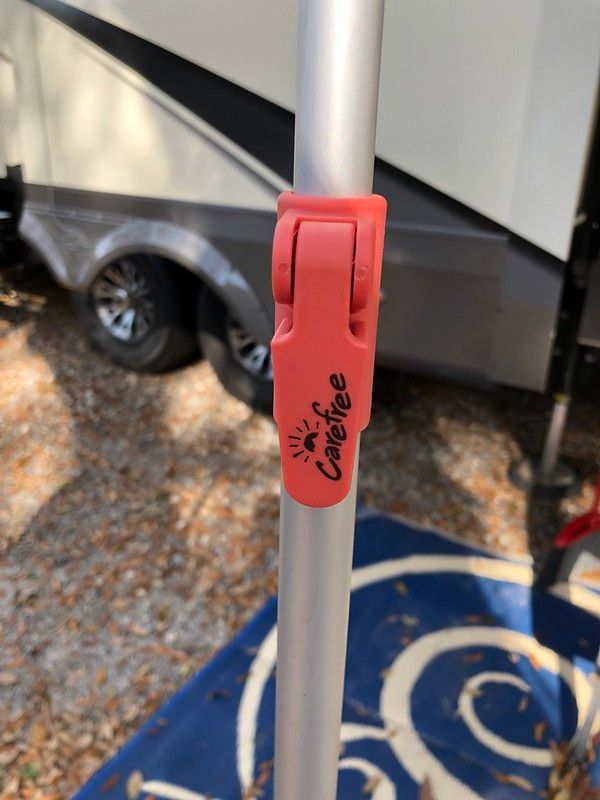
Don’t fancy a DIY solution? Carefree of Colorado makes the RV Awning Stabiliz’r kit. It’s an extendable pole with a cup on the top to support the awning tube. There are straps that then go up and over the top of the awning tube to tie downs.

