

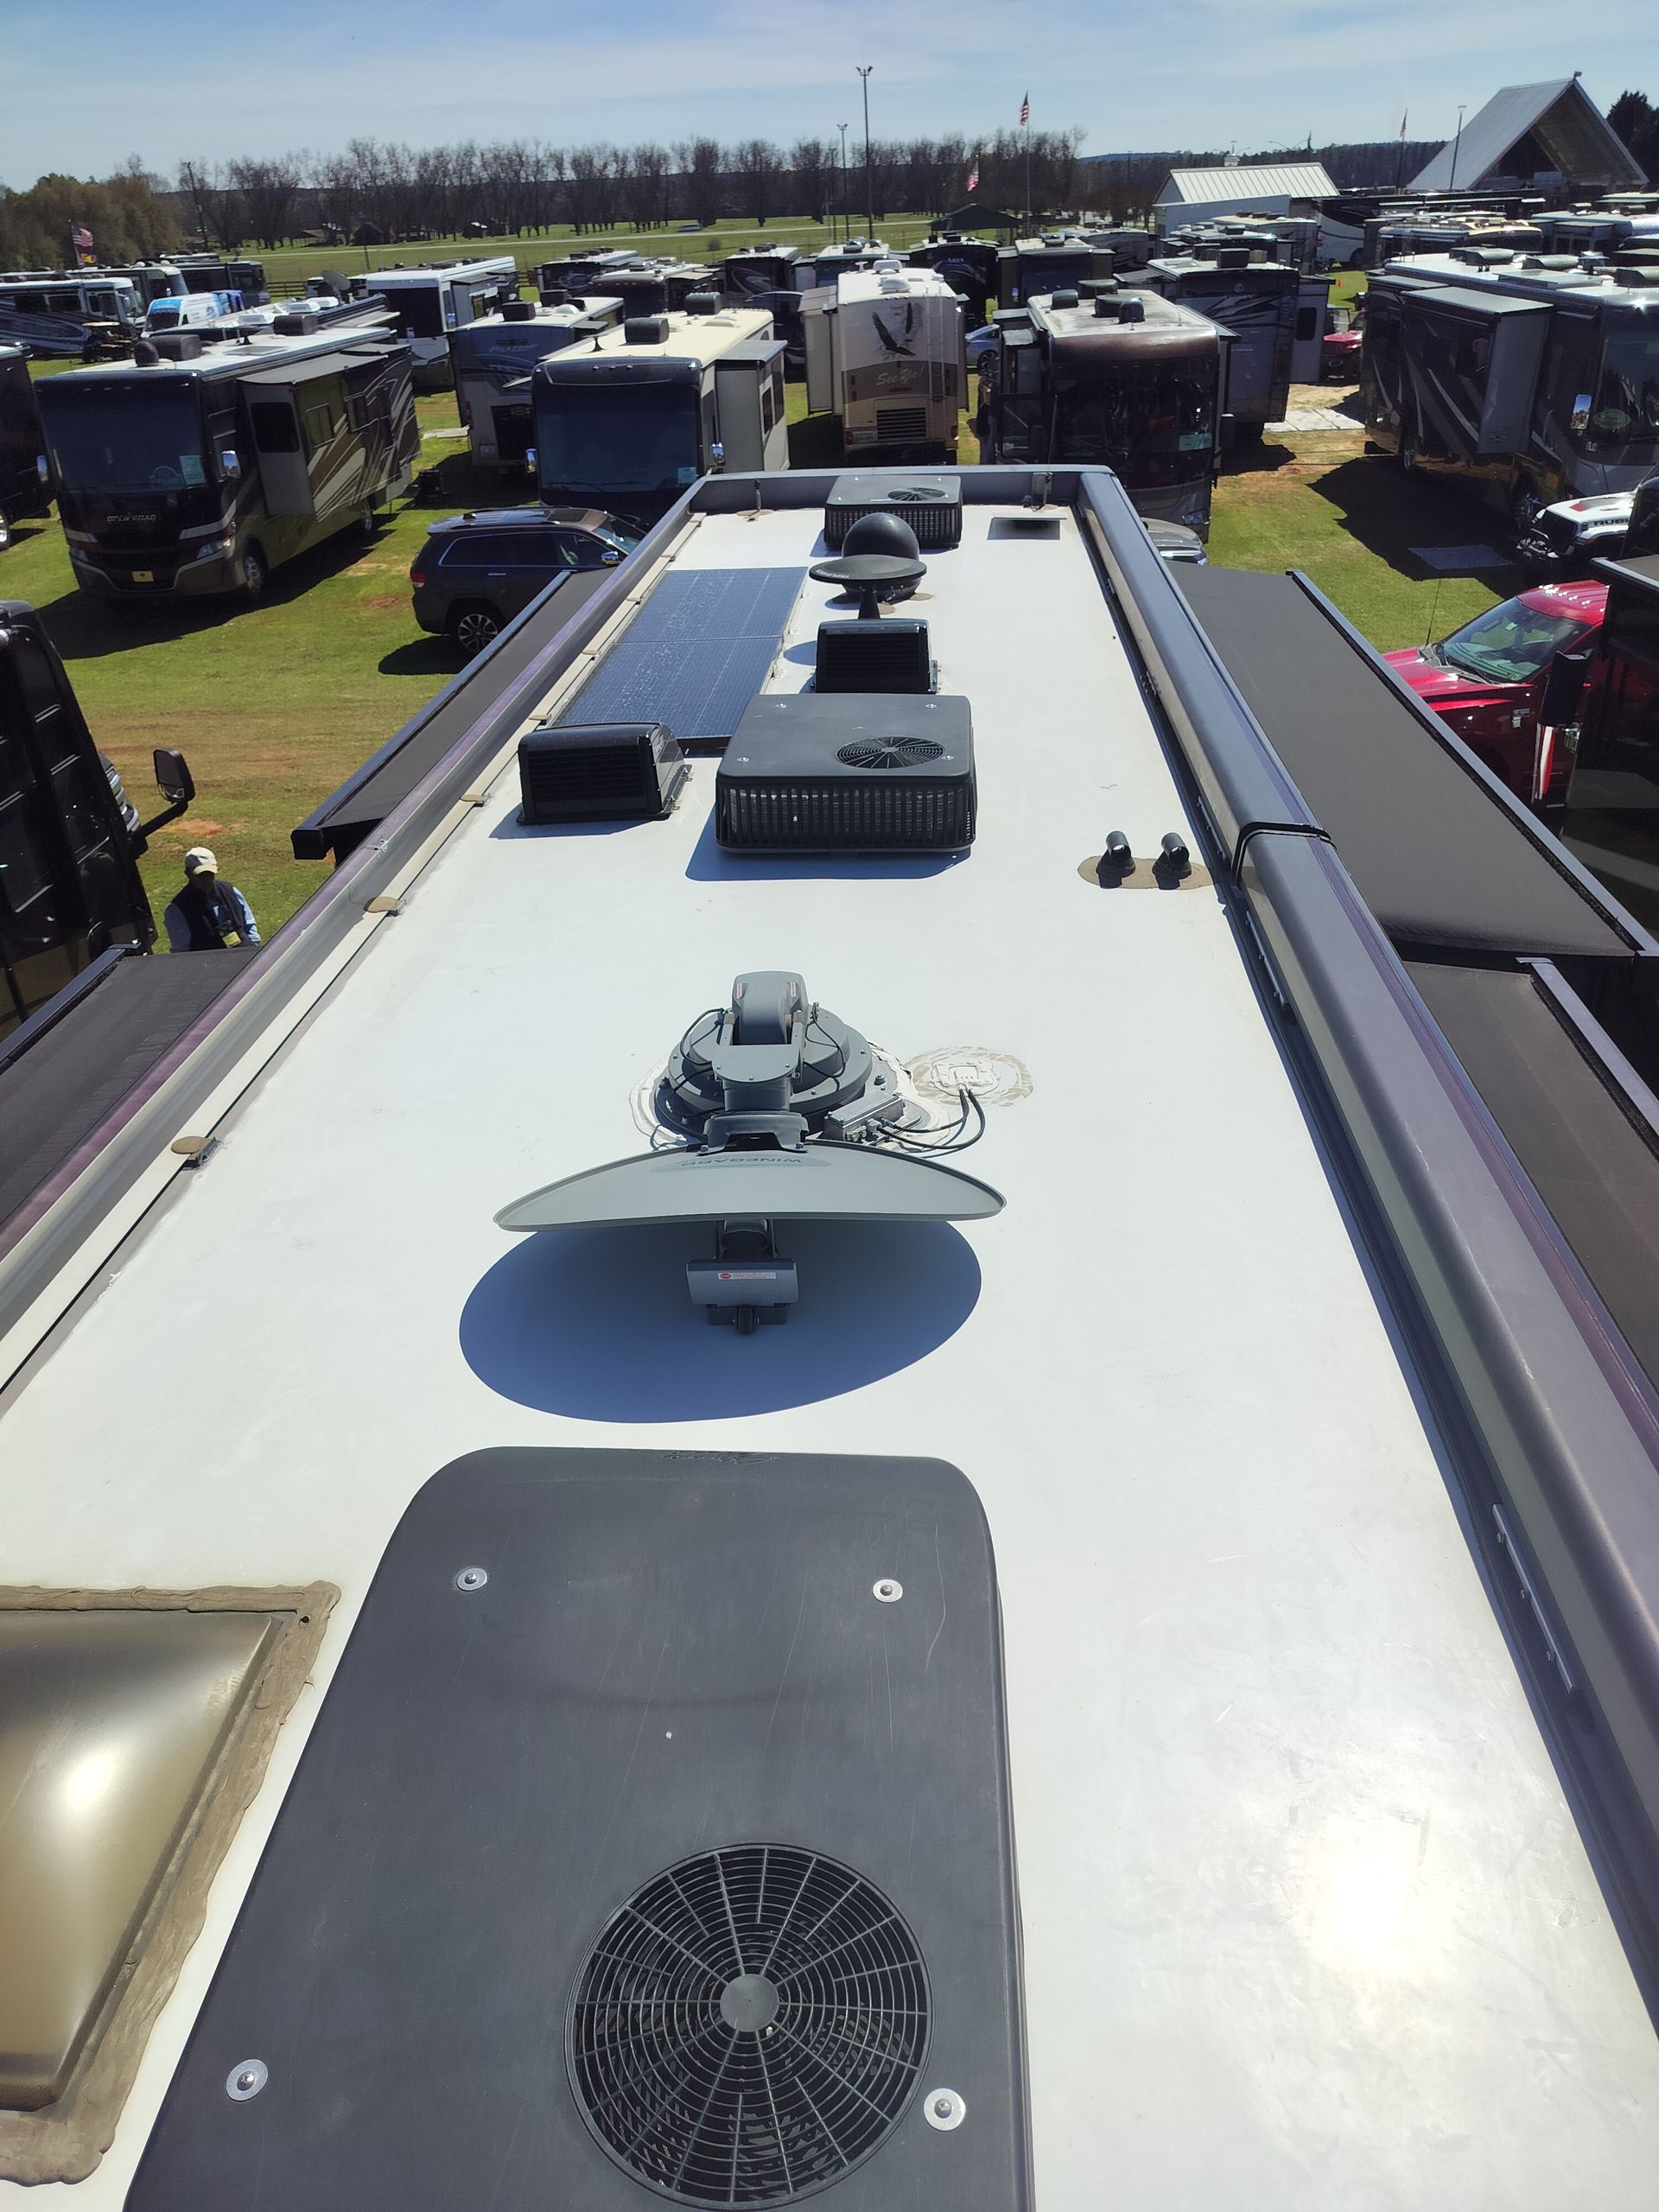
sewer bladder
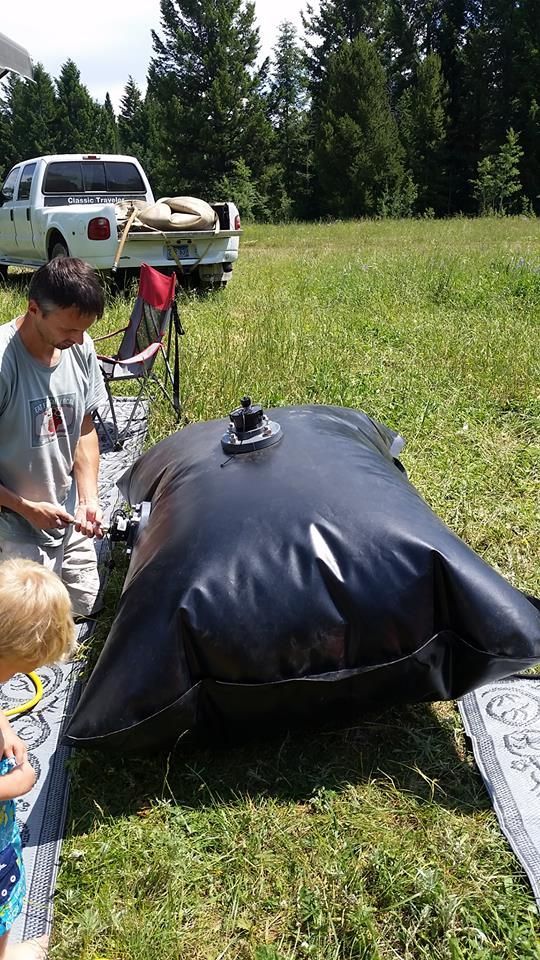

to use it for the first time,
I had quite the audience of
other fulltime RVers.

system here.
 The bladder has exceeded all of my expectations. When we are on a site without sewer, we continue to use the camper just like we normally would- we take showers without shutting off the water, we run laundry, and we even let the kids do dishes. I make a plan for a daily dumping of our two 40 gallon gray water tanks (though neither are typically full).
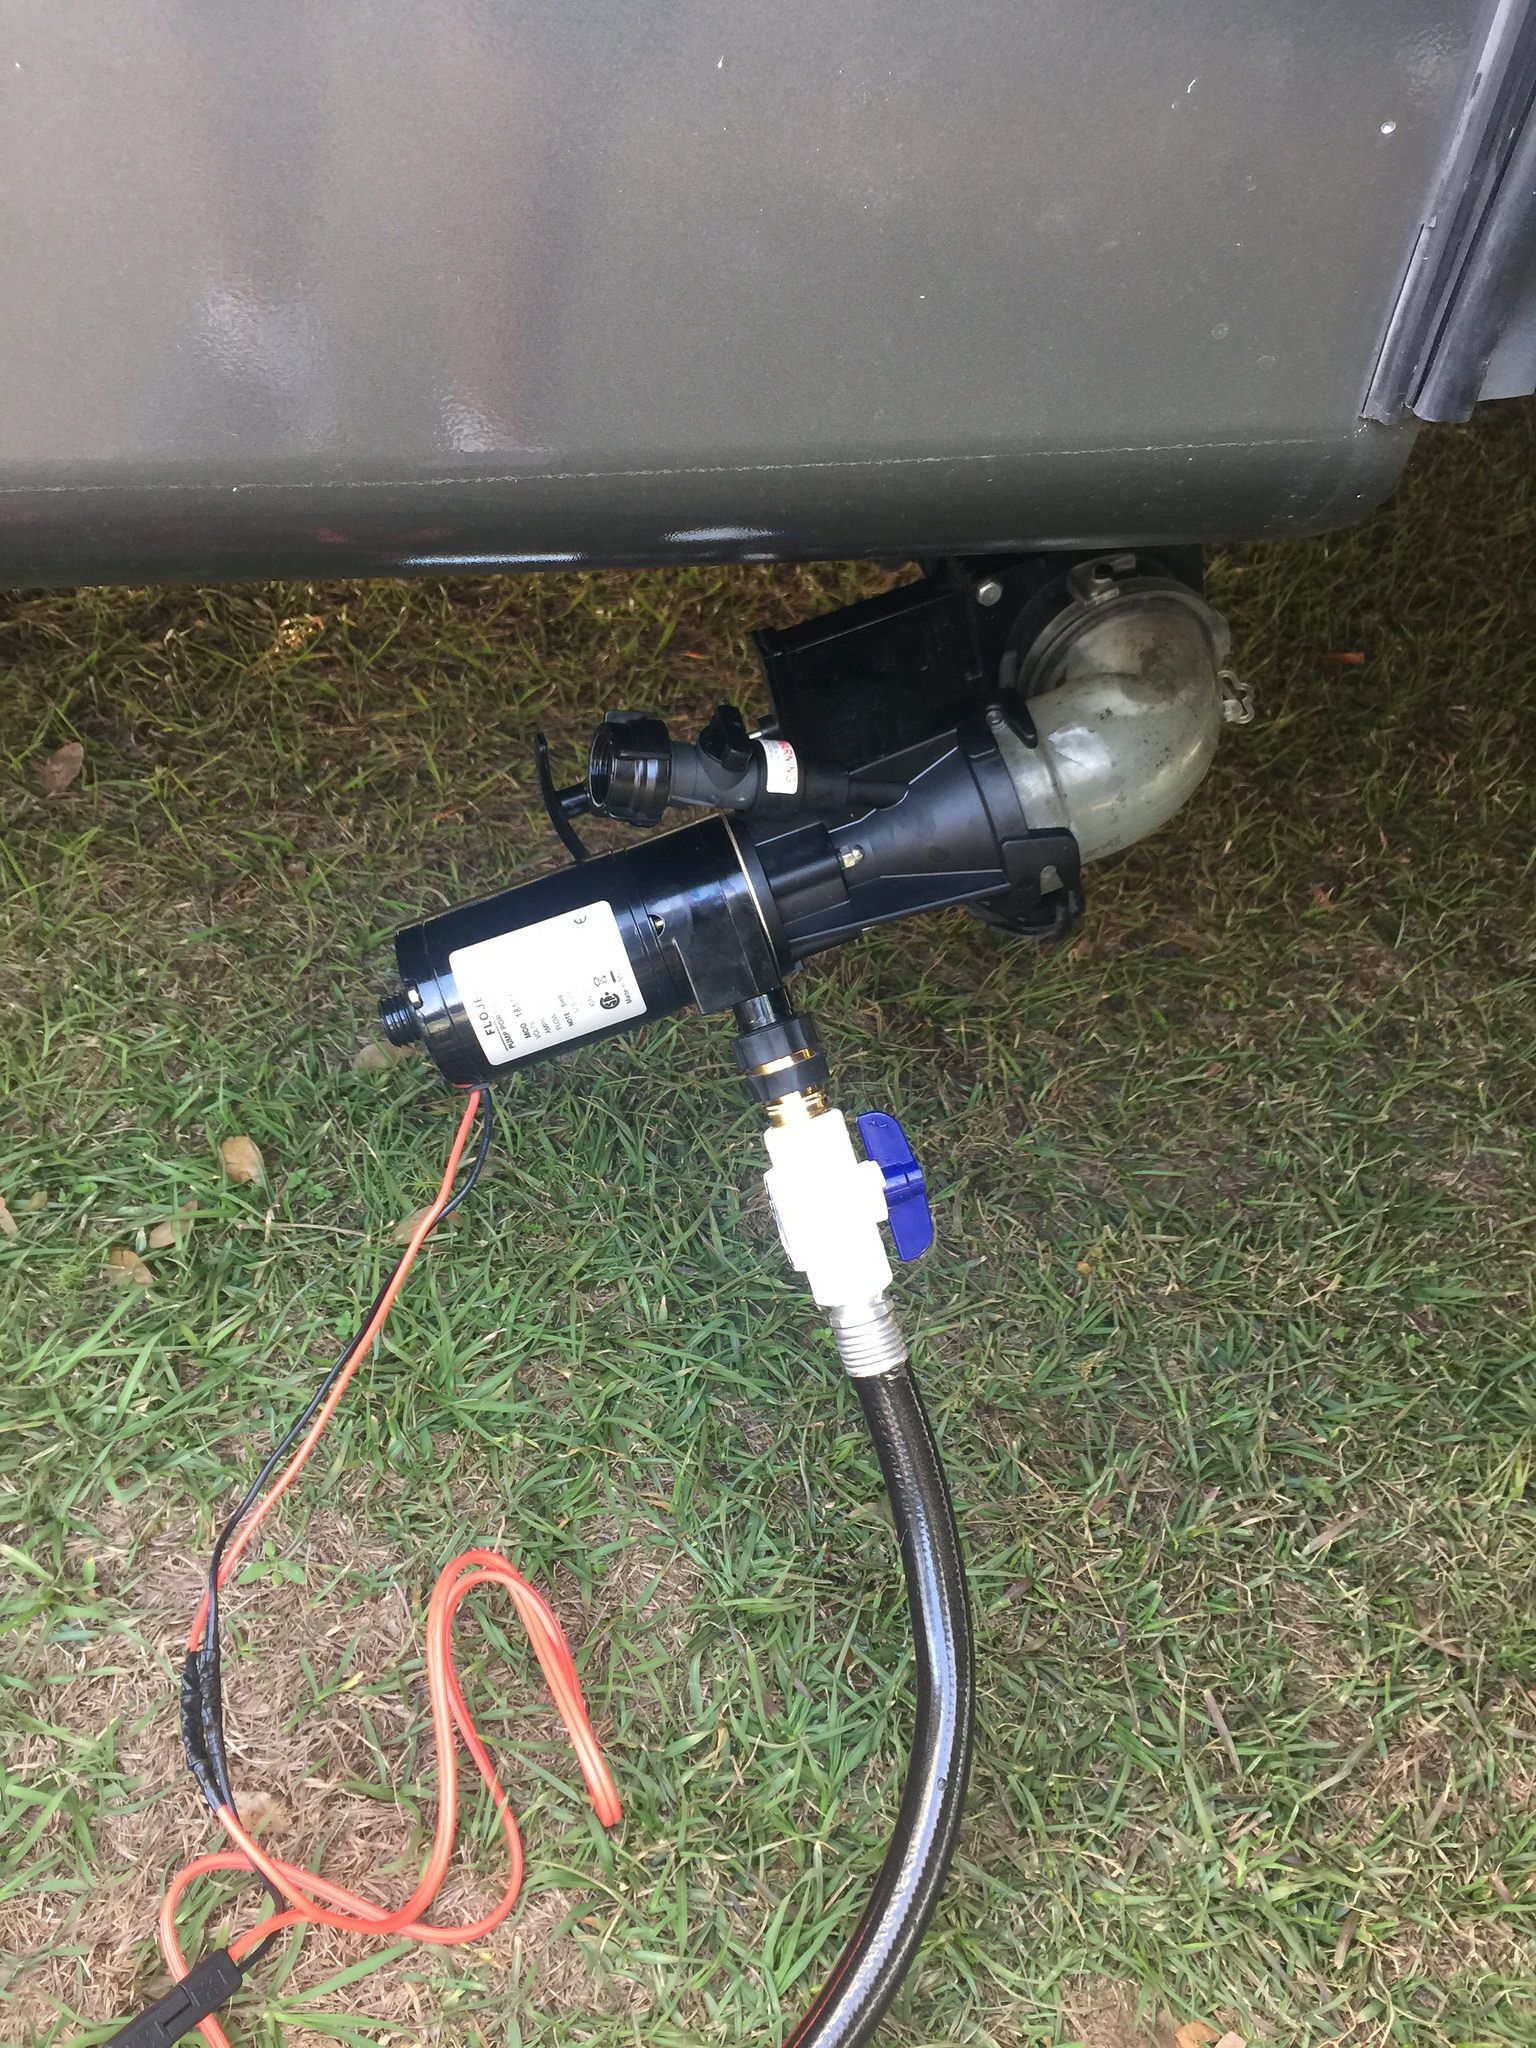

out. I don’t always climb up
(in fact, I mostly don’t).


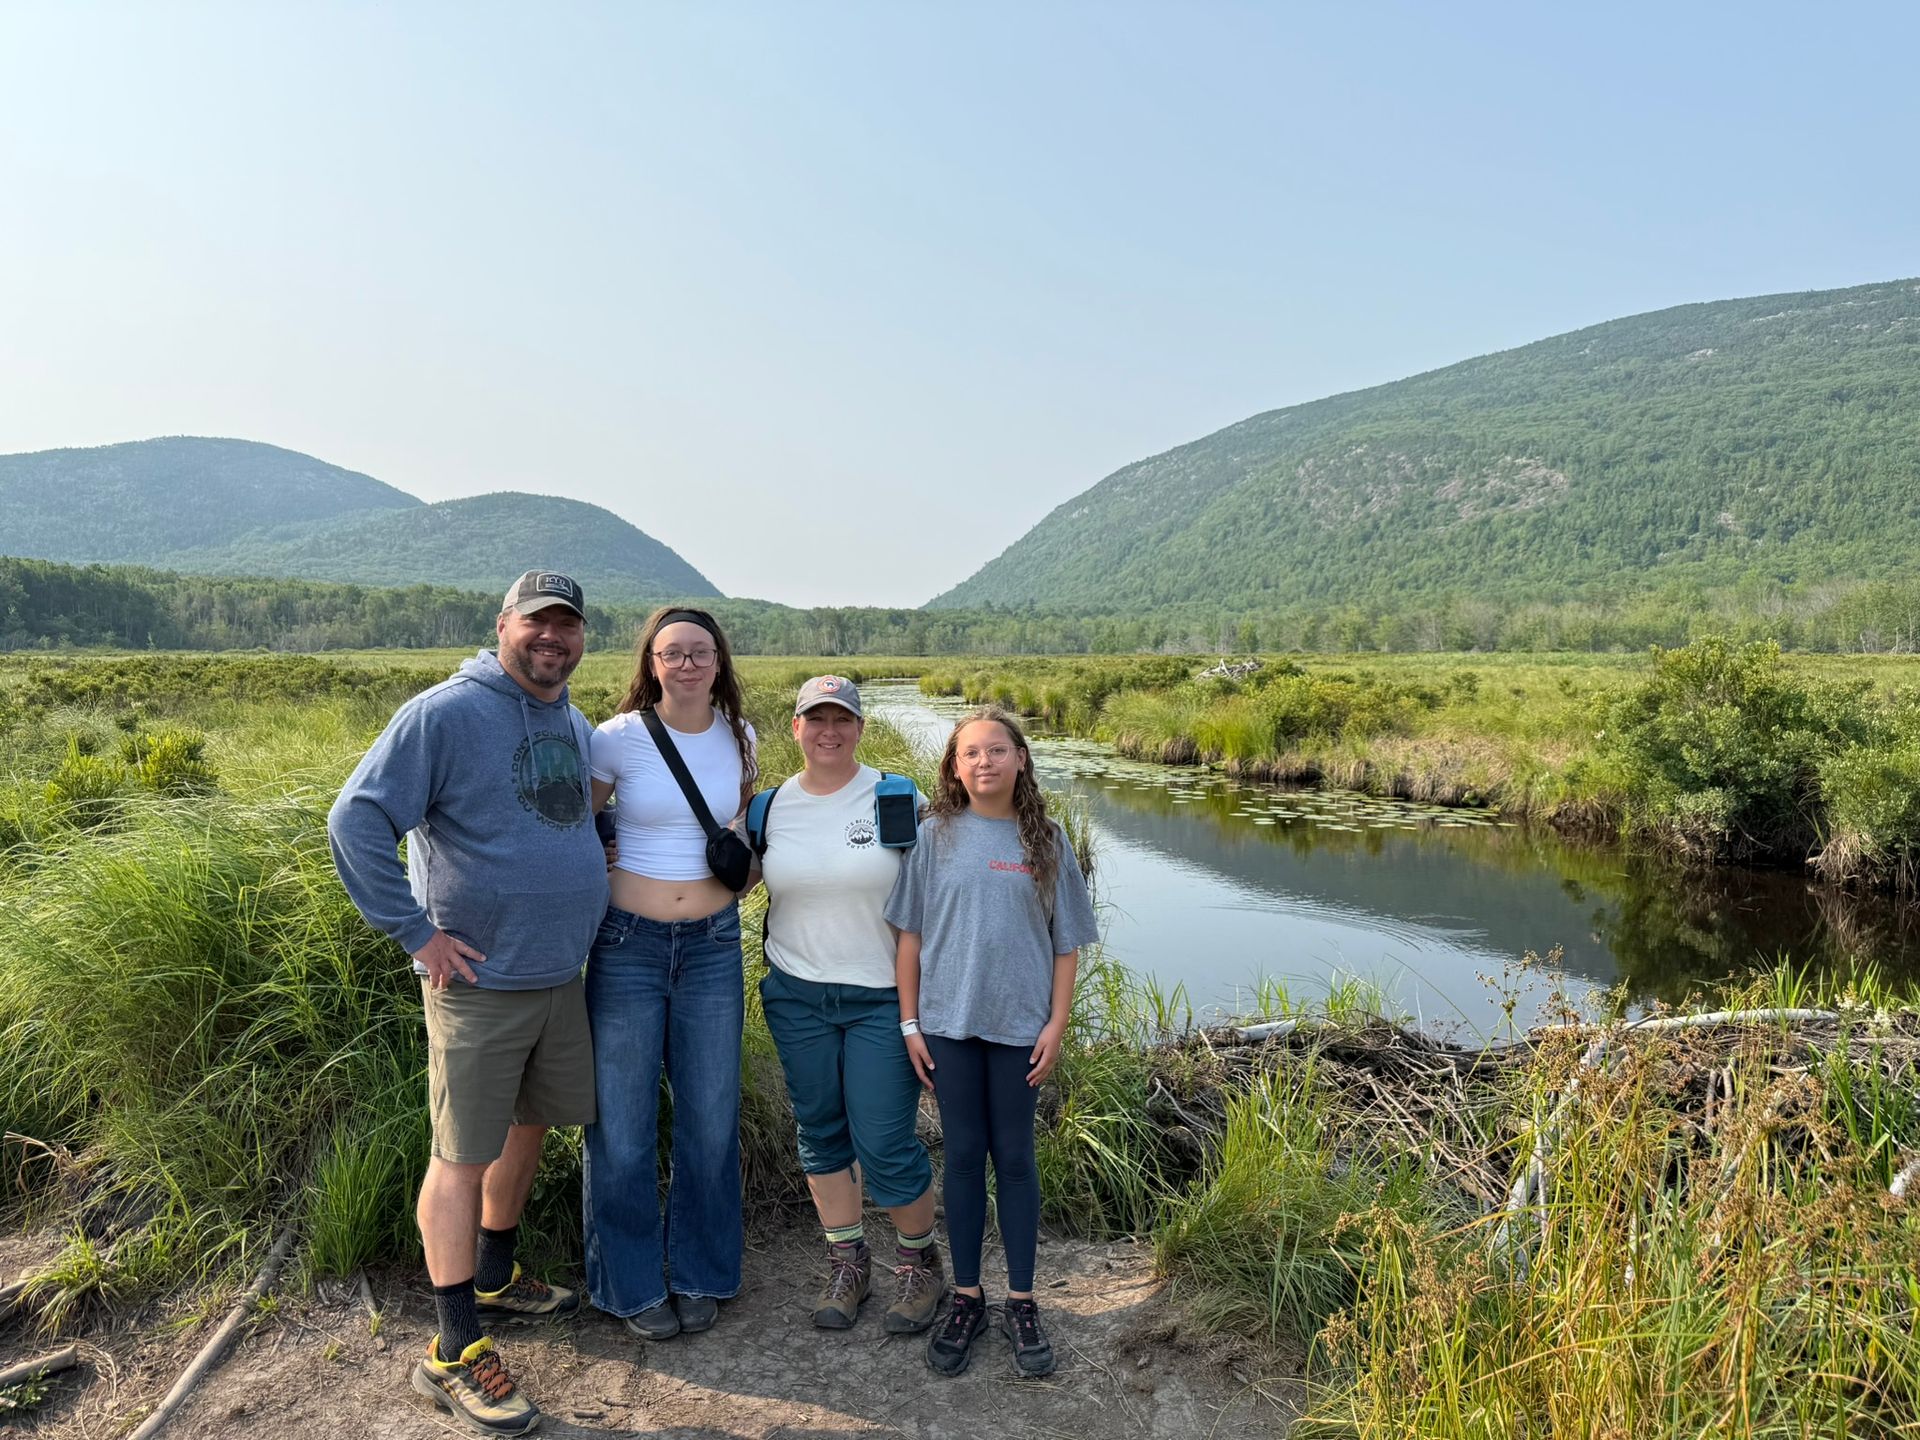
See how America’s 250th became our classroom as our full-time RV family explored Williamsburg, Wells, Lake George, Fort Ticonderoga, and Niagara.
Life with Littles Real talk on full-time RVing with babies, toddlers : the constant mess, the mental load, and the radical presence that makes it all worth it
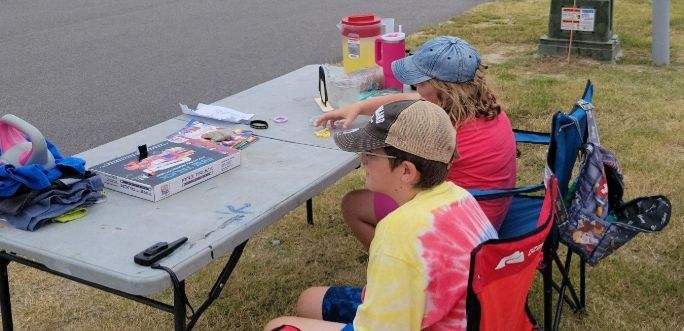
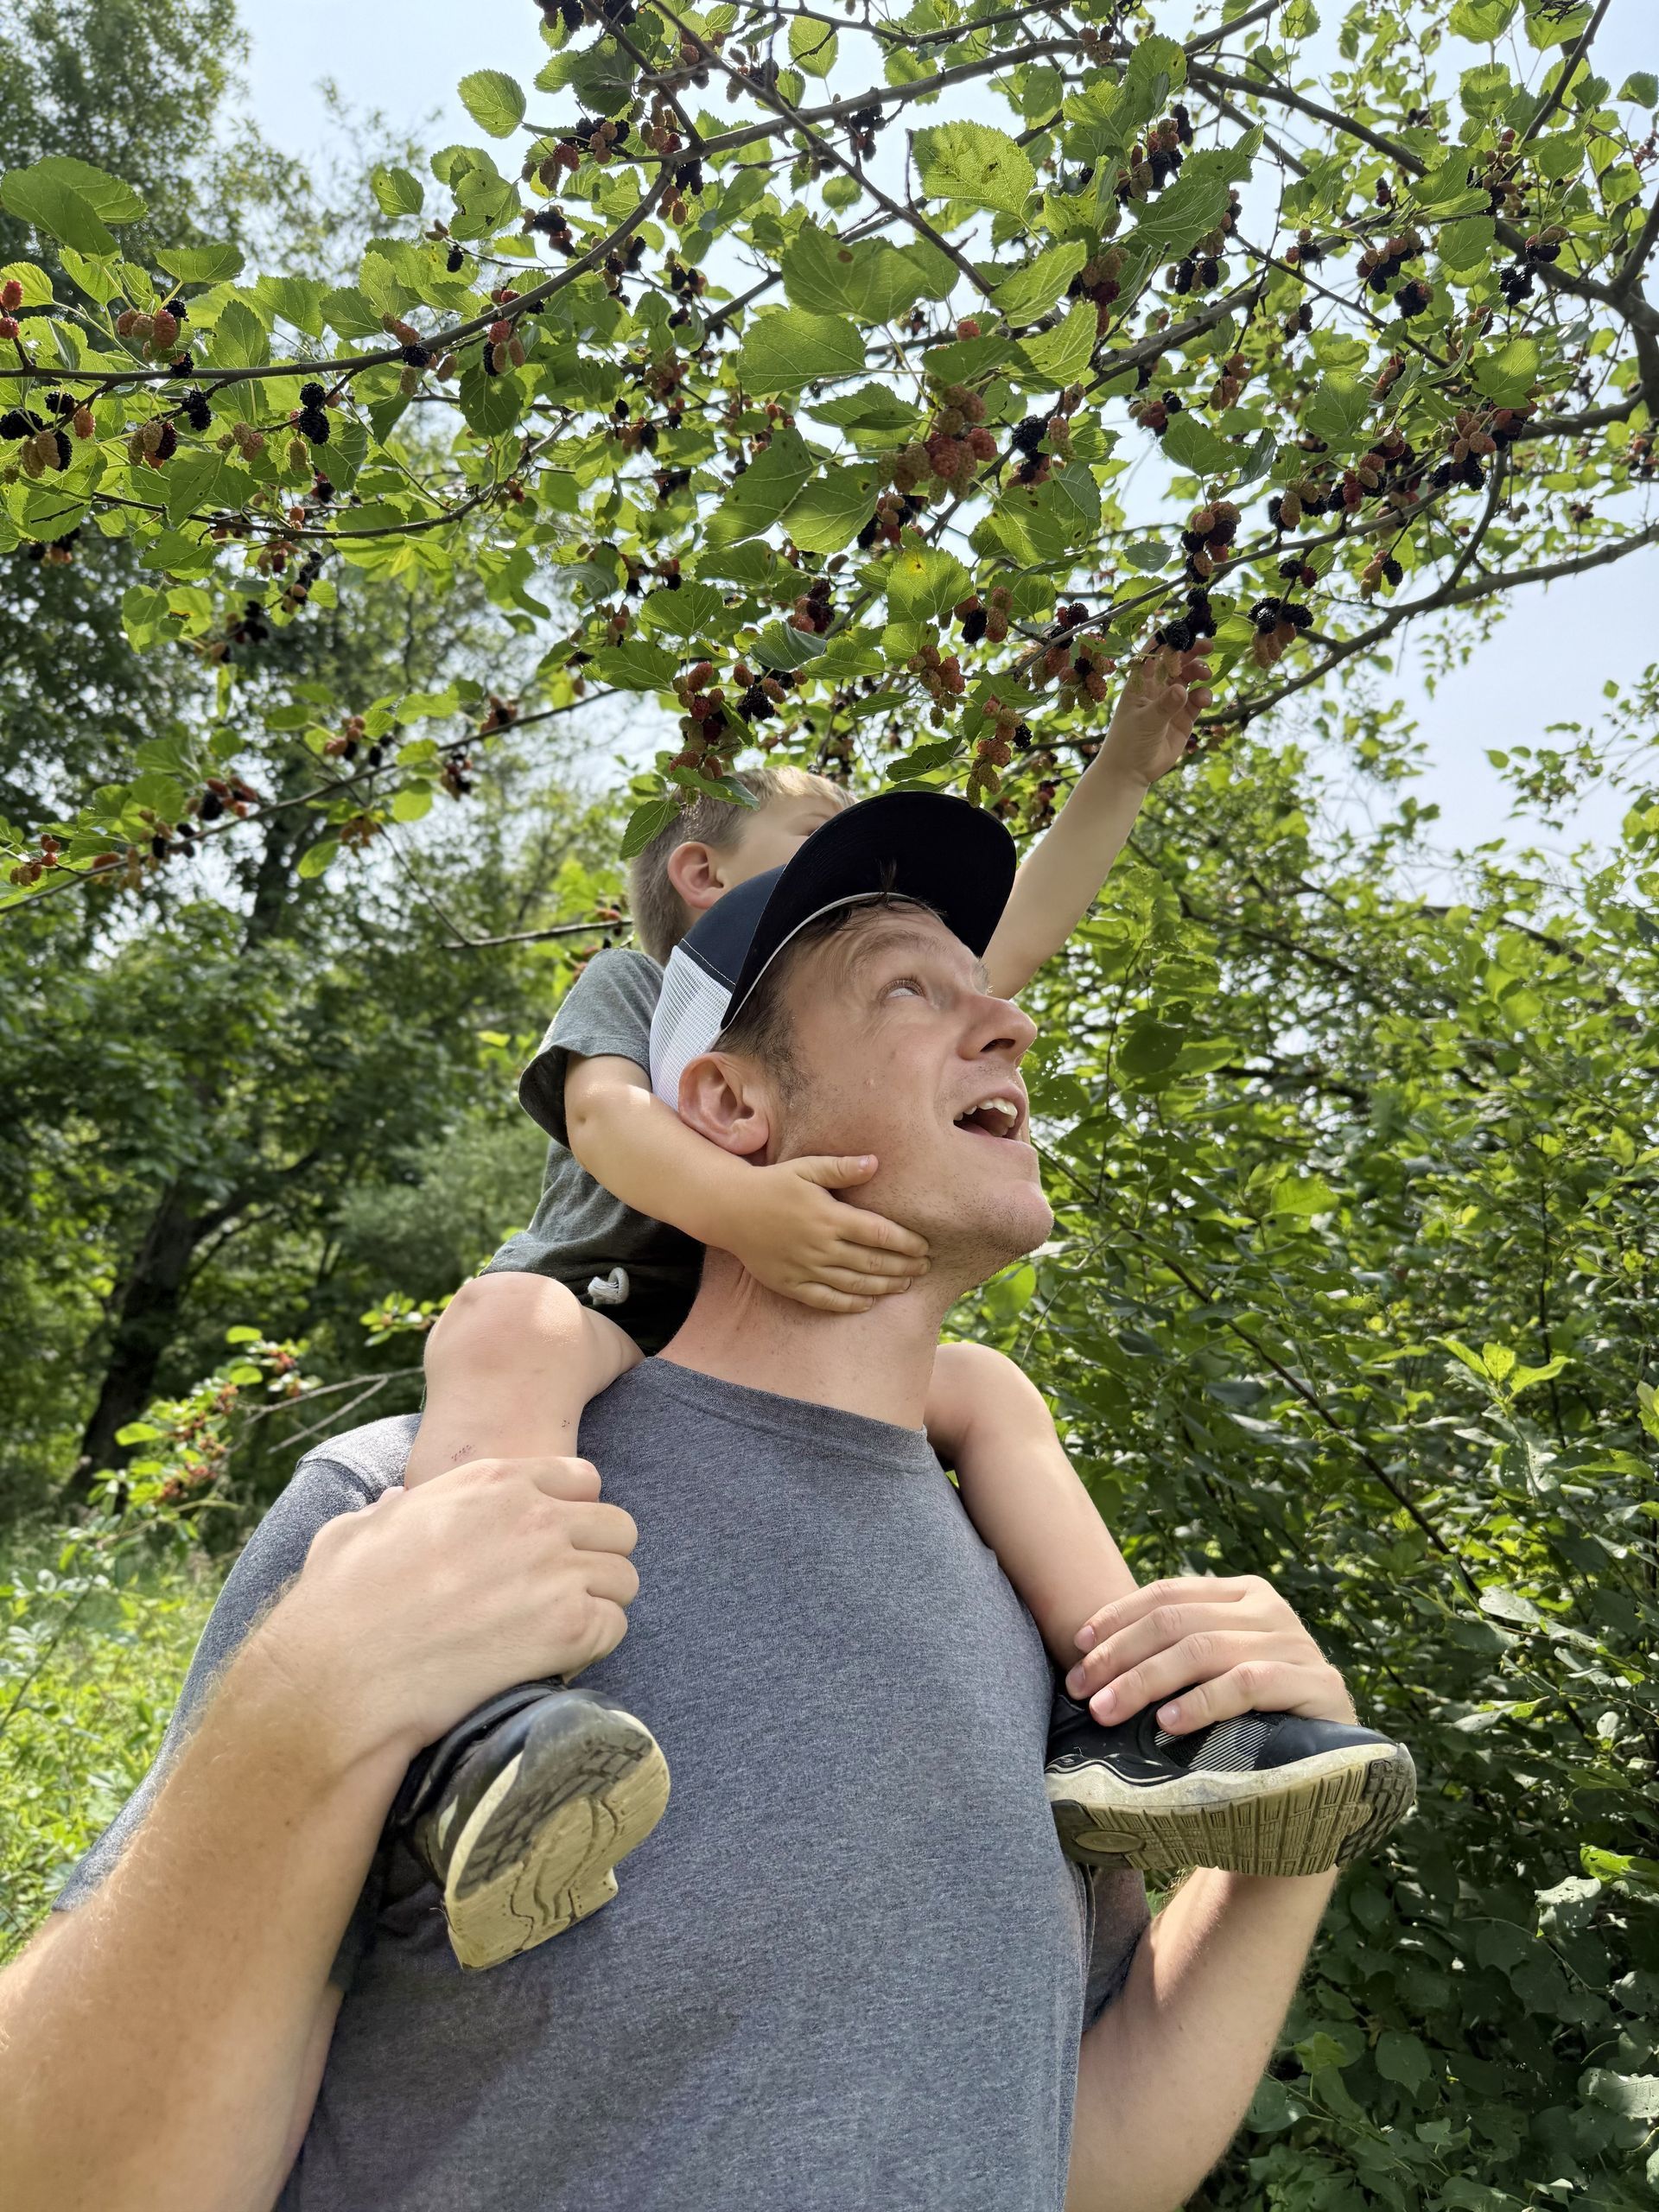
Our kids still ask for things. The difference now is what happens next. Over the past year, we've been showing our children, ages 9 and 11, different ways to start and run a business while we travel. It started as a way to keep them engaged and give them a sense of ownership on the road, and it's turned into something we're genuinely committed to. When they ask for extras now, the answer is almost always the same: that's what your money is for. Not as a punishment, but as a real lesson in what things actually cost and what earning something means. The result is kids who think before they spend — because they know what it felt like to earn it. I am not saying they spend it wisely every time, but they are learning. Here's how we've been doing it.
Is your RV summer feeling slower this year? Jennifer & Tasha talk fuel prices, burnout, comparison traps, and what's ahead for season 3 of Learn to RV the Podcast
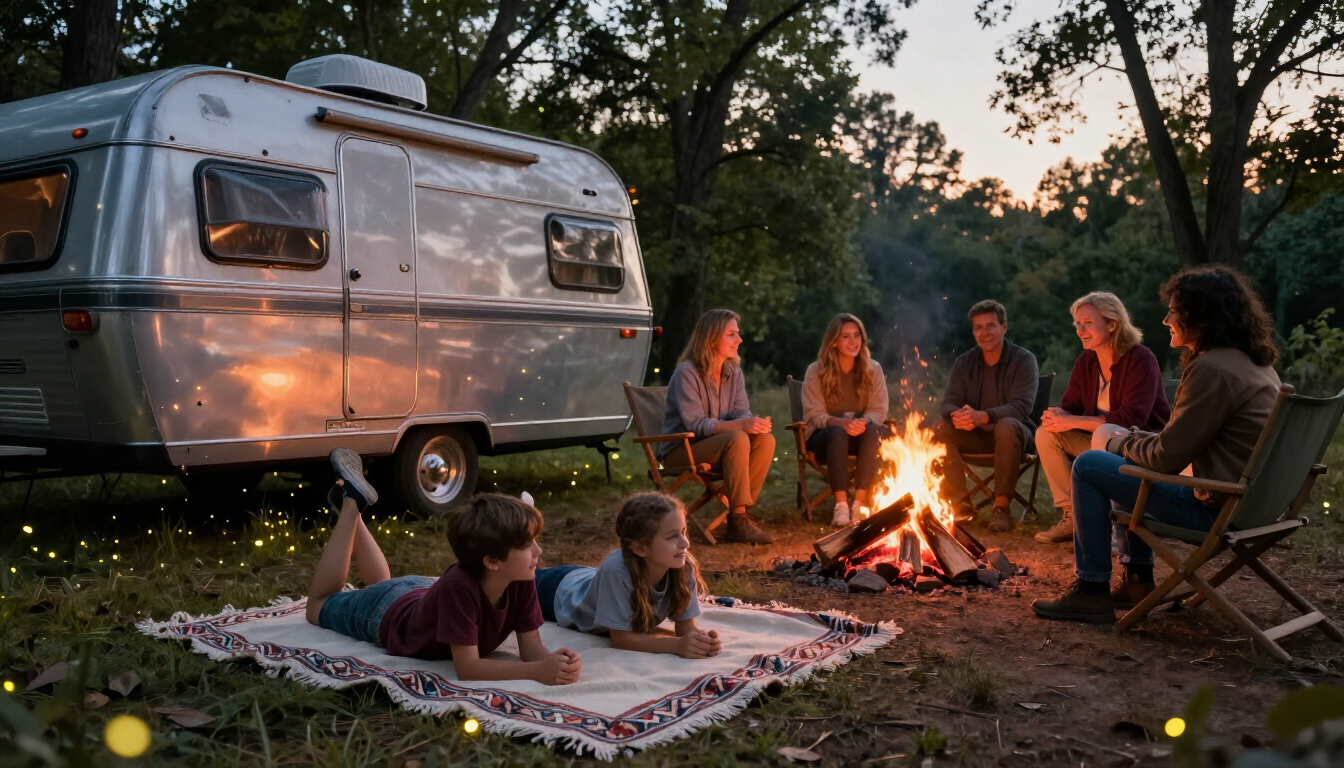
The 'Grab-and-Go' System That Lets Busy Families Trade Friday Traffic for Friday Campfires
Whether your RV roof is showing its age or you just want to stay ahead of summer damage, know when to DIY and when to call a pro. Learn the warning signs

Do you really need a sewer hose to dump your RV tanks? RV black tanks, Grey tanks and Freshwater tanks tips. Get the complete RV tank guide from Learn to RV.

The best classroom doesn't have four walls — it has four wheels. This summer, the whole country is your curriculum.
If you’re a full-time RVer, you already understand something most people don’t....that life doesn’t always go according to plan. You’ve chosen freedom. Flexibility. The ability to wake up in a new place whenever you want. But with that freedom comes a unique responsibility—especially when it comes to your health insurance. Because when you’re constantly on the move, having the right coverage isn’t just important… it’s critical. And recently, I was reminded exactly why.

Full-time RVing families can road-school around a passion — how to find WCA speedcubing competitions and make your child's Rubik's Cube hobby a reason to travel.
