The First Aid Kit your RV Roof Desperately Needs & Why you Should't Leave home without it!
Jennifer Schillaci • July 11, 2025
What to Include in Your RV Roof First Aid Kit
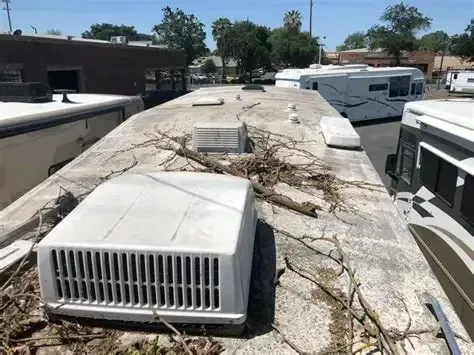
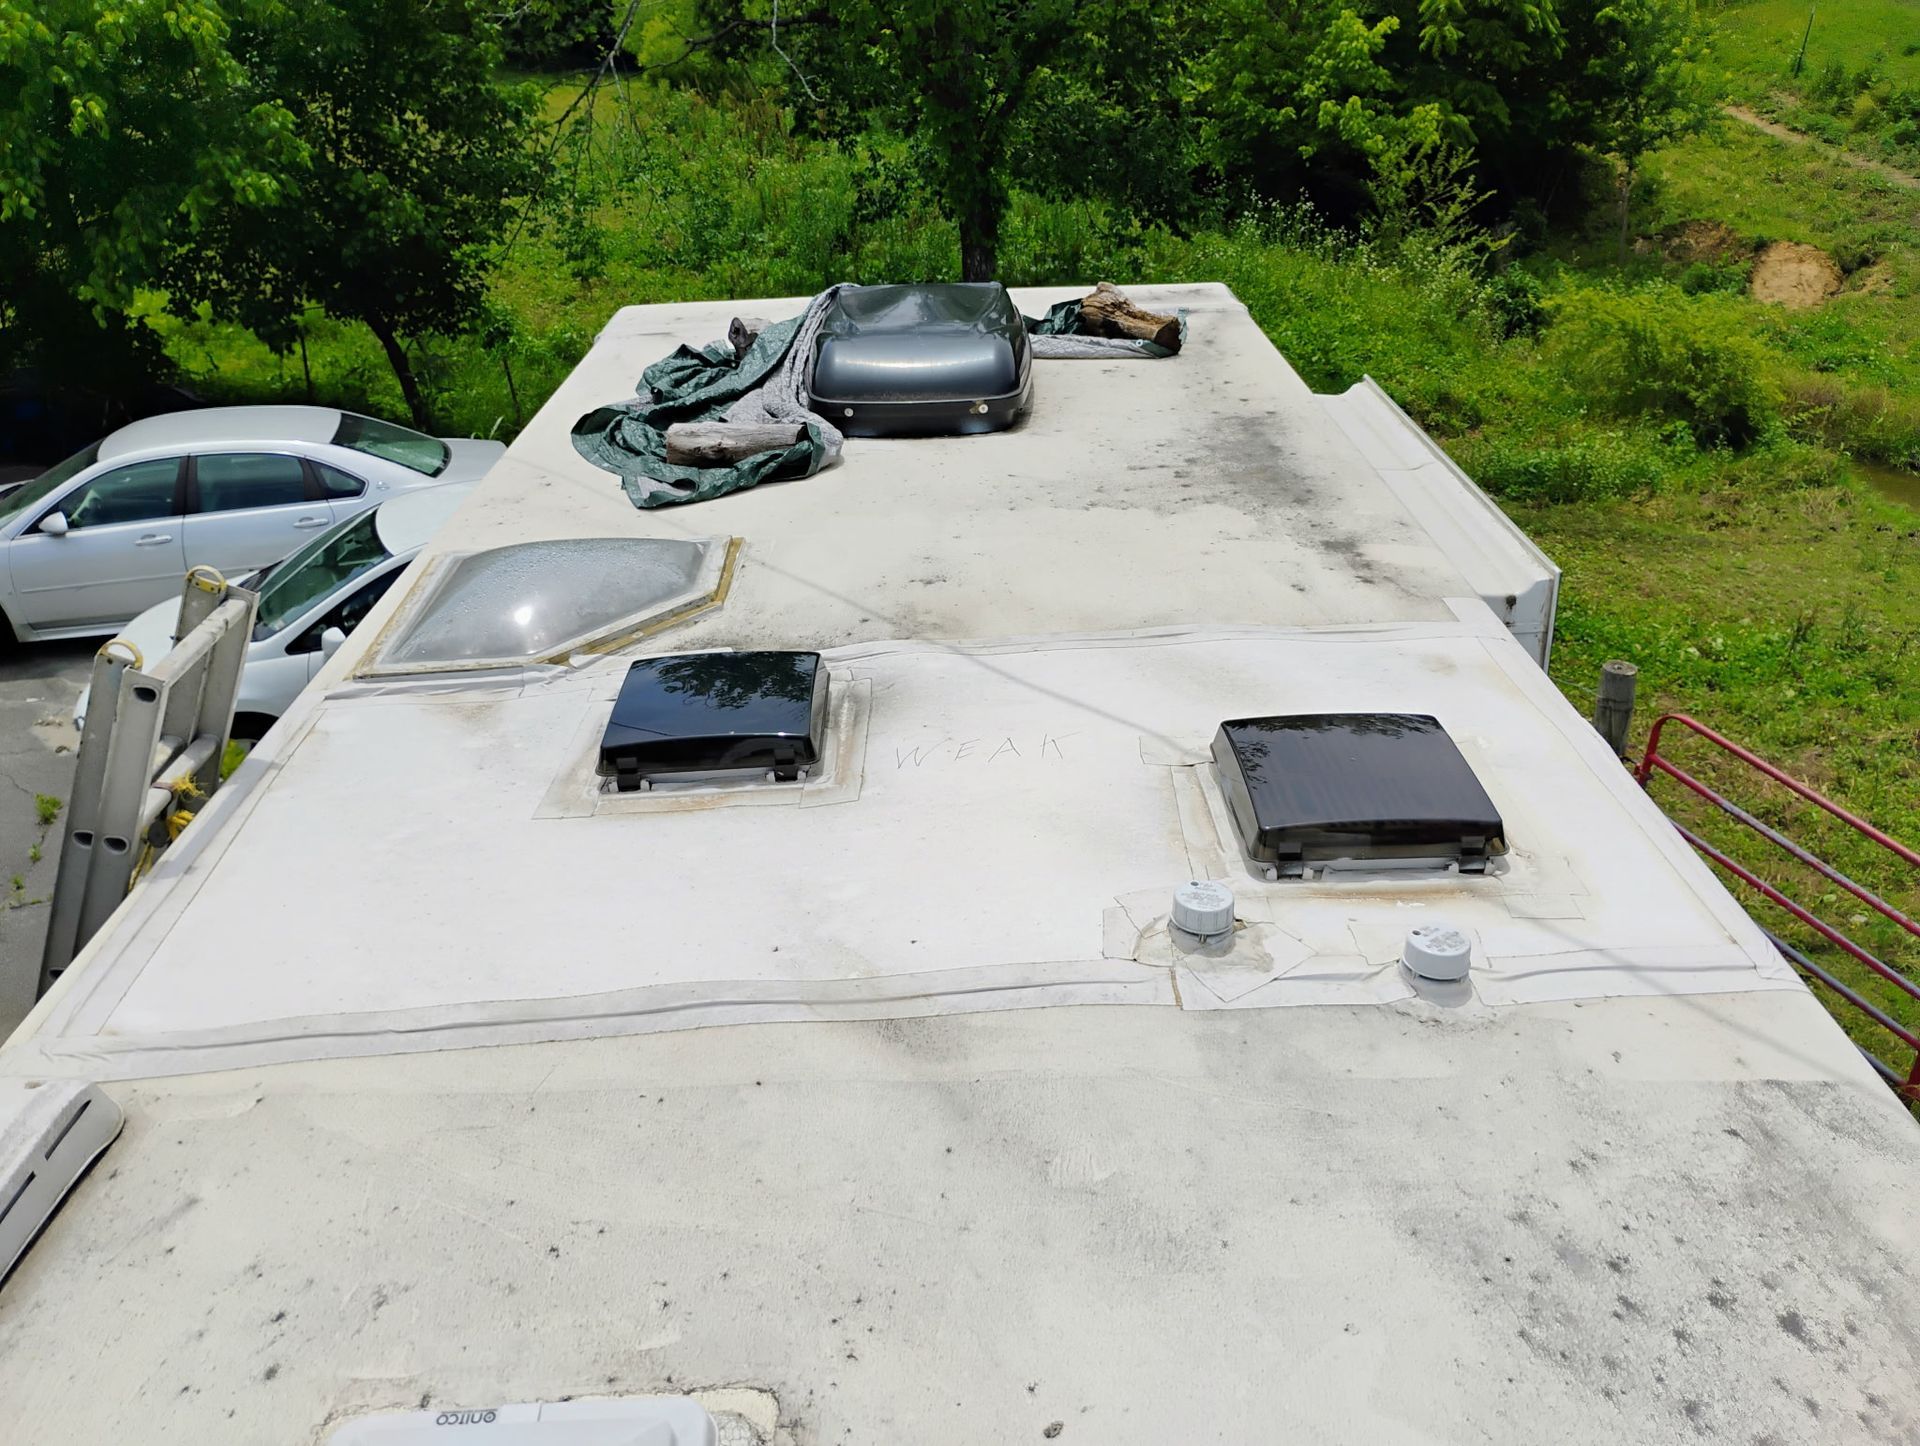
When most RVers think of a first aid kit, they picture bandages, antiseptic, and maybe a snake bite kit if they’re feeling adventurous. But what about your RV roof? It takes a beating from UV rays, tree branches, hail, and wind, rain & highway debris. When an unforseen incident strikes, being unprepared can turn a small issue into a costly disaster.
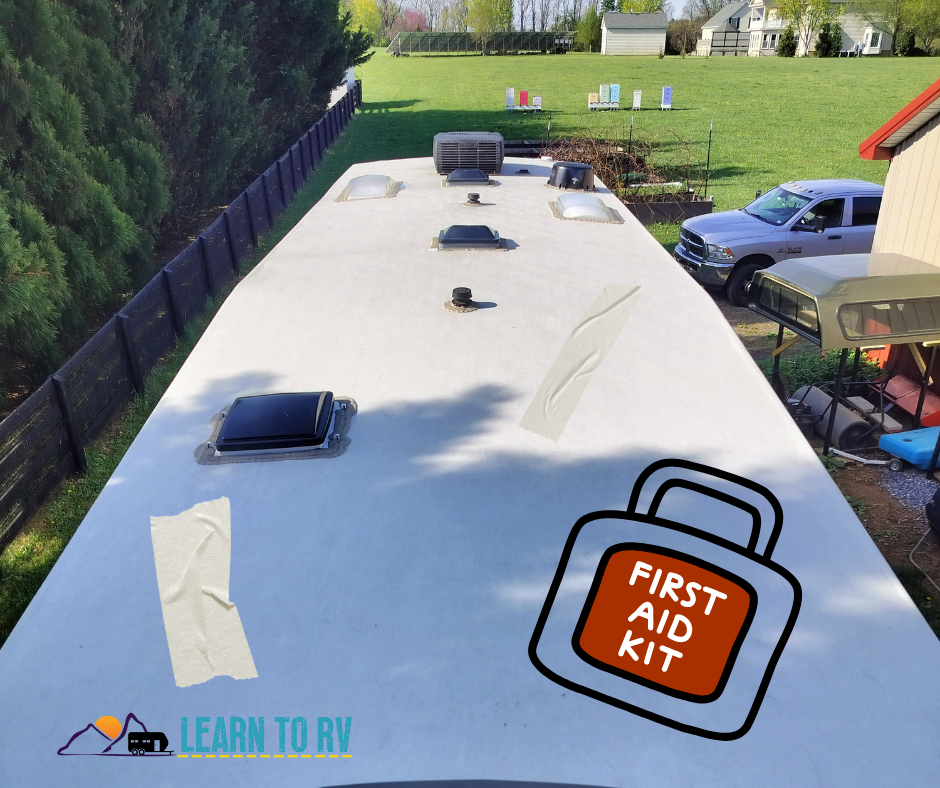
That’s why every RVer should carry a roof-specific first aid kit. It’s your emergency response system for leaks, cracks, and unexpected roof drama—because duct tape alone won’t cut it.... although in a pinch it might have to do.
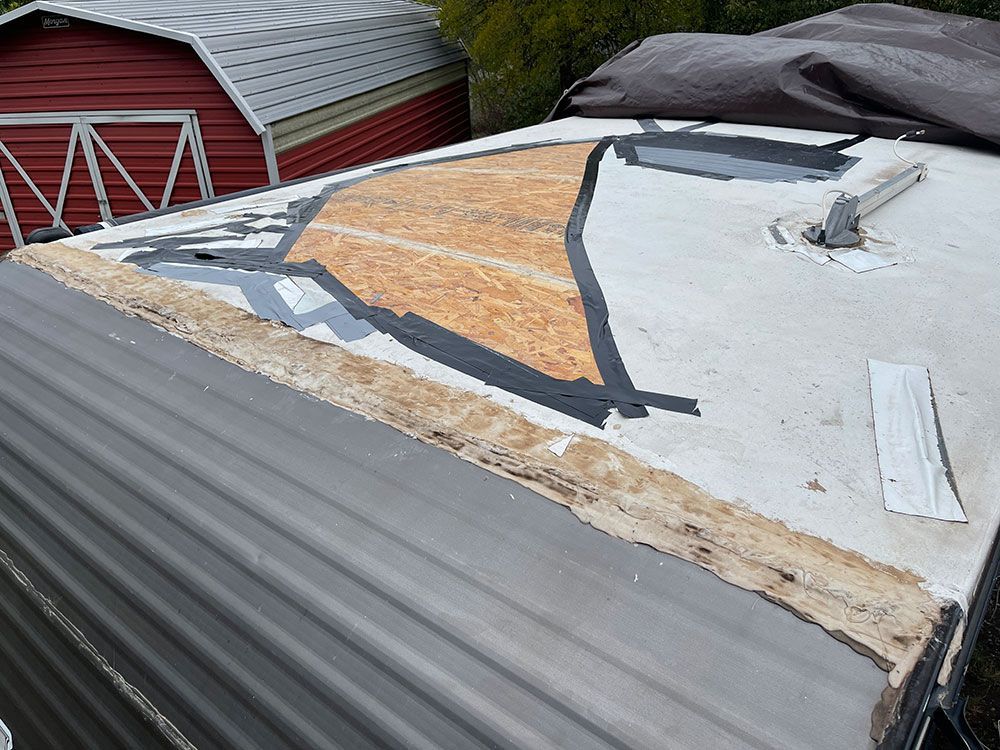
Think of your RV roof repair toolkit as CPR for your rig—because when disaster strikes up top, you need to act fast and smart! This isn’t just duct tape and a prayer; it’s your roof’s lifeline. You’ll want heavy hitters like non-sag lap sealant (the defibrillator of roof repair), Eternabond tape (the tourniquet that stops the leaks), and a plastic putty knife to keep things smooth and safe. Add in some gloves, denatured alcohol & a rag (to sanitize the surgery field), and a ladder, and you’ve got yourself a mobile ER for your roof.
It may be entertaining to imagine yourself as the roof medic in a high-stakes drama—but trust me, when the rain’s coming in sideways and you’re miles from the nearest repair shop, you’ll be glad you packed your kit like a pro.
Your Essential Toolkit for Emergency Repairs
- Non-Sag lap sealant (Dicor or similar)
For sealing around vents, skylights, and AC units—especially after a surprise tree limb encounter. - Eternabond tape
This is a standard option for sealing tears, punctures, or seams. If cleaned well, it sticks to nearly anything and lasts...for a while. It is not a permanent fix. Gorilla Tape can also work in a pinch if that's all you have on hand. Don't choose the trendyist or cheapest, believe me not all tapes will hold well enough for a temporary patch. - RV Roof patch kit
Especially for rubber (EPDM/TPO) or fiberglass roofs; great for sealing small cracks or holes. *This is a band aid and ONLY a temporary fix. - Plastic putty knife
For spreading sealant or removing old caulk without damaging the roof membrane. - Denatured Alcohol or Isopropyl alcohol wipes or cleaner
Prepping the surface is key—clean before you seal! - Nitrile gloves
Because roof sealant and skin don’t mix well. - Microfiber cloths or rags
For cleanup and surface prep. - A Knife or Scissors to cut the Tape
Bonus Tools That Make Life Easier & yes! they do help
- A Quality ladder
Your RV ladder can be used in emergencies but a strong ladder is an important part of roof repairs. - Headlamp or flashlight
For low-light inspections or nighttime emergencies. - Digital moisture meter
To check for hidden water intrusion after a leak. - A Multitool
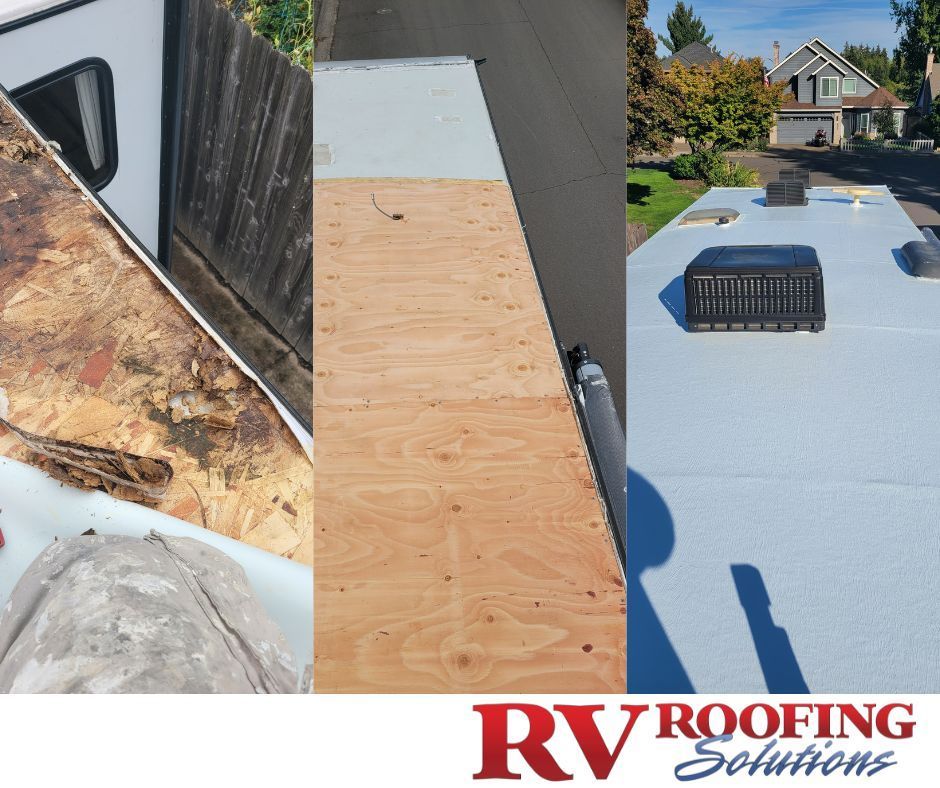
As an RV roofing expert, I’ve seen firsthand how quickly minor roof damage can escalate into major, costly repairs if you're not prepared. Picture this: you clip a low-hanging branch pulling into a shaded campsite and tear your roof membrane. A sudden hailstorm can roll through, leaving behind micro-fractures around your skylight that you don’t notice until water starts seeping in.
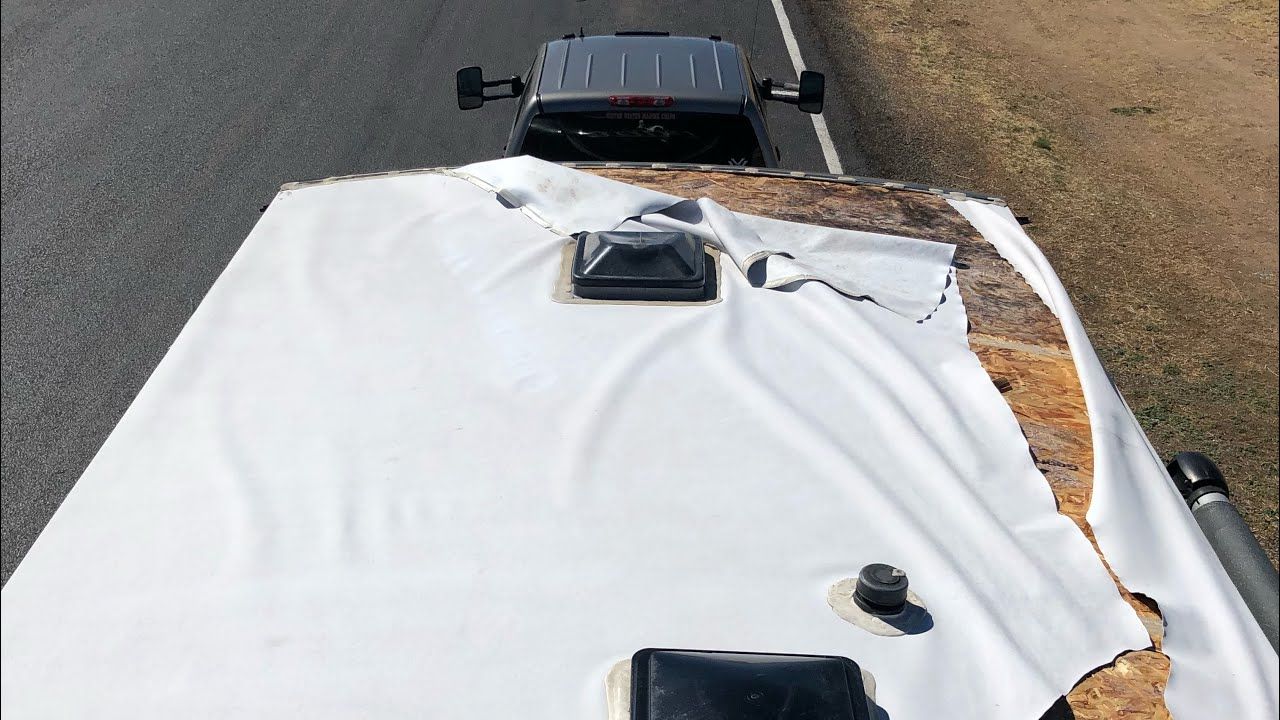
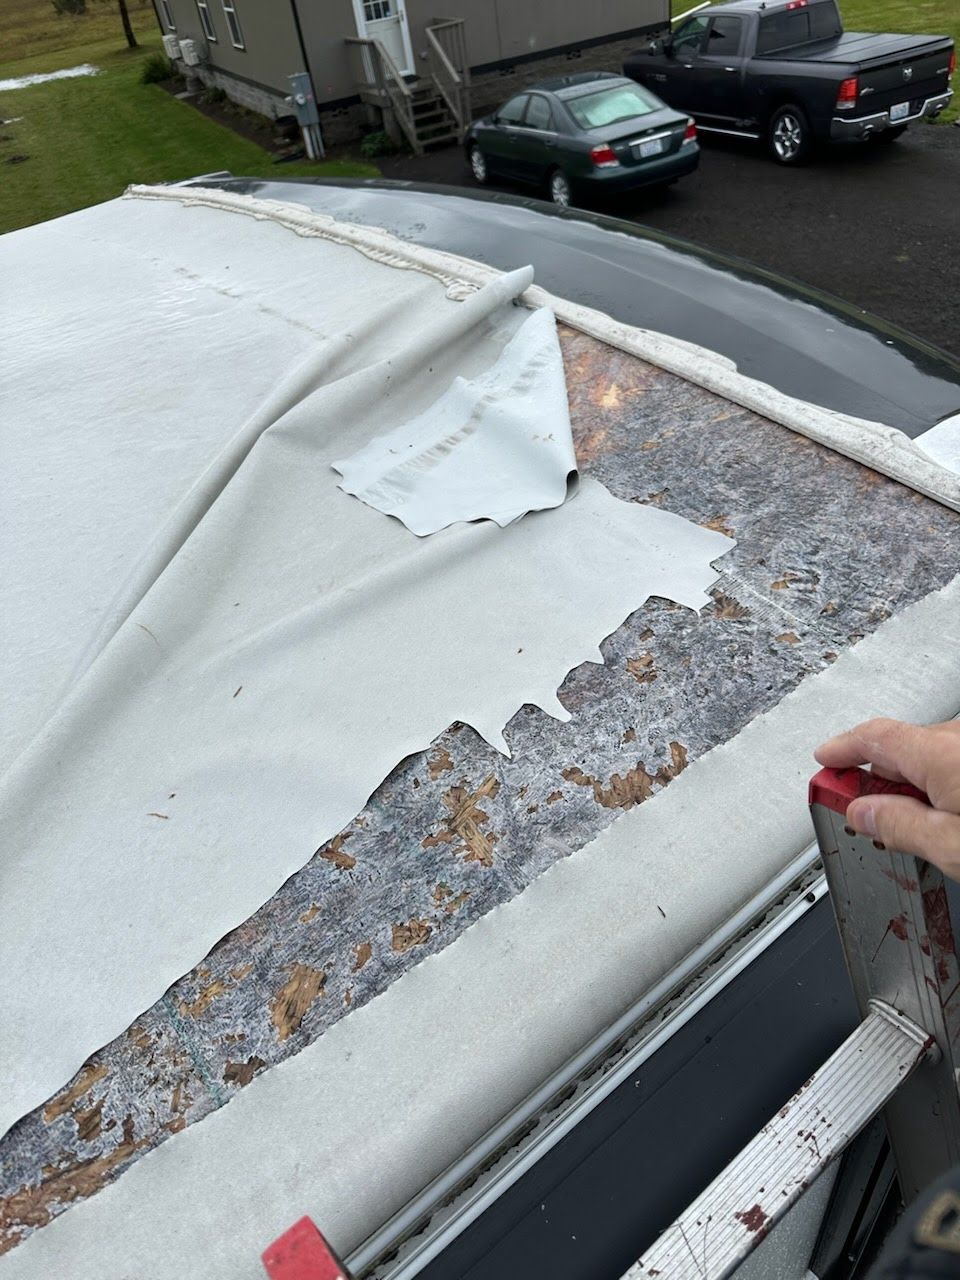
You've probably seen it more times than you'd like—someone sharing a post on social media from the side of the highway, their RV roof membrane puffed up like a balloon, trapped air causes the membrane to billow and sometimes tear. It’s dramatic, messy, and way too frequent. Sadly, this kind of roof failure isn’t a rare fluke—it’s a fairly common problem that catches many RVers off guard, often due to age, poor adhesion, or overlooked maintenance. What may look like an embarrassing roadside moment could actually be a warning sign of deeper roof issues waiting to happen.
Sometimes it’s as subtle as discovering a slow leak after a heavy rain, just enough to cause long-term water damage if left unaddressed. In all these scenarios, having the right tools and materials on hand isn’t just convenient, it’s critical. A well-stocked roof first aid kit can mean the difference between a quick, effective patch and a multi-thousand-dollar repair down the line.
After more than a decade on the road and countless roof repairs with RV Roofing Solutions, I can’t stress enough how important it is to stay ahead of roof issues before they snowball. We make it a habit on our rig to inspect our roof at least once a month, even though we obviously have our roofing system installed. A quick visual check while cleaning off debris has helped us catch small cracks and areas of concern long before they turned into leaks.
One thing we have learned the hard way: knowing your roof type matters. Whether it’s EPDM, TPO, fiberglass, vinyl, PVC or aluminum, each material has its own quirks and requires specific products and techniques.
Here’s a tip I wish someone had told me early on... practice using your sealant or tape before you actually need it. Temperature, dirt & rain can affect adhesion. We once tried to apply sealant in a rush during a storm and made a mess because we hadn’t tested it beforehand. Now, we always do a dry run in calm conditions so we are confident when it really counts. A little prep goes a long way when your roof is your only ceiling.
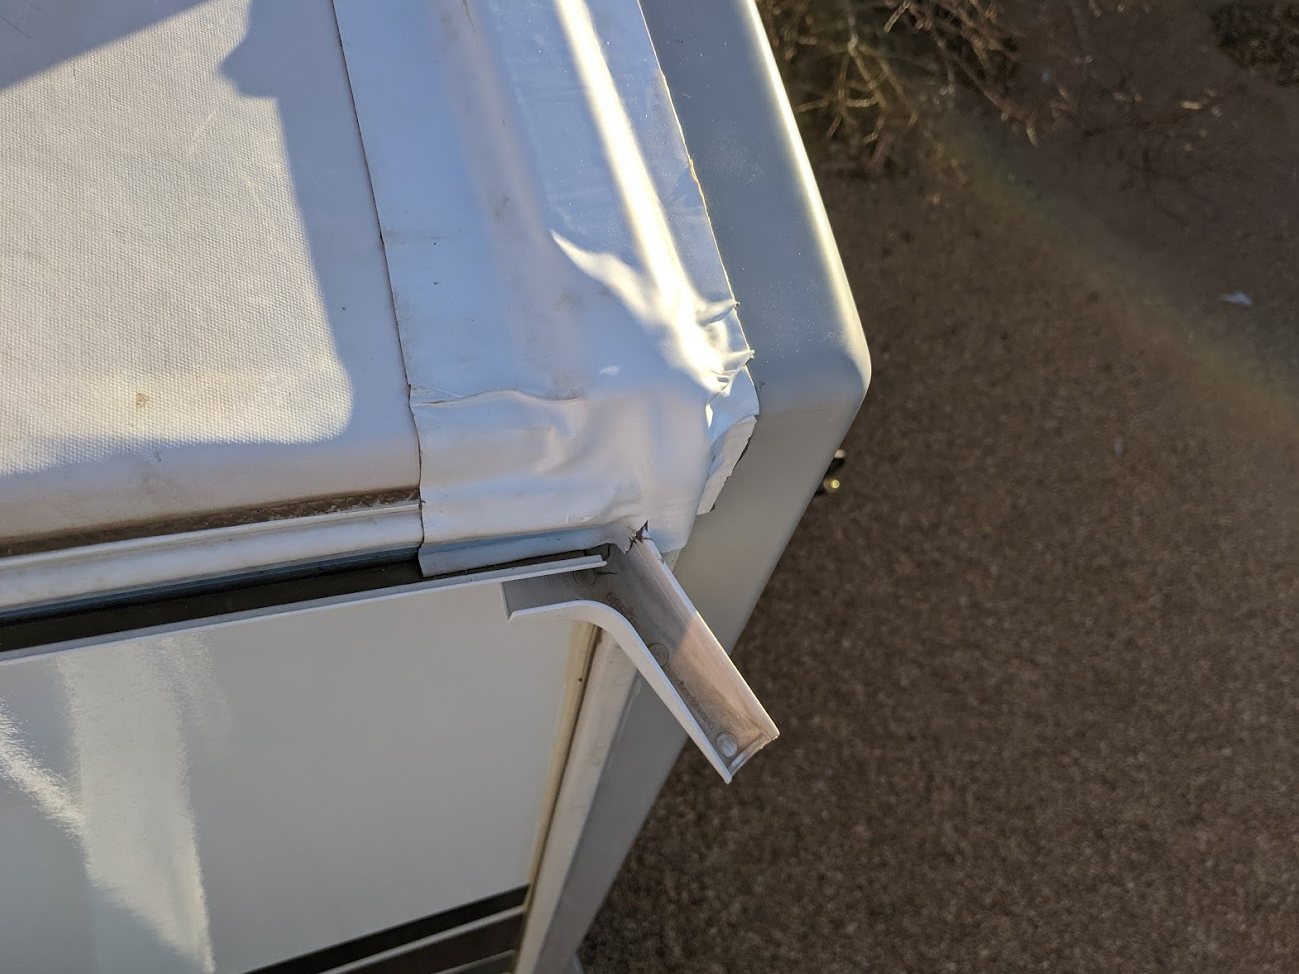
We certainly understand that unexpected events like hail storms or falling branches can cause significant damage to your RV. If you notice visible punctures, tears, or structural damage, it’s crucial to act quickly to prevent further issues, especially with any interior water damage or leaks that may arise.
Before you jump into repairs, take the time to document everything—clear photos and videos from multiple angles can be invaluable for your records and insurance claims. Our goal is to help you navigate these challenges with confidence and ensure your RV journey stays on track.
When it comes to RV maintenance, it's crucial to understand that damage from wear and tear or lack of upkeep is often not covered by insurance. Before you file a claim, consider whether the repair costs will surpass your deductible; a claim without a payout can negatively impact your policy. To make the most of your coverage, review your policy for any specific endorsements like Roof Protection Plus, and remember that some insurers may require proof of regular maintenance. If you’re unsure about filing a claim, don’t hesitate to reach out to your agent for guidance without starting the process.
While a roof patch kit is a fantastic first line of defense, there are definitely situations where calling in a professional is the smartest (and safest) move. The truth is RV roofing is a beast of its own, and quick patches are often just Band-Aids on a bigger problem. Most sealants and tapes aren’t designed to hold up long-term under the constant movement, vibration, and weather extremes that come with life on the road. That’s why you’ll see RV techs either walk away from roof jobs or slap a “temporary fix” on it with no guarantee.
The truth is, a reliable, lasting roof repair takes more than just materials—it takes technique, experience, and the right system. That’s why solutions like RV Roofing Solutions' Complete System stand out: they bypass the patch & pray routine and offer a permanent, fully warrantied roof that can handle the rigors of the road. For DIYers and RV pros alike, it’s time we stop settling for fixes that fade and start investing in protection that truly lasts.
Knowing when to handle a roof repair yourself and when to call in a professional can save you time, money, and save you a whole lot of stress. If the damage is structural or extensive—like a deep gouge or puncture that goes beyond the roof membrane, cracked or broken framing beneath the surface, or a new sagging or soft spot—those are red flags. These signs often point to potential water intrusion or deeper structural compromise that a quick patch won’t fix. In these cases, it’s best to call a professional who can assess the sub-roof and framing, identify hidden damage, and make sure the repair is done right the first time.
If you suspect a leak but can’t pinpoint the source, an experienced professional RV roofing company with years of experience is important. Water has a frustrating way of sneaking in through one spot and showing up somewhere completely different-especially in RVs. If you’re noticing stains on the ceiling or walls, musty odors, or even drips inside without any visible roof damage, it’s time to bring in an expert. A professional has the tools to perform a pressure test or use a moisture meter to trace the leak to its true origin, often hidden beneath layers of insulation or paneling. Spotting roof damage early can save you from major headaches later—like rot, mold, or delamination—that often come with a hefty repair bill.
If you’re a DIYer, it’s not uncommon to run into issues with temporary roof fixes that just don’t hold up. Maybe your patch is peeling at the edges, leaking again, or never adhered properly in the first place—especially if it was applied in a hurry during bad weather or on a dirty roof membrane.
It might be tempting to reach for a silicone coating to "fix" your RV roof—especially with all the bold claims about flexibility and waterproofing. But here’s the catch: nothing sticks to silicone—not even more silicone. That means once it’s on, future repairs won’t adhere properly, turning a quick DIY patch into a costly problem down the road. What seems like a budget-friendly fix today could end up blowing your repair budget tomorrow.
Maybe it was only meant to be a short-term solution, but weeks (or months) can go by and it’s still your only line of defense. When that happens, it’s time to call in a professional. A roofing expert can properly reseal, recoat, or even replace the damaged section to ensure a long-lasting fix that won’t fail when you’re miles from the nearest repair shop.
A proper roof repair isn’t always a bargain, but it’s an investment in peace of mind. Cutting corners with budget materials or quick fixes can end up costing far more when they fail under stress. Quality repairs use premium materials, professional techniques, and warranties that hold up over time. For RVers who value safety, longevity, and keeping their rig road-ready, it’s worth paying for a solution that actually solves the problem—not just delays it.
If your RV has a
Fiberglass roof—especially on Class B or high-end rigs—you may want to preserve its original structure and finish rather than install an aftermarket system. Getting an OEM Fiberglass roof repaired often requires specialized materials and techniques, including sanding, resin application, gelcoat work, and precise color-matching to maintain the factory look and integrity. These aren’t your average DIY repairs. If you’re committed to keeping your original roof in top condition, it’s best to call in a professional with experience in RV bodywork and OEM roof restoration. They’ll ensure the repair blends seamlessly and maintains the value and performance of your rig.
If you’re not comfortable getting up on your RV roof—whether it’s due to a fear of heights, health concerns, or simply not feeling confident in your ability to make a proper repair. You’re not alone, and you’re not wrong to hesitate. When you add in factors like high winds, wet or slippery surfaces, or steep roof angles, the risk only increases.
Your personal safety should always come first. In these situations, it’s wise to call a professional who has the right tools, safety equipment, and experience to handle the repair efficiently and without risk. There’s no shame in stepping back when the job requires more than you can safely give.
When it comes to RV roof repairs, a patch might be a temporary band aid, but it's not usually a permanent solution. For true peace of mind, you want a solution that combines professional-grade materials with a warranty-backed guarantee.
That’s where RV Roofing Solutions steps in. If you’re unsure about the best route to take, don’t hesitate to snap a few photos of your roof and reach out to us! We’re here to provide an honest assessment to ensure you’re ready for your next adventure on the road. You’re not on your own. With years of experience partnering with insurance providers, we’re here to make things as smooth and stress-free as possible..
If you’re tired of chasing leaks, resealing seams, and worrying about water damage every time it rains, a maintenance-free roof from RV Roofing Solutions might be the upgrade your rig needs. Their seamless acrylic roofing system eliminates common failure points by creating a watertight, breathable barrier that flexes with your RV and stands up to extreme weather. No more annual caulking or patch jobs—just wash it twice a year and hit the road with confidence.
RV Roofing Solutions uses a low-VOC roofing system, which means it releases fewer harmful chemicals into the air during and after installation. For our clients, that translates to cleaner indoor air, minimal odor, and a safer environment for your family and pets—especially important in the confined space of an RV. It’s a healthier choice that also aligns with eco-conscious living on the road.
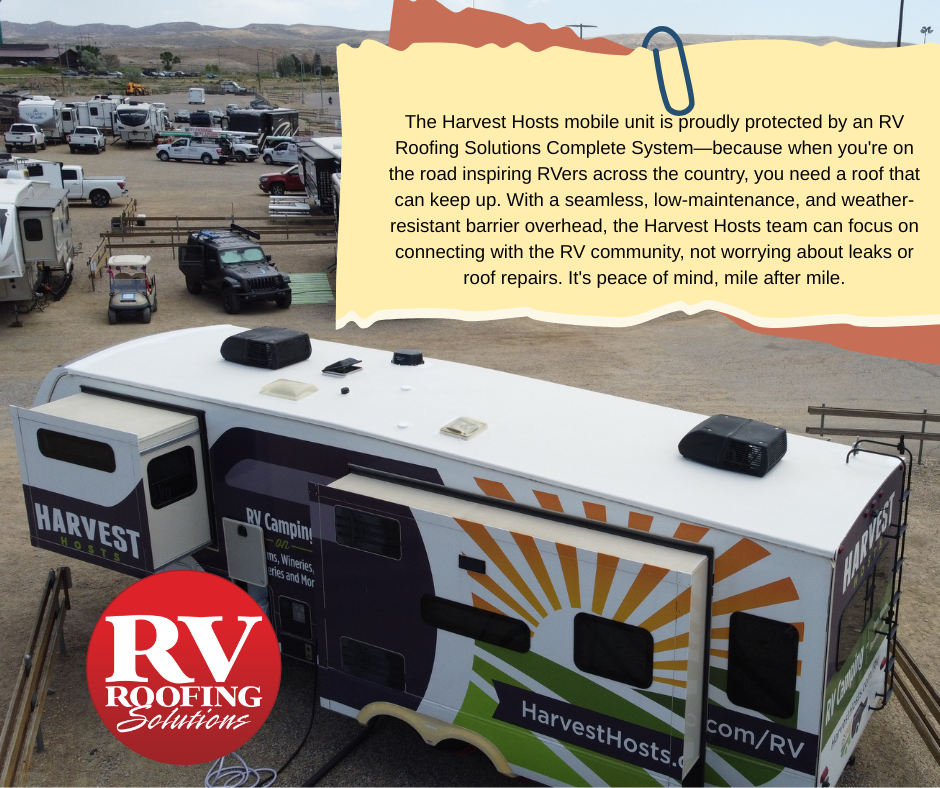
Beyond the convenience, this system is the ultimate in preventative care, offering serious long-term value. Every RV Roofing Solutions System is backed by a 10-year transferable warranty. Long term, this helps prevent costly structural damage, and can even boost your RV’s resale value. Best of all, RV Roofing Solutions brings their mobile installation team to you- your home, a campground or even a rally so you can get a professional-grade roof without ever leaving your site.
A small leak today can become a major repair tomorrow. Reacting promptly to an incident helps you make the right call...before the damage spreads. Your RV roof is your first line of defense against the elements—and it deserves the same care and preparedness as your tires, brakes, Fire suppression system, or water filtration system. A roof first aid kit isn’t just smart—it’s essential for anyone serious about protecting their rig and their adventures.
So before your next trip, stock up, stash it in your basement bay, and roll out with confidence. Because when the sky opens up or a tree gets too friendly, you’ll be ready.
Other blogs you might like...


